Complete the Apple Calculator in SwiftUI Using MVVM
Part 2 — Business Logic

In today’s tutorial, we are going to be building the Calculator’s business logic in Swift using the MVVM model with the best practices in mind.
Building the view is covered in part 1.
Moreover, it’s perfectly fine to start from here if you are not interested on building the views. Go ahead and download the starter project.
The Calculator API
Our objective is to make a Calculator model fully independent.
According to the Single Responsibility Principle, every module, class, or function should have a single responsibility.
A calculator performs calculations; so it should only be focused on receiving inputs, computing, and returning the result. It’s not responsible on anything view related.
This gives us the ability to use the Calculator in anything. We can use it in our already existing CalculatorView, in unit tests, in another completely different calculator view, in a CLI, etc.
To make this possible we need to declare an API. — what functions and properties the outside can access to make use of our Calculator?

Let’s think of what properties and functions are necessary from the outside to be able to fully operate a calculator (These will be our public properties and functions). — What is at our disposal using a real calculator?
For properties, we need a way to read the currently displayed number.
For functions, we need to perform an action for every ButtonType case.

Let’s start.
Inside Models, create a new Swift File named Calculator

Add the following boilerplate code:
The ViewModel
Before continuing with the Calculator, let’s first connect our view so we can start testing it right away.
Below CalculatorView.swift, create a new Swift File named CalculatorViewModel:

In CalculatorViewModel.swift, create a final class name ViewModel that conforms to the ObservableObject protocol and is inside our CalculatorView
Our ViewModel will include the buttonTypes order and an instance of the Calculator model. We’ll also need to add the necessary properties and functions to be able to operate the Calculator.
Here’s the code for CalculatorViewModel.swift:
In CalculatorView.swift, add a new @EnvironmentObject private property to reference our ViewModel.
Make sure to update the displayText and buttonPad components to get viewModel.displayText and viewModel.buttonTypes.
Here’s the code:
Now, we need to notify the ViewModel when a calculator button is pressed.
In CalculatorButton.swift, add the ViewModel as an Environment Object and add viewModel.performAction(for: buttonType) for the button’s action
Finally, in CalculatorApp.swift, create an instance of the ViewModel as an environmentObject
Now our View and our ViewModel are fully connected! The View notifies the ViewModel a button was pressed, and the ViewModel updates the display text shown in the View.
The Calculator
We’ll now start adding the business logic to make the Calculator work. We will be adding each of our API functions one by one.
Set Digit
Go back to Calculator.swift
Before starting with the logic of setting digits, we are going to need these properties, so add them at the top:
At the bottom, add the following helper functions
When setting a digit, we need to:
- Check if you can add the digit (01 should not be possible).
- Convert
newNumberDecimal to a String - Append the
digitto the end of the string, convert the String back to Decimal and assign its new value tonewNumber
Here’s the code to set a digit:

Set Operation
We’ll need to create a new struct name ArithmeticExpression to facilitate the evaluation of arithmetic expressions.
Add this struct inside your Calculator model:
Add expression and result properties and update the number computed property
Now, for setting an operation we need to:
- Check if there is a number we can use (
newNumberor previousresult) and assign it to a new variablenumber - Check if there is already an
existingExpression, if there is, evaluate it usingnumberand assign the result tonumber - Assign new
ArithmeticExpressionwithnumberandoperationtoexpression - Reset
newNumber
Here’s the code:
Now our Calculator works for digits and operations. Let’s just add some more visual queues to know if an operation is currently active.
We’ll highlight the operation button if the user just pressed it.
Add the following helper function to Calculator.swift
Add the following helper function to CalculatorViewModel.swift
And finally, add the following helper functions to CalculatorButton.swift
In the same file, update the CalculatorButton button style’s foregroundColor and backgroundColor to get from the helper functions just added
We now have operation buttons highlighting!

Evaluate
This one is simple.
To evaluate we need to:
- Unwrap
newNumberandexpression(expression contains the previous number and operation) - Evaluate
expressionwithnewNumberand assign toresult - Reset
expressionandnewNumber
Here’s the code:

Set Percent
To set percent we need to:
- Check if
newNumberorresultis currently used - Divide by 100 and assign the new value
Here’s the code:
Toggle Sign
toggleSign() is very similar to setPercent(), as in we need to check if newNumber or result is currently used and apply an operation (add negative sign in this case).
However, there’s a tricky part. — We cannot add a negative sign to 0.
The solution?
We can add a negative sign to a String, specifically the displayText. We just need to know when and when not to insert the negative sign.
Like in elementary math, we are going to use carries (9 + 8 = 17, carry 1).
Add this property at the top, under private var result: Decimal?
private var carryingNegative: Bool = falseSo, if newNumber or result exists, apply the negative sign, otherwise, make the carryingNegative property true. (Will remain true until newNumber is set)
Add this code to toggleSign()
The carryingNegative property is used in the helper function getNumberString()
Remember how when newNumber, expression.number, and result are nil, the default value is 0? Thanks to the carryingNegative property, we can insert the negative sign string to 0 to return “-0” displayText just as a visual queue that the negative sign is active.
Update getNumberString() with the following code:
Lastly, we need to deactivate the negative carry when newNumber is set.
Add this code to newNumber:

Set Decimal
Setting a decimal might be the trickiest part of all.
We’ll need to add the carry logic to two things now. To the decimal point and the zeroes following the decimal point.
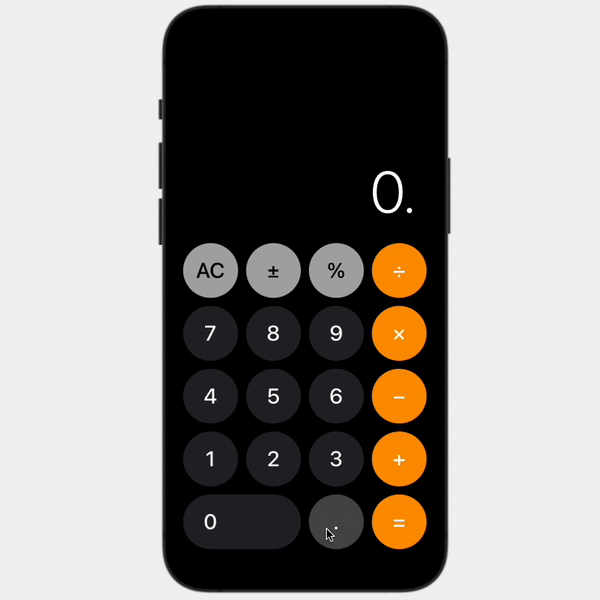
The Decimal Point
Our newNumber property is of type Decimal. So there is no such thing as a 5. or 15. , those are whole numbers. However, if the user presses the decimal button, we need to provide a visual queue that the decimal is being set. We need to update the displayText until we can set newNumber to its respective decimal number. We’ll use a new property named carryingDecimal for this.
Let’s run a quick example for inputting 5.2
- Set digit 5 (
newNumber = 5,carryingDecimal = false, and thedisplayText = “5”) - Set decimal (
newNumber = 5,carryingDecimal = true, and thedisplayText = “5.”) - Set digit 2 (
newNumber = 5.2,carryingDecimal = false, and thedisplayText = “5.2”)
Add carryingDecimal property
Add containsDecimal computed property
The actual setting decimal function is very simple:
- Check if
numberalready contains a decimal, if it does, return - Make the
carryingDecimalpropertytrue
Here’s the code:
Finally, reset carryingDecimal when newNumber is set

The Zeroes Following the Decimal Point
Now, we have a similar problem to solve. When setting zeroes after de decimal point, our newNumber property, being of Decimal type, will never add them. As for 5.40000 will always get converted back to 5.4 as it is not a String.
Similar to what we did with the decimal point, we need to create a new property named carryingZeroCount, to keep track of zeroes after the decimal point and append them when a non-zero digit is set. In the meantime, we will also show the zeroes in the displayText to provide a visual queue.
Let’s run it through an example to make it clearer. We want to input 2.003
- Set digit 2 (
newNumber = 2,carryingDecimal = false,carryingZeroCount = 0,displayText = “2”) - Set decimal(
newNumber = 2,carryingDecimal = true,carryingZeroCount = 0,displayText = “2.”) - Set digit 0 (
newNumber = 2,carryingDecimal = true,carryingZeroCount = 1,displayText = “2.0”) - Set digit 0 (
newNumber = 2,carryingDecimal = true,carryingZeroCount = 2,displayText = “2.00”) - Set digit 3 (
newNumber = 2.003,carryingDecimal = false,carryingZeroCount = 0,displayText = “2.003”)
I know it’s getting somewhat confusing, but by doing this, we can avoid using string manipulation for inputting altogether, which brings its fair share of issues and complexities.
Add the carryingZeroCount property
Update the setDigit() function to:
And finally, add carrying zeroes to getNumberString()
All Clear
Clearing all is simple. We just need to reset all of our currently used properties
Here’s the code:

Clear
Notice when using the Apple Calculator, the AC (All Clear) button changes to C (Clear) button right after setting a digit or decimal? These buttons, might look like they do the same thing, resetting the display to 0, but in reality, they have different functionalities.
All clear reset everything including newNumber, expression, result, and carries.
Clear only reset the last entry, in our case, newNumber and its carries.
So, let’s say you want to calculate 5 + 3. You input 5 + 2 — Oops! Press clear button (5 + is still saved), input 3, result = 8. All good.
Let’s get to it, but first, add pressedClear property, we are going to need it.
Similarly to our allClear() function, add this code to clear()
And update newNumber, so that when its set, we reset pressedClear
Let’s add a small improvement to number for a better user experience.
If the user just pressed clear or decimal, let’s show a 0, even if there is a result or expression active.
Update the number property with this code:
Show AC or C button in our view
Now, to know which of the two clear buttons to show in our view, we will need to create a computed property.
Add showAllClear computed property:
Go back to CalculatorViewModel.swift and update the buttonTypes computed property:

Final Calculator
Here’s the code of our final Calculator model:
Wrap-Up
We are finally finished building the Apple Calculator. Thanks for pulling through.
We successfully encapsulated each component into its own functionality. The ViewModel is not responsible for making the calculations, it just informs the Calculator what the user is inputting and asks for the result.
The Calculator model we created can be used with any view now. We can even create unit tests without involving any other file.
You can find the source code for this part here.
Thanks for reading, I would really appreciate it if you can follow so I can keep creating more content like this :)

