Using Computer Vision To Destroy My Childhood High Score in a DS Game
Letting an object detection model control a DS emulator to become an expert in playing the Super Mario 64 DS minigame, “Wanted!”
I trained an object detection model to control my computer to play a minigame running in a DS emulator endlessly.
You can watch the first hour of its playthrough here. All the code is available on GitHub.
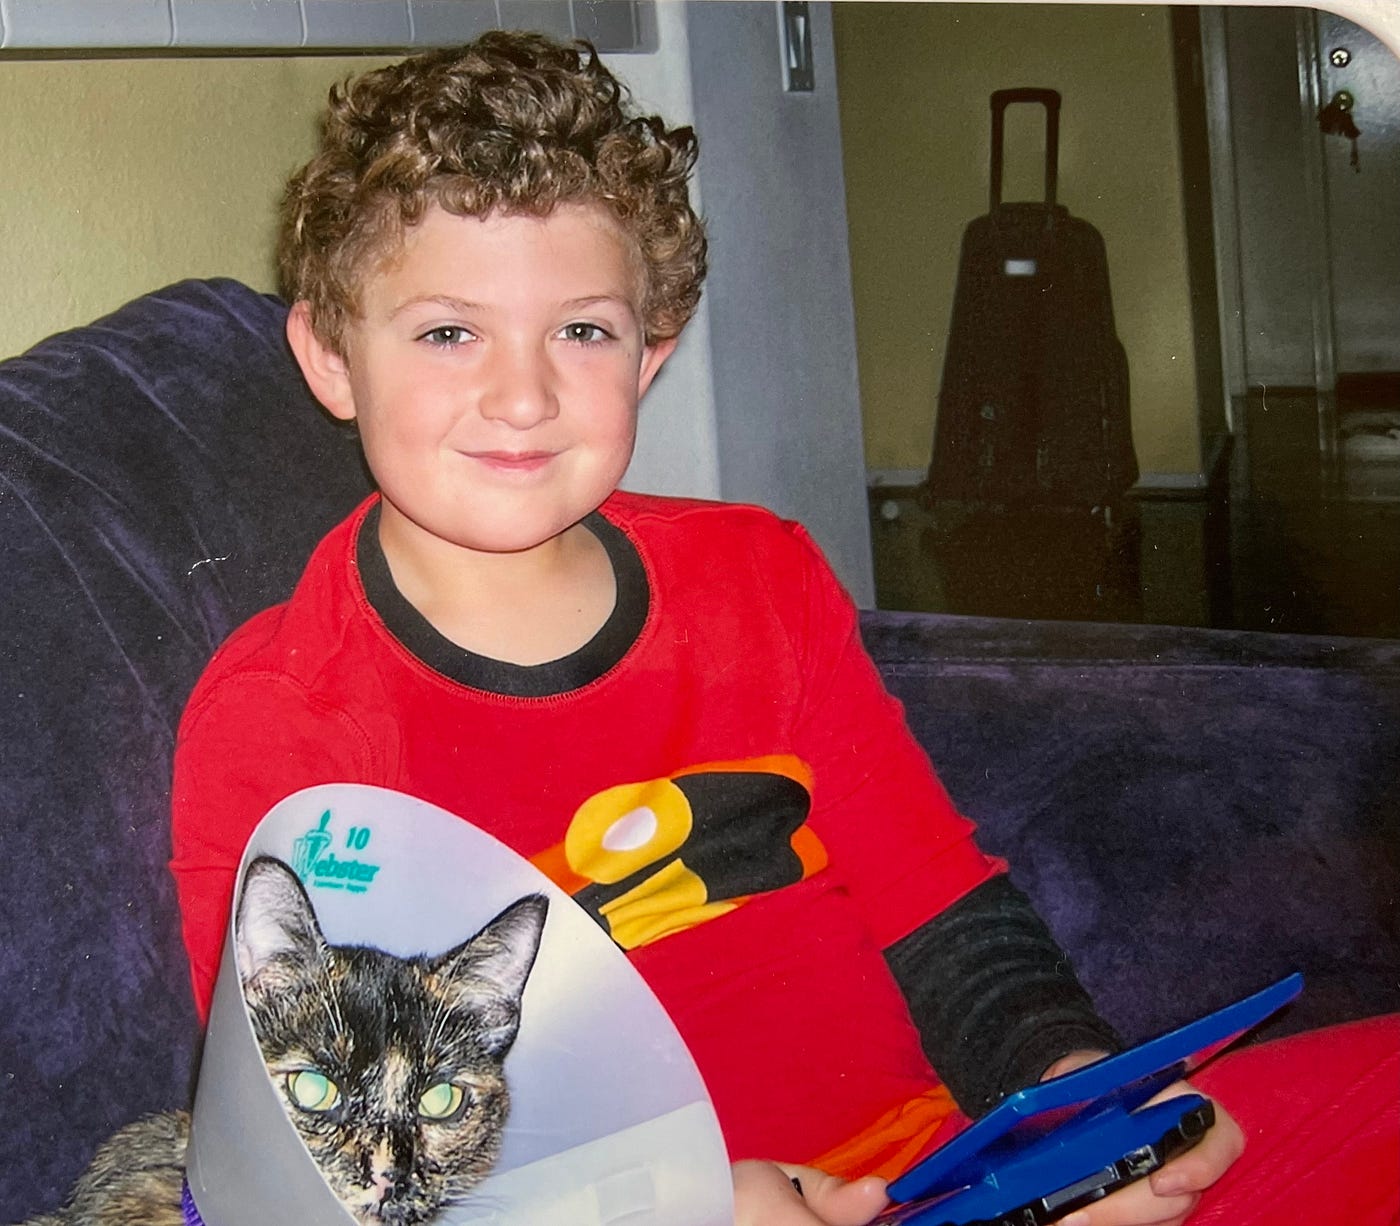
Prelude — My Eighth Birthday Gift
On my eighth birthday, my grandmother generously gifted me the most important technology of my life — a Nintendo DS. With this, she bought me two games to start playing right away — Pokémon Dash (as a kid, I didn’t realize this was one of the lowest-reviewed Pokemon spinoff games in the franchise — I was just happy to see Pikachu on the box art) and Super Mario 64 DS, a remake of the incredibly successful Super Mario 64 game originally made for the Nintendo 64.
Despite having a full-on actual Mario game waiting to be played, I found myself drawn instead to the “Rec Room” minigames. And of all these games, one grabbed the attention of my eight-year-old self more than all the others: “Wanted!”
“Wanted!” is best described as a simpler version of “Where’s Waldo”; the player is told to click a specific character in a sea of faces while against a set time limit.
Fast forward a decade and a half. I am currently between jobs, and my next position will begin in two weeks. Rather than relaxing and recharging, I found myself drawn back to my DS, specifically to this “Wanted!” minigame.
But now, as an adult (and a data scientist), of course, my interest in this game is far deeper, far more complex, far more… mature. Inevitably, the question arose: can I train a machine learning model to excel in the “Wanted!” game and autonomously play the game forever?
The Game
“Wanted!” is as straightforward as it gets. The top screen shows a wanted poster with the face of one of four characters — Mario, Luigi, Wario, or Yoshi. The bottom screen shows several faces (sometimes overlapping with one another, sometimes weirdly cropped, and sometimes all moving in different directions), with only one of the faces being that of the wanted character.
The initial levels of the game are relatively easy…
… but quickly become more challenging.
… and it becomes even more challenging when the faces start moving.

The player starts with only ten seconds to find the character. Correct clicks add five seconds to the player’s time, while incorrect clicks deduct ten seconds.
Unique Challenges to Consider
Some objects are heavily occluded, which is always an issue regarding object detection, but that wasn’t the largest challenge I’d face with this project. Rather, the biggest challenge was latency, particularly when the characters’ faces were moving (like in the GIF above).
If it takes two seconds from start to finish to process an image and locate a character, by the time we click on that area, the face may have moved so much beyond its original position that we end up clicking an entirely different character and losing time. “Wanted!” runs at 30 frames per second, which means that if we let two seconds go by, our character will have moved ever-so-slightly 60 times. This is particularly noticeable when the character disappears off one side of the screen and reappears on the other.
To ensure our model can complete these moving stages effectively, we must make every decision necessary to reduce the time it takes to process an image, no matter how painful that process would become (foreshadowing).
The Plan
As for the machine learning component, this problem seems like a slam dunk for an object detection model. Since we want this to run in real-time, I thought it best to choose a real-time-optimized object detection model. My current go-to is YOLOv5, and it’s implemented entirely in PyTorch. Despite its controversy, this repo makes it incredibly easy to train, validate, and customize a YOLO model (I get that YOLOv1–4 is fast, but… come on, does it have to be written in C + CUDA?!).
To train an object detection model, we need labeled data, which is the crux of every data scientist’s attempted side project. Since it’s just me here, I initially thought it would be okay to spend a couple of days labeling data. No big deal, right?
A Big Deal
This project thankfully reminded me just how much I despise labeling data. I am now confident I would rather eat a bowl of nails than label data for an hour. Seriously.
After 25 minutes, I was only on my third screenshot.
Just as I was ready to give up, I had an epiphany: Maybe this was… really simple after all? Every face comes from a single sprite of that character’s face — it will never change colors, shape, expression, etc. — it is just a single image per character. There are only four preset characters to choose from, and the background is just a black screen.
Could I recreate this on my own? Hypothetically, I could use Matplotlib to plot a whole bunch of character faces against a black screen, have it track where the characters are plotted, then save both this image and a list of all the characters plotted and their bounding boxes, which would allow me to skip the data labeling process altogether.
Matplotlib Pain
The good news: I was correct in saying bypassing the data labeling step is possible.
The bad news: despite my years of using it, the second I tried to do something specific in Matplotlib, my brain removed itself from my body and forgot every single detail of the API.
This gets even harder when no one from StackOverflow has asked a question about the plot you are trying to make. The documentation seems to loop endlessly from function to function without telling you what an argument means.
With all the sprites used in the game at my disposal, a mere two agonizing days later, I finally managed to cobble together the code necessary to make these mockup screenshots of the game. Side by side, they look similar in quality. Nice!

To train the most robust model possible, I tried to spice up these images through various little tricks and hacks. The most notable of these include the following:
- I wanted characters’ faces to be plotted on top of one another, like the original game, but not such that one character’s face is plotted directly on top of another character’s face, as it wouldn’t be fair to require a model (or a human, no less) to have X-ray vision.
To avoid this, I set up a “proximity threshold” that set a pixel limit of how close one character can be to another. I manipulated this value to be quite a bit tighter than the original game allows, but not too tight that I couldn’t tell which character was plotted. - Matplotlib, by default, will do the logical thing and save the image such that no face is cut off. However, in the original game, characters are sometimes plotted on the edges of the screen so that only part of their face is visible to the player. I didn’t want my object detection algorithm to only detect characters who are fully on the screen, so when saving the image to disk, I chose a random amount of the image’s border to cut off completely. This produced images in which a character may be on the edge of the border with only part of their face showing. Neat!
- If we change the size of the DS emulator window to be larger or smaller, the sizes of the faces change. If I kept every face in the training data the same size, the object detection model failed to detect faces that were even a slightly different size. To combat this, I chose a random amount to “zoom” into the characters' faces when generating the plots. This led to a training dataset with characters’ faces in a variety of sizes.
The following image shows the “large” character face setting:
My computer could only generate about 15,000 images before the kernel crashed, so our final dataset size is a hearty 15,000 images. By my rough estimates, it would have taken me about 11 weeks to hand-label a dataset of this size, so my Matplotlib efforts were well worth it!
Training a Model
The YOLOv5 repository has a handful of pretrained models you can fine-tune, each with a different size and performance. I wanted to keep latency down as much as possible while still having decent enough performance, and after a bit of experimentation, I found that the YOLOv5s (small) model worked.
Training a YOLOv5s model is simple — a single line in a terminal and then about an hour of waiting. Here’s that single line:
python train.py --data data.yaml --epochs 100 --weights '' --cfg yolov5s.yaml --batch-size -1The best news is that, with the latest versions of PyTorch, I can actually run the model directly on my M1 Mac’s device to give a >2x speedup (as opposed to just keeping it on the CPU). It’s as easy as saying:
model.to(torch.device('mps')) # wow, so neat!And that’s that for the shortest section of this article! Phew!
A Top-Screen Hack To Save Time
After our trained object detection model could detect characters on the bottom screen, I needed to do the same with the top screen, as it would tell us which character we should actually be looking for.
At first, I expected this to be the simplest part of the project — I could just use something like OpenCV’s Template Matching since the character’s face at the top would always be the same shot across rounds. However, when I tried this, to my dismay, searching for a single character took nearly… 280ms?! What?! For context, my YOLOv5 object detection model took about 30ms to make inferences on the screen with multiple faces, so a nearly 9x slowdown for something objectively simpler is… strange.
I could just train a separate object detection model for the top screen, but with only four images in the training set, that feels like a bit overkill.
Instead of doing something actually smart here, I decided to hack together a solution that would run as quickly as possible. The plan was now to choose just one static pixel in the top screen, get its color value, and compare it against a known color pixel value for a particular character (a specific shade of red for Mario, yellow for Wario, etc.).
Shockingly, this simple solution worked! Template matching takes 280ms, an object detection model takes 30ms, and well, this solution takes… *checks notes*… 0.25 ms. Wow, now that is a speedup worth the hack!
Programmatically Controlling My Computer
Before starting this project, I knew using Python to control my computer would be the most difficult part. I’ve worked with Matplotlib and YOLOv5 in the past, but I have never had to use Python to control my computer. For this to work, I needed two essential components coded:
- The ability to take a screenshot of a window on my computer (in this case, the DS emulator running the game).
- The ability to click a specific area of my computer (to click the correct face).
It turns out that, in this case, being a Mac user is a big mistake. While Windows users could use a handy library such as PyGetWindow to get a window’s information to take a screenshot, it does not support MacOS.
After hours of research, I discovered that the only supported way to do this is to go through Apple’s CoreGraphics module, which is coded in Objective-C (not Python). Luckily, someone created a Python wrapper for this framework, pyobjc-framework-Quartz, but its documentation is… sparse, meaning for every function we want to do, we’ll be referencing Objective-C docs. Oof.
Similarly, while it seems to be a lot easier to take a screenshot of a specific window (as opposed to the entire screen) on Windows (maybe this is why they chose the operating system's name), Macs make the task infinitely more non-trivial. Some functions I tried could only take a screenshot on the primary display, not an external monitor; some functions required me to save the screenshot to disk first and then load it back into memory (a process which takes way more time); and some functions just… didn’t work.
(Un)fortunately, the pyobjc-framework-Quartz library saved the day again. Not only did this allow us to take a screenshot of a window on any display directly in memory, but it was the fastest implementation with a nearly 11x speedup compared to the next-fastest function. The pain was worth it!
Lastly, to no one’s surprise, clicking a specific area of a screen leaves us with the same conclusion: it’s easier on Windows, possible on Mac (with easier-to-use libraries), but significantly faster if we go through Apple’s own CoreGraphics framework. Fine.
An interesting quirk I found here is that there is no concept of a “click” in Apple’s framework — instead, you have to send a signal to press the left mouse down, then send another signal to “press” the left mouse up (hence simulating a click). However, if you do this back-to-back, it is, somehow, not a click. Through trial and error, I found that you have to introduce some delay between the mouse coming down and going up for it to be registered as a click. About 50ms was the right amount of buffer between these two actions to work as a click reliably. Weird.
Putting it All Together
At long last, it was time to play the game! I played a ROM of the Super Mario 64 DS game on the DeSmuME Nintendo DS emulator while running my Python code in a terminal window right beside it. Here’s how the logic was set up:
- Take a screenshot of the game window.
- Search the top screen for the character we are supposed to be looking for on the bottom screen.
- Crop the image to the bottom screen and run this cropped image through our object detection model.
- If the character is detected with high enough confidence, calculate the coordinates of this character in the emulator window, and click the area.
- Wait a bit for the next round to start, and repeat!
The game runs at 30 frames per second, which means each frame stays on screen for about 33ms. By my rough calculations, we should be able to decide a total of about 200ms on my Macbook, which is just about six frames worth of gameplay. This means that if a character is moving, we need to hope they stay in the same relative spot on the screen six screens later to ensure our click is not a miss. Will it work?
The answer: Yes! It totally works!
After about an hour of recording, my computer could not handle it anymore. I ended the recording there, purely out of sympathy for my computer. But to prove I’m not a liar, a hack, or a failure, I waited a whopping 15 hours to film the ending rounds.
Not exactly the satisfying ending I dreamed of, but nevertheless, mission complete. Time to update the leaderboards!
As a child, I found this game super difficult. As an adult (no matter how much I like to pretend it’s not), I still find this game super difficult. I hope that my eight-year-old self would be proud I finally beat this game (or rather, I made something that beat this game). This is for you, Little Nate! :)
All the code used in this project can be found on the GitHub page here. If you have a Mac, particularly one with Apple silicon, go ahead and give it a try! Regardless, thanks for taking the time to read this article! :)