How to Create a Flexible View With SwiftUI Layout

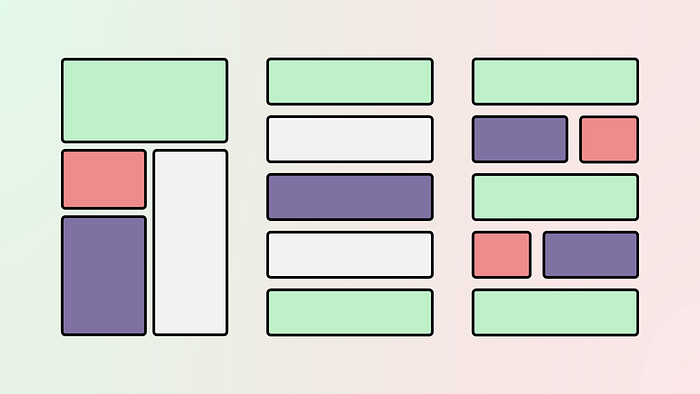
In this article, we'll be discussing the Layout Protocol that was introduced in WWDC22. This protocol allows us to create complex compositions that were previously difficult to achieve.
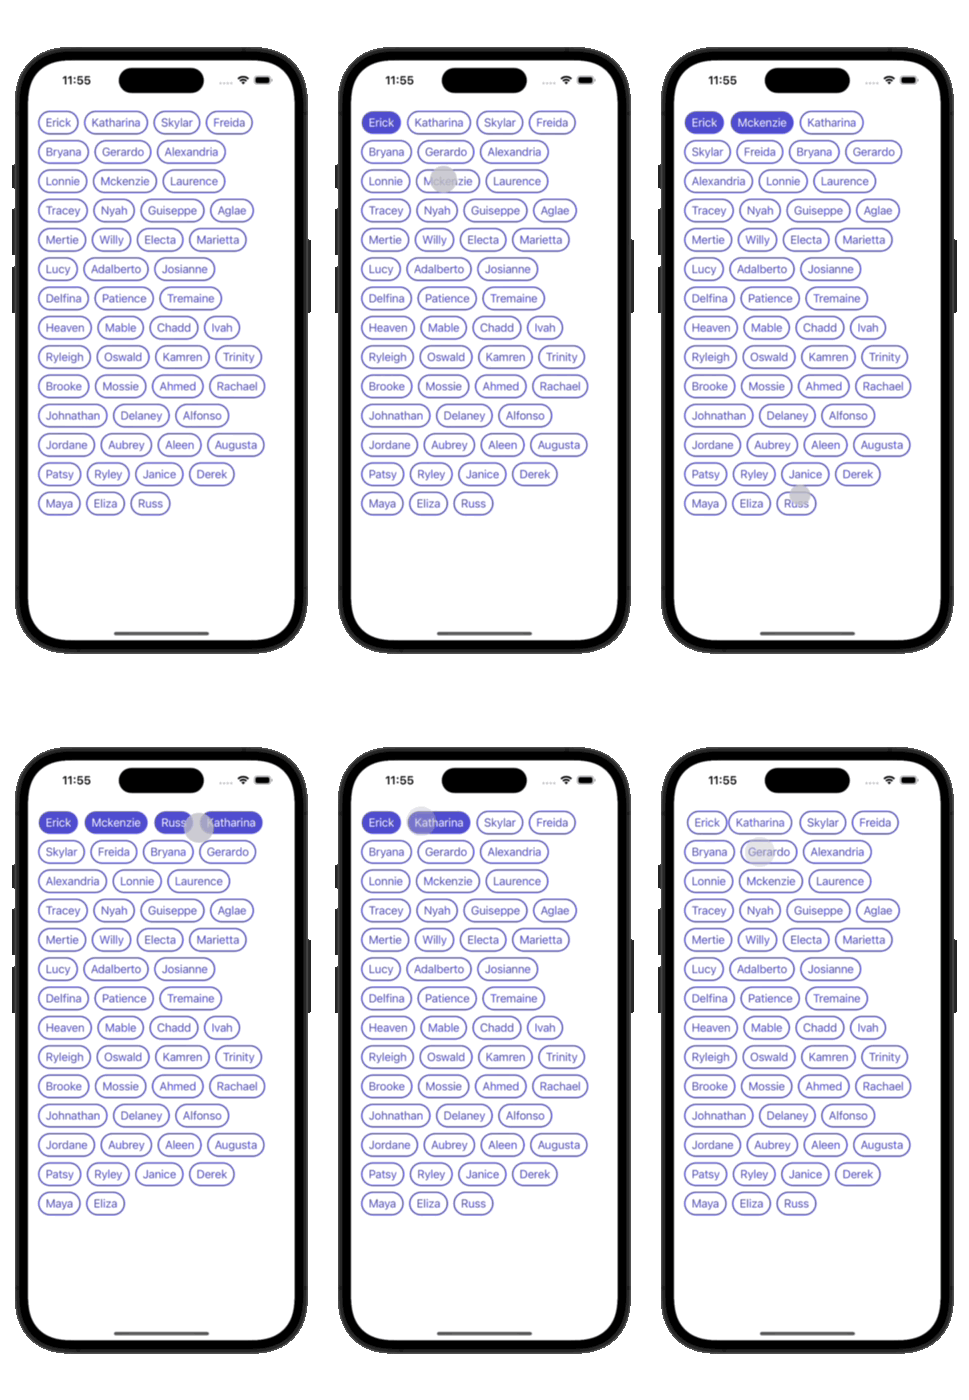
We'll start with the basics of Layout and then move on to creating a Flexible Stack that will render views horizontally until there is no more space, after which it will start a new row and repeat the process.
To implement a Layout we need to implement 2 functions:
func sizeThatFits(
    proposal: ProposedViewSize,
    subviews: Self.Subviews,
    cache: inout Self.Cache
) -> CGSize
This function as its name suggests returns the layout size. It takes 3 parameters
- A proposed size given by the parent view as in SwiftUI views choose their own size based on a proposal by the parent
- The child subviews
- A
cachelet’s ignore it for now
func placeSubviews(
    in bounds: CGRect,
    proposal: ProposedViewSize,
    subviews: Self.Subviews,
    cache: inout Self.Cache
)
This function is responsible for arranging the subviews the way we intend to and it has the same parameters as sizeThatFits with the addition of the layout bounds.
In most cases, all we have to do is implement these two functions. However, what if some of the calculations we need for determining the view size are also needed when placing subviews? Moreover, what if these calculations are complicated and expensive?
that's when cache comes in and saves the day. We do these calculations once needed and cache it and use the cache when needed again
By default Cache is Void so to use it we can use typealias or define our custom Cache object inside out Layout and then we have to implement a third function
func makeCache(subviews: Self.Subviews) -> Self.CacheInside this function, we initialize our cache to its initial state.
Now enough of this mumbo jumbo and let’s code already.

Let's start by defining our Cache:
extension FlexableStack {

    struct Cache {
        let rows: [Row]
        let height: CGFloat

        struct Row {
            let viewsSizes: [CGSize]
            let size : CGSize
        }
    }

    func makeCache(subviews: Subviews) -> Cache {
        return .init(rows: [], height: 0)
    }

}
As we can see the cache will consist of the rows and the view height, with each row consisting of each array of sizes corresponding to each view in the row and the size for this row
Now let's calculate a single row:
    private func calculateRow(_ maxWidth: CGFloat, proposal: ProposedViewSize, subviews: inout Subviews) -> Cache.Row? {
        var viewSizes : [CGSize] = []
        var rowHeight : CGFloat = 0
        var origin = CGRect.zero.origin
        var hasSpace : (CGSize) -> Bool = {(origin.x + $0.width + spacing) <= maxWidth}
        //keep iterating untill row is filled
        while true {
            // check if no views left
            // or if view size bigger than available space
            guard
                let size = subviews.first?.sizeThatFits(proposal),
                hasSpace(size)
            else {
                let rowSize = CGSize(width: origin.x - spacing , height: rowHeight)
                return viewSizes.isEmpty ? nil : .init(viewsSizes: viewSizes, size: rowSize)
            }

            _ = subviews.popFirst()
            viewSizes.append(size)
            rowHeight = rowHeight > size.height ? rowHeight : size.height
            origin.x += (size.width + spacing)

        }

        let rowSize = CGSize(width: origin.x - spacing , height: rowHeight)
        return viewSizes.isEmpty ? nil : .init(viewsSizes: viewSizes, size: rowSize)
    }
As we can see SubViews ie (LayoutSubviews) is a fancy Collection of LayoutSubview that exposes a function called sizeThatFits will this looks familiar except it only takes a proposal size, I wonder what it does 🤔🤔, just kidding it calculates the subview size.
Now we calculate all the rows
 private func caculateRows(_ maxWidth: CGFloat, proposal: ProposedViewSize, subviews: Subviews) -> Cache {
        var rows : [Cache.Row] = []
        var height: CGFloat = 0
        var subviews = subviews
        while !subviews.isEmpty {
            guard let row = calculateRow(maxWidth, proposal: proposal, subviews: &subviews) else { break }
            rows.append(row)
            height += row.size.height + spacing
        }
        height -= spacing
        return .init(rows: rows, height: height)
    }
Nothing fancy here, but now that we know how many rows we have, we were able to calculate the height, so let’s implement sizeThatFits for our Layout
 func sizeThatFits(proposal: ProposedViewSize, subviews: Subviews, cache: inout Cache) -> CGSize {
        let maxWidth = proposal.width ?? 0
        cache = caculateRows(maxWidth, proposal: proposal, subviews: subviews)
        return .init(width: maxWidth, height: cache.height)
    }
First, we determine the maximum width available, we then calculate the number of rows needed and determine the height required. Voilà we have calculated the size and are ready to place our subviews and thanks to our cache we know exactly what goes where
func placeSubviews(in bounds: CGRect, proposal: ProposedViewSize, subviews: Subviews, cache: inout Cache) {
        var origin = bounds.origin
        var subviews = subviews
        for row in cache.rows {
            //reset to the row beginning
            origin.x = bounds.minX
            for size in row.viewsSizes {
                guard let view = subviews.popFirst() else { return }
                let width = size.width
                view.place(at: origin, proposal: .init(size))
                origin.x += width + spacing
            }
            //move to the next row
            origin.y += row.size.height + spacing
        }
    }
As we can see LayoutSubview exposes another function to make our life much easier place it takes the subview origin and a proposal size.
But what if we needed to change the alignment for the subviews just like VStack then we calculate the row beginning using the following
private func getRowXOrigin(bounds: CGRect, rowWidth: CGFloat) -> CGFloat {
        switch alignment {
        case .center: return (bounds.minX + bounds.maxX - rowWidth)/2
        case .trailing: return bounds.maxX - rowWidth
        default: return bounds.minX
        }
    }
And change origin.x:
func placeSubviews(in bounds: CGRect, proposal: ProposedViewSize, subviews: Subviews, cache: inout Cache) {
         ...
        //reset to the row beginning
         origin.x = getRowXOrigin(bounds: bounds, rowWidth: row.size.width)
         ...
}
Unfortunately, Layout is only available for iOS 16 and above.
If you were reading this article just to create a flexible view and need to support earlier versions of iOS check this article here, also you can take the chance to see how much hassle Layout helped us save.
I hope you found the article useful. You can find the complete code here. Please feel free to share your feedback with me.
