How to Use Custom Fonts With SwiftUI
Import and display custom fonts in your SwiftUI app

Create a New Project (or Use an Existing One)
Open Xcode and choose “Create a new Xcode Project.” Choose “Single View App.”

Click “Next” and give your product a name. Be sure that your language is set to “Swift” and the user interface is set to “SwiftUI.”

Click “Next.” Choose your project file location and click “Create.” Click “resume” in the preview window to build your project and you should now see a view identical to the screen below.

Add Your Custom Font Files
The next step is to copy your custom font files to your project. SwiftUI supports file formats .otf and .ttf.
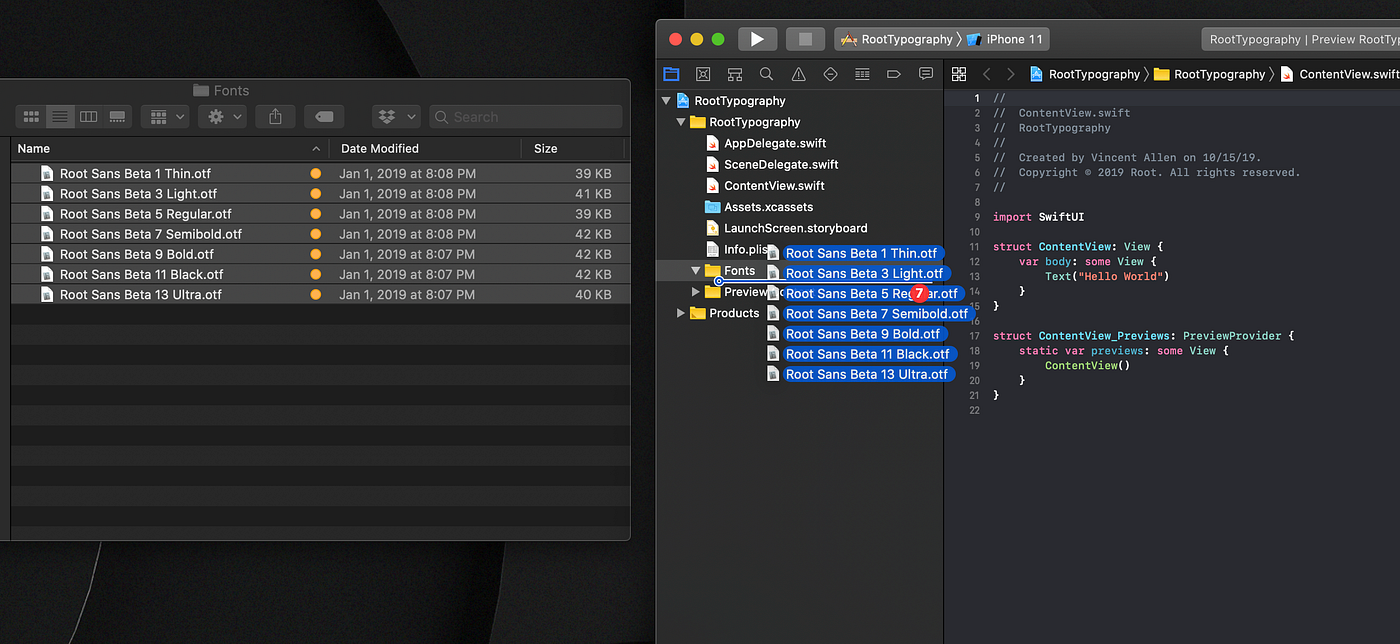
Create a new group in your project directory named Fonts and drag the font files you will be using into that folder.
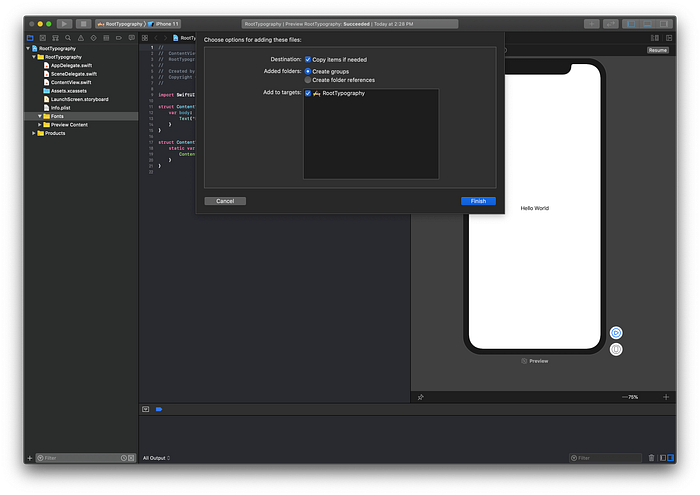
Important
You will then be prompted with a dialog box. Be sure to check your project name under “Add to targets.” This will ensure that your fonts are compiled as assets at build time.
Add Your Fonts to the Info.plist
Your font files have now successfully been added to your project. Now you have to tell your project to look for them. Navigate to the Info.plist.

Click the “+” icon next to “Information property list” and search for “Fonts provided by application.” Hit enter. This creates a new array that will house your font names.
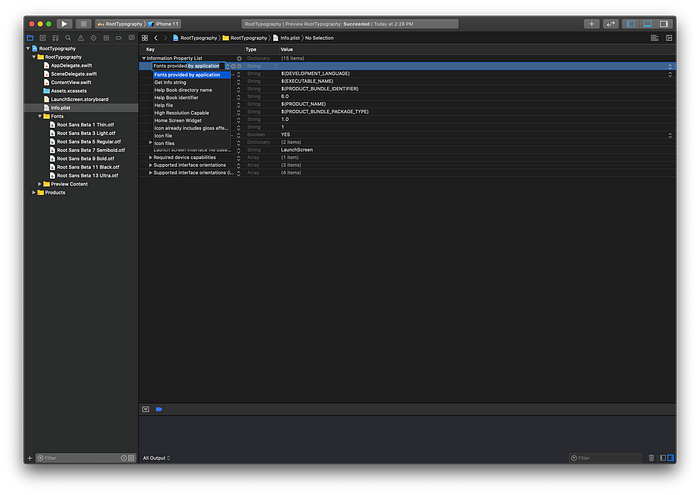
Next, click the “+” icon next to the new array you just created.
Create an item for every font file you wish to support and enter the name in the string field exactly how it appears as the font file name. The string should also include the extension of the font file.

Apply Your Fonts
That’s it! You can now apply your fonts using the custom font text modifier. Enter the name of your font as it appears excluding the extension.
.font(.custom("Your-Font-Name", size: 48))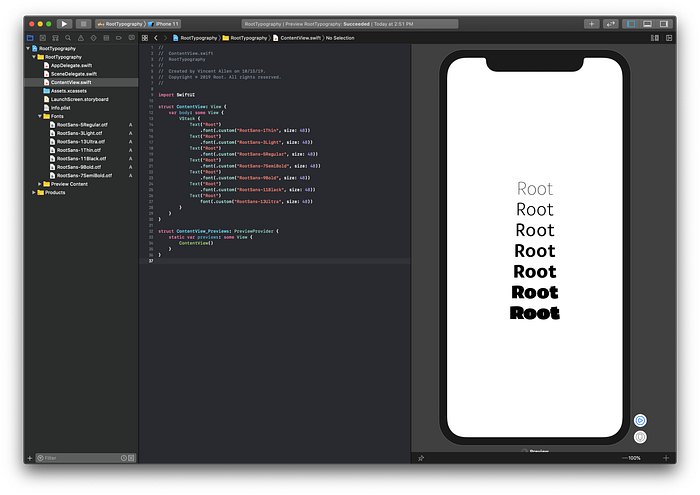
Thanks for reading! Look out for more SwiftUI Basics articles coming soon.

