Setting Up Your Dev Workspace With Atom
4 tips to make working in Atom easier

Ever since I discovered the snippet section of Atom, I’ve been hard at work trying to tweak my workspace whenever I find something I can automate or simplify. This will mostly be catered towards web developers, but I’ll include a short section at the end with tips for other miscellaneous purposes such as LaTeX.
Here are some things that have really helped me. I’ll be breaking up this piece into four main sections: Settings, Themes, Packages, and Shortcuts.
Settings
In general, what I’ve found to be useful to change has been:
- The Font
- The Indention Size
- Scrolling
As someone who’s been trying to learn web development, I find that changing the font and the size of the font to a level with which I’m comfortable has helped me significantly.

I’m currently using the Roboto font family at the font size of 14px. However, I’ll switch this font size to 16 or 18px when I’m looking at more minute details or after coding for some time to make it easier on my eyes.
I got this particular set of fonts from the Atom fonts package. You can download it here!
Given that I’m also working with HTML, CSS and JavaScript on a regular basis, the indention that you use for these languages matters. I particularly like the default options, but I’ve met others who have modified their indention to make things a bit more apparent.
You’ll be able to change the tab-length here such that it works for you.
Lastly, and this tends to be a minor gripe of mine, but I’ve also removed certain files from appearing in my project trees.
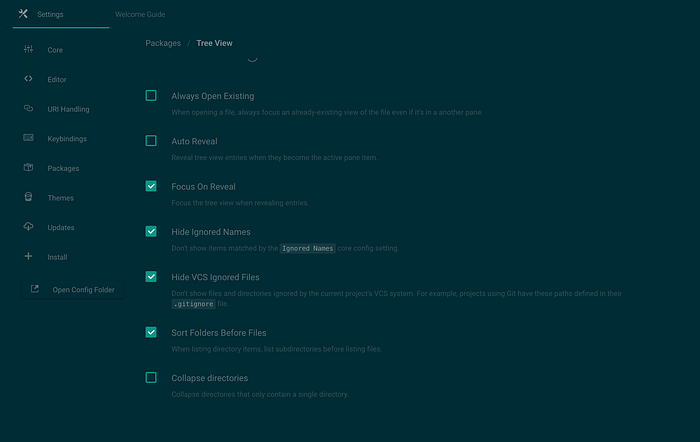
This hides files like .DS_Storein your gitignore, among a list of other ignored names. I find that this helps me to free up some cognitive space and increases my productivity when working with large projects.
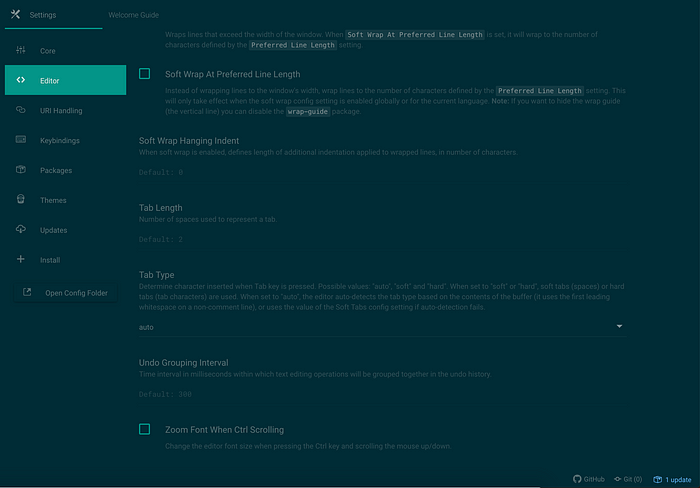
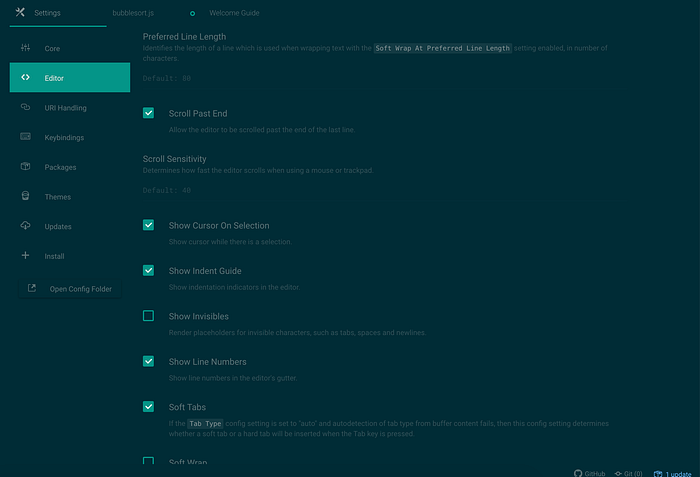
I’ve also enabled the scroll-past-end option. This enables you to do something cool like, well, scrolling past the end of the file.
Previously you could only add a few spaces to the end of your code in order to scroll a bit further down and see the end of your program. However, with this new option, you can simply scroll past without adding those pesky spaces into the program!
Personally, I love scrolling to the end of my files and seeing some space afterward, so this has really helped fix my obsession with extra space.
You can change it in the settings under the editor tab.
Themes
I haven’t really played around much with themes except for the default, the material UI theme, and Pen Paper Coffee.
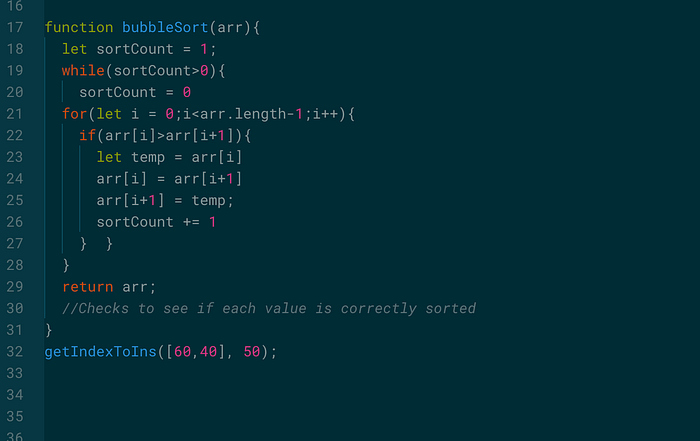
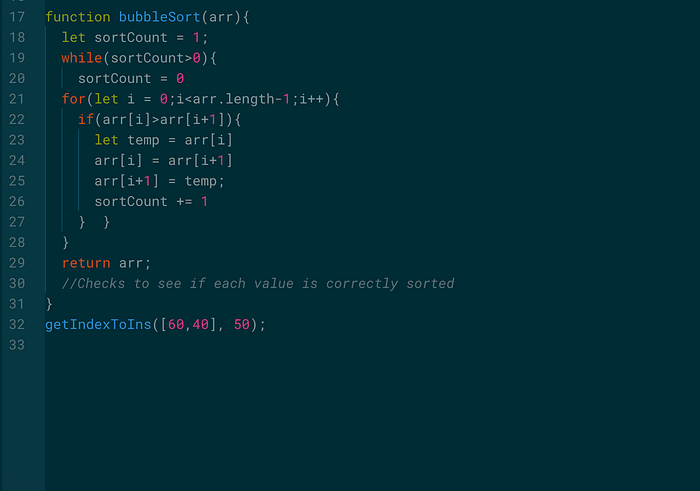
Currently I’m using the Atom Material UI Theme for my UI theme and the Solarized Dark Option that comes bundled with Atom. It looks something like this for JavaScript files with keywords and special characters highlighted.

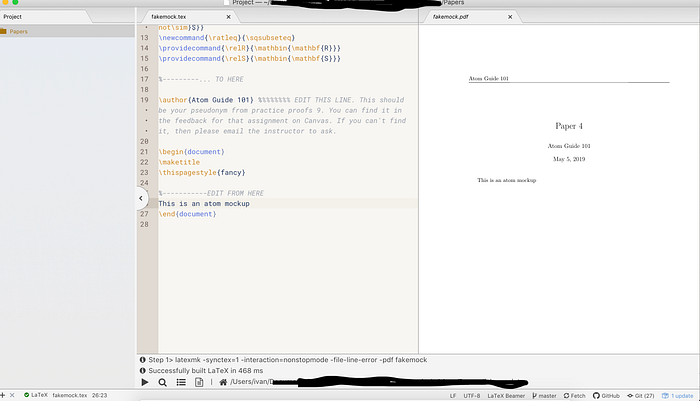
However, when I’m typing out my LaTeX, I tend to use the UI theme Atom Light and Pen Paper Coffee for easy reading of my LaTeX. I’ve also installed some packages (see Packages) that have made it easy for me to write LaTeX well.
Packages
For Web Development, I am currently using the following:
Pigments
I find Pigments super useful for deciding on CSS colours and working with CSS variables. It’s an insanely powerful plugin.
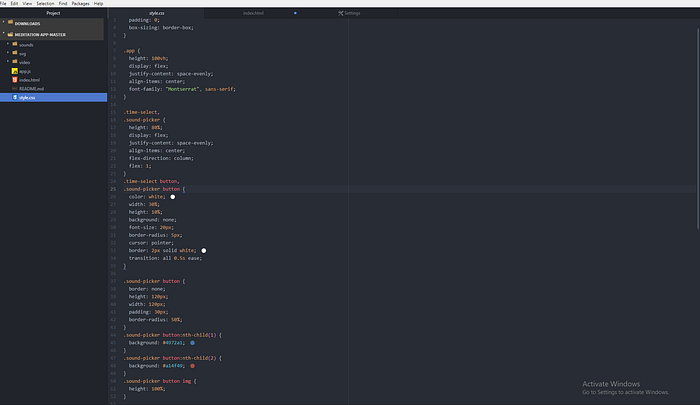
I haven’t been able to use pigments to its full potential because it’s mainly more useful for .less files. But Pigments is able to retrieve CSS variables and LESS pre-processor variables, which makes things easier when dealing with large, repetitive chunks of code.
I’m currently using the native-dot setting in Pigments, which helps me see the color I’ve chosen in my CSS code as a dot, but there are a whole bunch of other options you can play with.
Platformio-IDE-Terminal
Platformio-IDE-Terminal is useful because it immediately opens up a terminal in the file directory that your file is running within. It also allows you to open multiple terminals, all within the comfort of your Atom workstation.

I’m currently using Oh-My-ZSH for my terminal. Therefore, my terminal will look slightly different than yours. If you’re interested in checking out Oh-My-ZSH, you can do so here.
Drag-Relative-Path
Drag Relative Path is super useful when it comes to linking your .css and .js files in your html file. Instead of having to key in the lengthy linkage files, just click the file you want to link, drop it into your file, and voila!
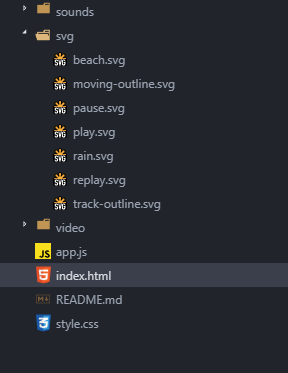
File-Icons
File-Icons is something I recommend highly. It helps me see at a glance what sort of files I have in my directory using visual icons and works in the background to help declutter my workspace.
Snippets
This is a section of Atom that I’ve recently discovered is so useful, once you get your head around how to configure it.
These allows you to save snippets of text that can be auto completed to form chunks of code that you regularly use.
Let’s break down what this snippet code means.
'.text.html'This is the main way you group your snippets together according to the file type. It makes sense, given that the code snippets you would want to use for HTML pages will be different from those for JavaScript ones.
If you want to add a custom snippet type that isn’t supported by atom, it’s pretty simple! There is a text file in your %USERPROFILE%\.atom directory called snippets.cson that contains all your custom snippets that are loaded when you launch Atom. You can also easily open up that file by selecting the File > Snippets menu.
'prefix': 'clasbut'The prefix represents the text that you’ll be entering in to access your code snippet. You can name it anything you want, but make it easy to type and distinct enough so it doesn’t get confused with a whole range of other snippets that you’ll be creating.
'body':
"""
<button class="$1">$2</button>
"""
The body is the text that will be auto-completed in place of the original prefix in your file. You could potentially add in large, multi-line chunks of code. If so, it’s advisable to use the triple-double quotation marks so that Atom imports it in as a whole chunk.
Each $ followed by a number is a tab stop. Tab stops are cycled through by pressing Tab once a snippet has been triggered.
For instance, I’ve just created a clasbut snippet so that I can save time while creating buttons with classes. As soon as I enter the first half of that snippet prefix…
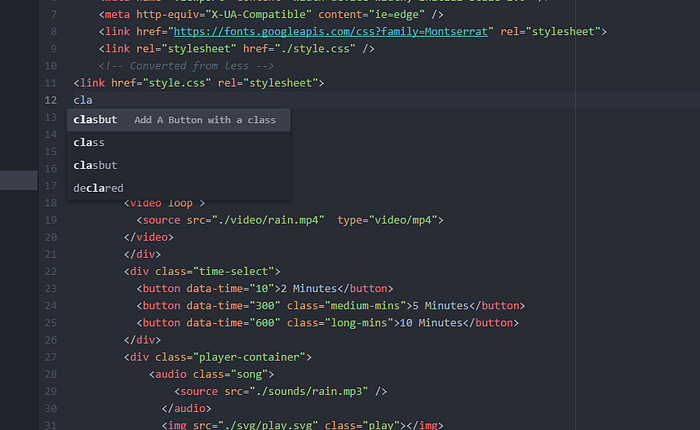
and hit enter…
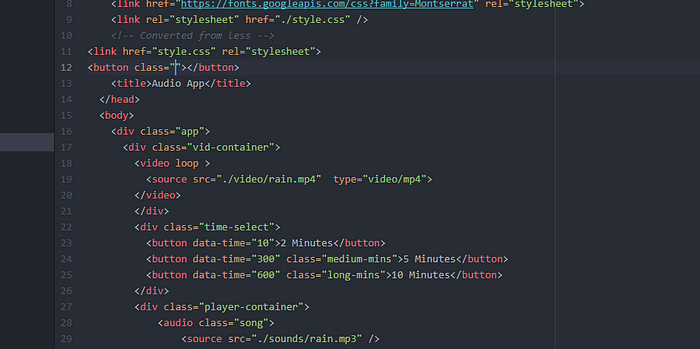
the code snippet appears!
I hope this piece helped you learn about some of the tips and tricks that you can use for Atom. Feel free to leave any of your tips and tricks in the comments below!