Detect and Handle Collision Events in a RealityKit Scene Across Different Entities
RealityKit on iOS, part 2 — applying collision events

This is the second part of my series of articles covering the ins and outs of RealityKit, which started here.
Quick Recap
If you didn’t get a chance to give the part 1 a look, we explored the basics of the RealityKit framework — the anatomy of the RealityKit’s ARView , entities, components, materials, setting up a coaching overlay, ray casting and adding some 3D gestures to our augmented reality-based iOS Application.
The application we ended up with had the ability to add multiple entities to the AR scene, but it was devoid of any event handling. Things like overlapping entities and moving entities across one another didn’t have any event handlers to show that the collision took place.
Our Goal
The purpose of this article is to dig deep into collision events. We’ll be setting up the respective components on our entities and see a few different use cases of collision detection through an iOS application that we’ll be building during the course of this article.
Here the three primary components used to give our Entities in RealityKit a real object-like behavior and feel:
We’ll dive deeper into the Physics aspects in another part. For now, let's collide with collisions in RealityKit!
RealityKit Collisions
To allow entities to detect collision events, we need to add a CollisionComponent to the entity first. Subsequently, we’ll listen to the CollisionEvents in our AR scene and handle the different states of collision — begin, in contact, and end.
To begin our journey, fire up Xcode and create a new augmented reality-based iOS application and select RealityKit as the rendering engine with SwiftUI as the user interface type.
Next, let’s set up our custom entity box with a ModelComponent (for aesthetics) and a CollisionComponent, which gives our entity the ability to collide with other entities that have a CollisionComponent.
import SwiftUI
import RealityKit
import Combineclass CustomEntity: Entity, HasModel, HasAnchoring, HasCollision {

    var collisionSubs: [Cancellable] = []

    required init(color: UIColor) {
        super.init()

        self.components[CollisionComponent] = CollisionComponent(
            shapes: [.generateBox(size: [0.5,0.5,0.5])],
            mode: .trigger,
          filter: .sensor
        )

        self.components[ModelComponent] = ModelComponent(
            mesh: .generateBox(size: [0.5,0.5,0.5]),
            materials: [SimpleMaterial(
                color: color,
                isMetallic: false)
            ]
        )
    }

    convenience init(color: UIColor, position: SIMD3<Float>) {
        self.init(color: color)
        self.position = position
    }

    required init() {
        fatalError("init() has not been implemented")
    }
}
In the above code, we’re doing quite a few things. Let's take a closer look:
- Conforming to the
HasCollisionprotocol is vital for enabling collision detection within the entity. collisionSubsis an array that holds the collision subscriptions for the entities, which we shall see shortly.- Just like the
ModelComponents, theCollisionComponentrequires a shape too, which can be different from the shape of the visible entity. Typically, a larger size for theCollisionComponentis set when you want collision detection for entities that come into the vicinity of our current entity. - The
CollisionModeis used to indicate how the collision data is collected for the entity —triggeranddefaultare the two built-in modes currently available. - The
CollisionFilteracts as a screener for determining the entities with which a collision needs to be detected. It consists of three types —default,sensor(this collides with all types of entities), and a custom one. We can create customCollisionFilters by setting up aCollisionGroup— a bitmask included in the entity.
Now that we’ve set up our CustomEntity class with a CollisionComponent in place, let's listen to the CollisionEvents and handle the states of the entity accordingly.
Simple Collision Events
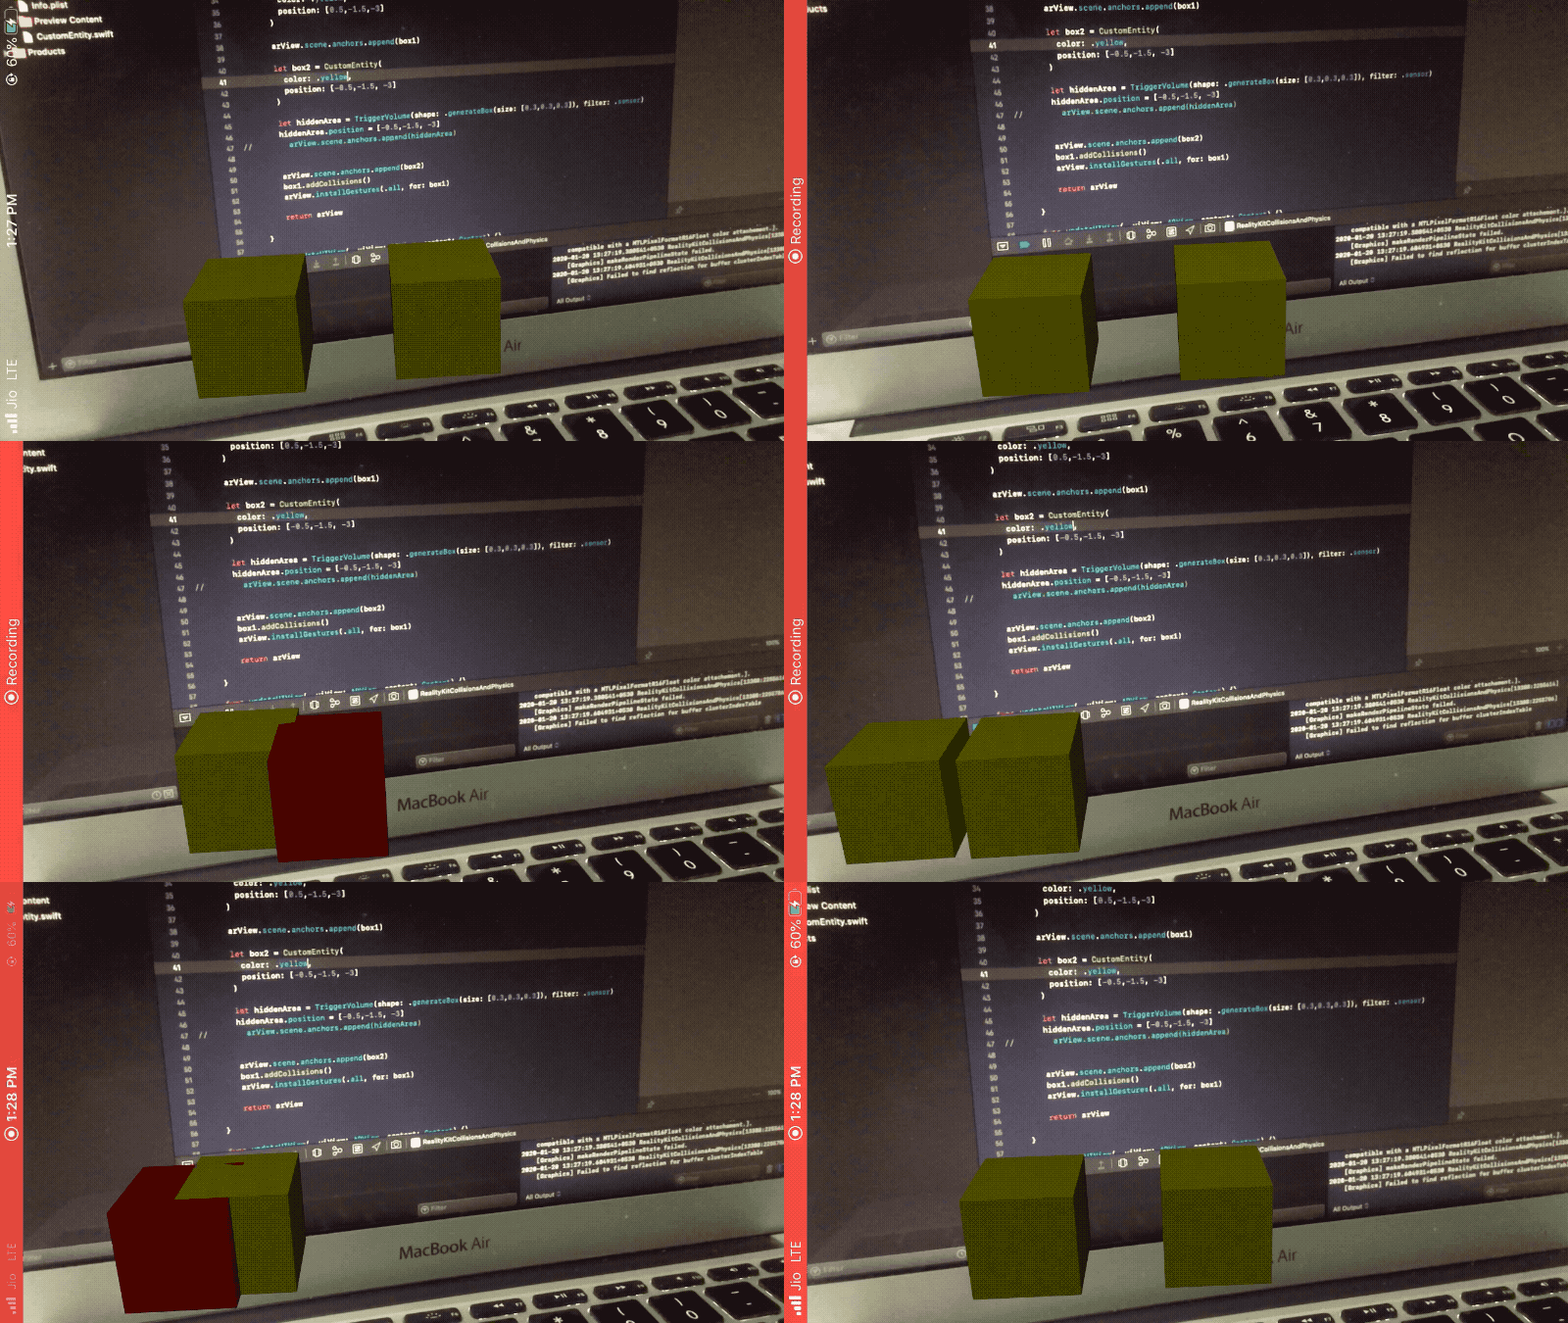
In the following code, we’re explicitly looking for entities of the type CustomEntity in the Began and Ended events that we’ve subscribed to. Once the collision starts, we change the color of one of the entities using the SimpleMaterial — resetting it after the collision has ended.
Now that we’ve set up the collision events on the entities, let’s add a couple of entity boxes in our RealityKit scene and witness the collision:

Note: To prevent the overlapping of two entities during a collision, we’ll need to use the
PhysicsBodyComponent.
Collision with TriggerVolumes (Hidden Spaces)
TriggerVolumes are invisible 3D shapes that get triggered when an entity enters or exit that volume. The fact that TriggerVolumes are invisible entities could be leveraged in a “treasure hunt” kind of AR game (i.e. unlocking mysteries).
TriggerVolumes extend an entity and conform to the HasCollision protocol by default. In order to add a TriggerVolume to your RealityKit scene, you need to conform to the HasAnchoring protocol. You also need to put it into the scene in the following way, to ensure that the addCollision function we saw earlier allows the type TriggerVolume while detecting CollisionEvents:
extension TriggerVolume : HasAnchoring{}let hiddenArea = TriggerVolume(shape: .generateBox(size: [0.3,0.3,0.3]), filter: .sensor)hiddenArea.position = [-0.5,-1.5, -3]arView.scene.anchors.append(hiddenArea)

Collision Filters and Groups
Oftentimes, there’s a need to set up collision events only among a certain group of entities. Collision events won’t be triggered for entities with different CollisionFilters (a CollisionFilter is is made up of a CollisionGroup and Mask). A scenario where a CollisionFilter is handy would be an AR billiards game (i.e. knowing if stripes or solids had a collision).
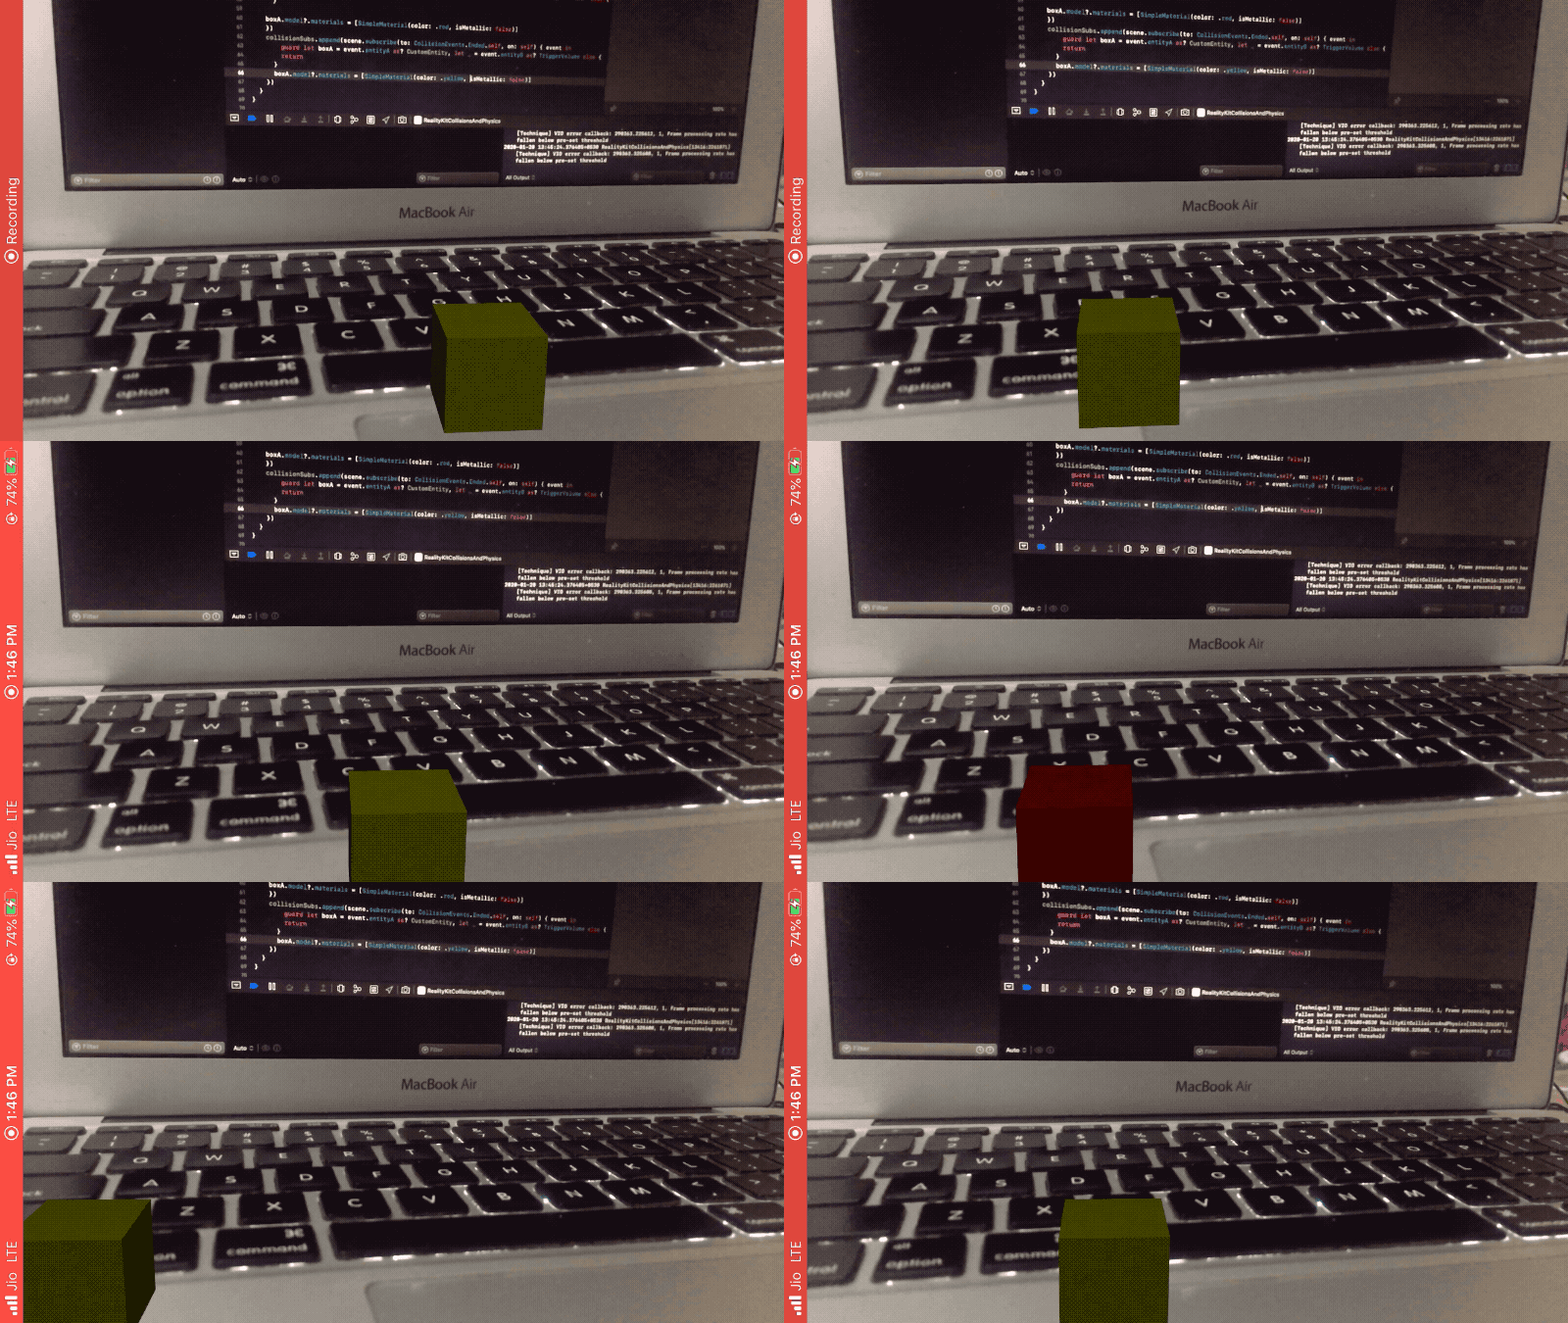
In the following code, we’ve created a new sphere-shaped entity with a custom CollisionFilter!
On the other hand, we’ve changed the CollisionComponent’s filter property of the previously-created box entity to:
filter: CollisionFilter(group: CollisionGroup(rawValue: 1), mask: CollisionGroup(rawValue: 1)Now let’s add ray casting to our RealityKit scene along with ARCoachingOverlay to detect a horizontal plane. We’ll be adding both the box and sphere entities alternately to the scene in the 3D space using the 2D points. We’ll base this on the user’s gestures and a global property defined in the GlobalVariables structure:
Notice the change: The
sceneproperty is now passed in theaddCollisionfunction.
The reason for this change is that the entities aren’t directly added to the scene’s root anchor anymore. The entities are added to the ray cast anchor, which eventually is set in the scene. So in order to allow the entities to access the scene using self.scene, we’re passing the property in the addCollision extension function of the CustomEntity we defined earlier.
The code for the SwiftUI ContentView that holds the RealityKit’s ARView is given below:
struct ContentView : View {
    var body: some View {
        return ARViewContainer().edgesIgnoringSafeArea(.all)
    }
}struct ARViewContainer: UIViewRepresentable {

    func makeUIView(context: Context) -> ARView {

        let arView = ARView(frame: .zero)

        let config = ARWorldTrackingConfiguration()
        config.planeDetection = .horizontal
        arView.session.run(config, options: [])

        arView.addCoaching()
        arView.setupGestures()
        return arView

    }

    func updateUIView(_ uiView: ARView, context: Context) {}
}
The addCoaching function is used to set up the coaching overlay during onboarding to detect the plane (this was discussed in the last part, with the implementation available in the source code).
Let’s look at our RealityKit iOS application in action with the above-integrated CollisionFilters and groups. You’ll notice that the collision events between the box and sphere shapes aren’t subscribed to in the video below:
Conclusion
Handling collisions is one of the most common features in any augmented reality application. We saw how the CollisionComponents play an essential role alongside ModelComponents in making our entities behave like real objects. A CollisionComponent lets us control the collision shape of the entity.
Furthermore, we explored TriggerVolume — a subclass of entity typically used to determine if an entity has entered that space. Finally, we saw how to manage selective collisions with certain entities on the scene by using collision groups and filters.
Just as we’ve expanded on part 1 and incorporated the things we’d discussed there (ray casting and coaching overlay specifically) in this piece, we’ll do the same in future parts of this series. Specifically, we’ll use the various use cases of collisions to add more functionality to our AR application.
You can find the full source code for the RealityKit iOS application we’ve built above in the following GitHub Repository.
That’s it for this one. Thanks for reading and do stay tuned for the next part.

