Measuring Your Heart Rate Using Your Phone’s Camera and Flutter
Build a mobile heart-rate monitor that works without the need to wear any devices

In this article, I’ll explain how you can develop a simple app with Flutter that measures heart rate variability and displays it in a chart using only the phone’s camera and flash.
Concept
You’ve probably seen or know of devices that people clip to their fingers in hospitals that measure their heart rate, or smartwatches capable of measuring your heart rate. They all have one thing in common: They measure the heart rate with a technique called photoplethysmography.
A photoplethysmogram (PPG) is an optically obtained plethysmogram that can be used to detect blood volume changes in the microvascular bed of tissue. — Wikipedia
Shining a light into a blood irrigated tissue, we can measure the variability of reflected light and extract the variation of blood flow. As we all know, the blood flow is dependent on the heart rate, so we can calculate the heart rate using the blood flow variation.

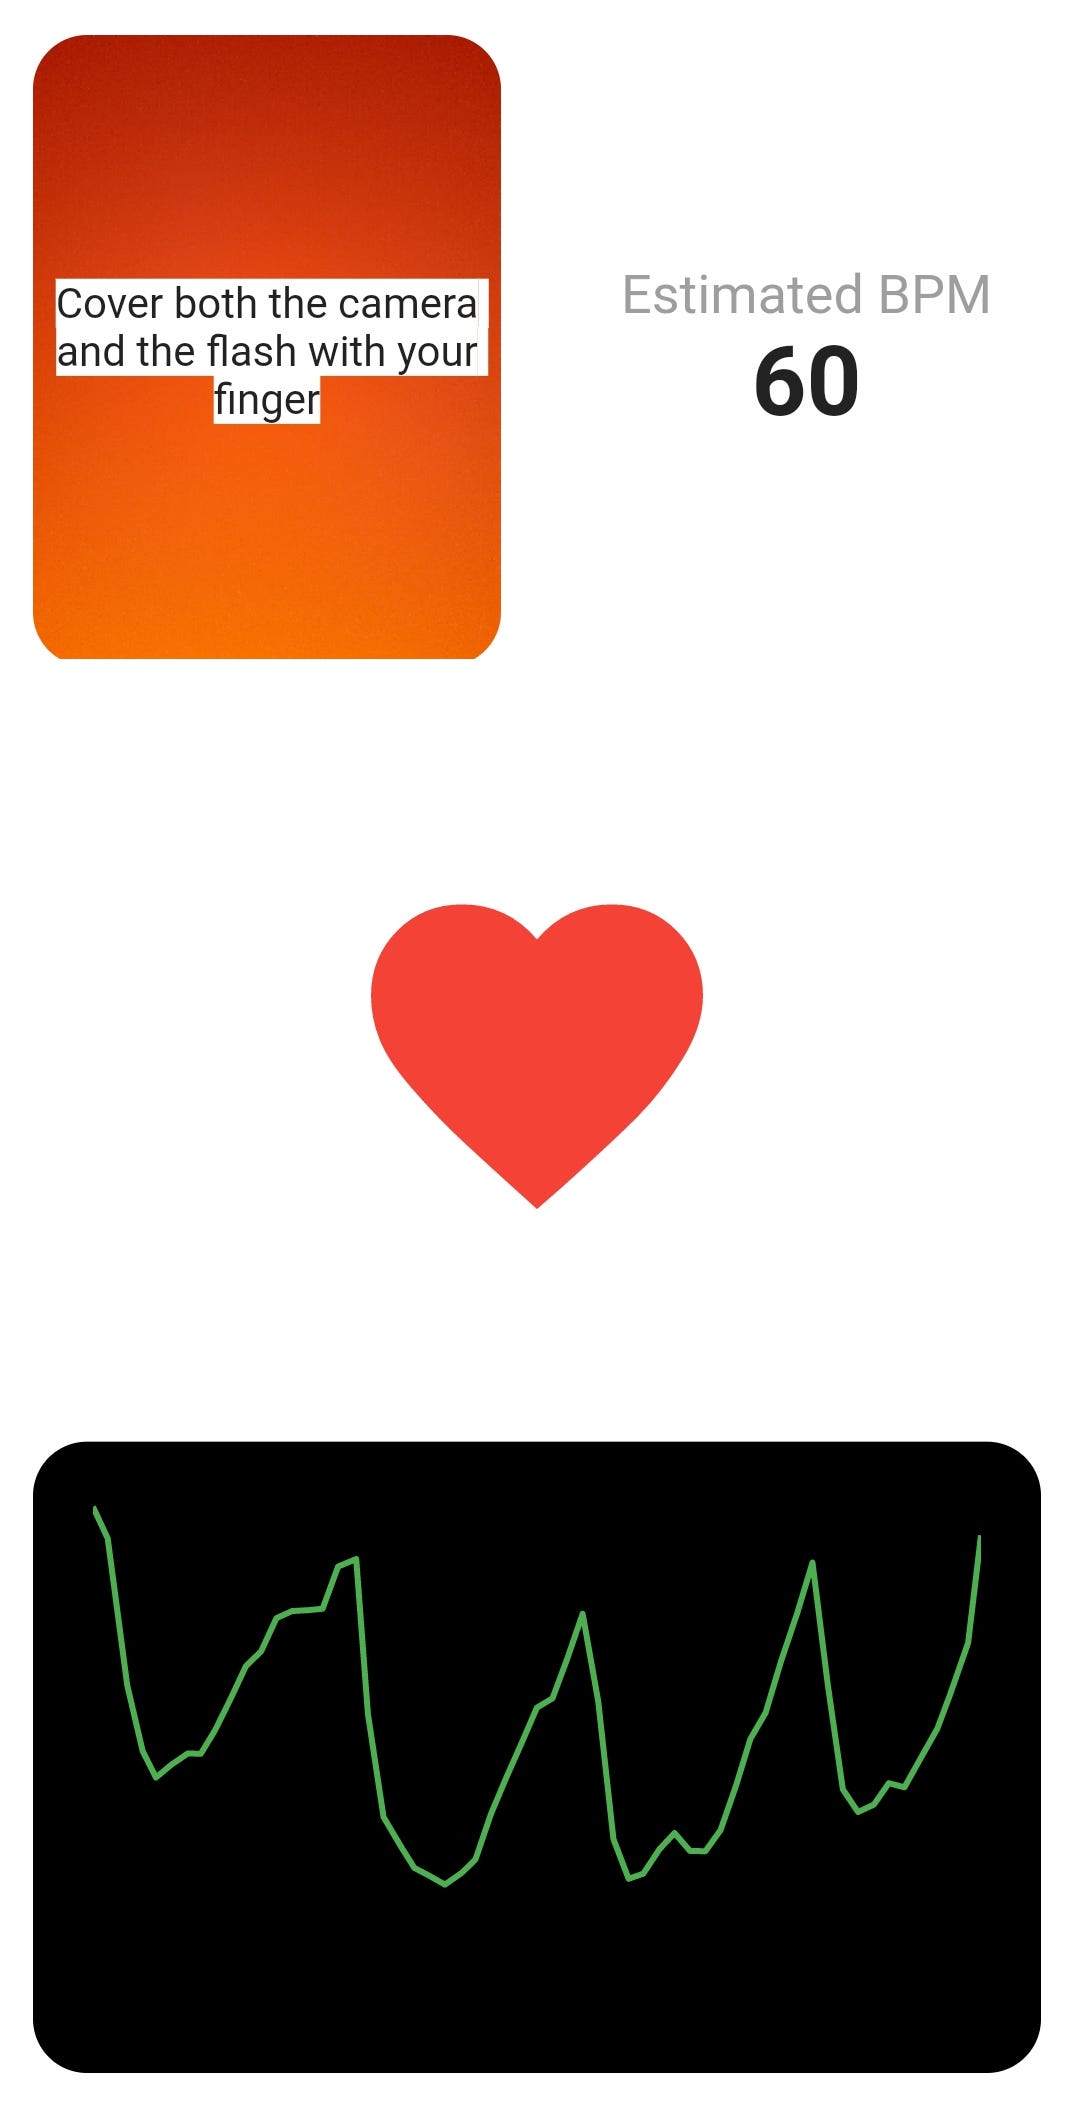
So, in our application, we’ll shine the camera’s flash and measure the intensity reflected using the phone’s camera. More specifically, we’ll measure the average value of all the pixel’s intensity of the camera image. Then, if we cover the camera and flash with our finger, the intensity measured will vary with the blood flow.
Code
Dependencies
First, we need to install the dependencies:
- charts_flutter — Material Design data visualization library written natively in Dart.
- wakelock — This Flutter plugin allows you to enable and toggle the screen wakelock on Android and iOS, which prevents the screen from turning off automatically.
- camera — A Flutter plugin for iOS and Android allowing access to the device cameras.
A note about the camera’s package. Since this package does not allow for the control of the camera’s flash, we need to use a version of this package currently under development that allows the control of the flash. We must specify this in the pubspec.yaml file.
Application
Our application’s interface is divided into three files: main.dart, homePage.dart, and chart.dart.
main.dart — Here we only need to set the HomePage widget as our home widget, so it displays when the application runs:
HomePage— The core of the application is written on the homePage.dart file, which is our HomePage widget.
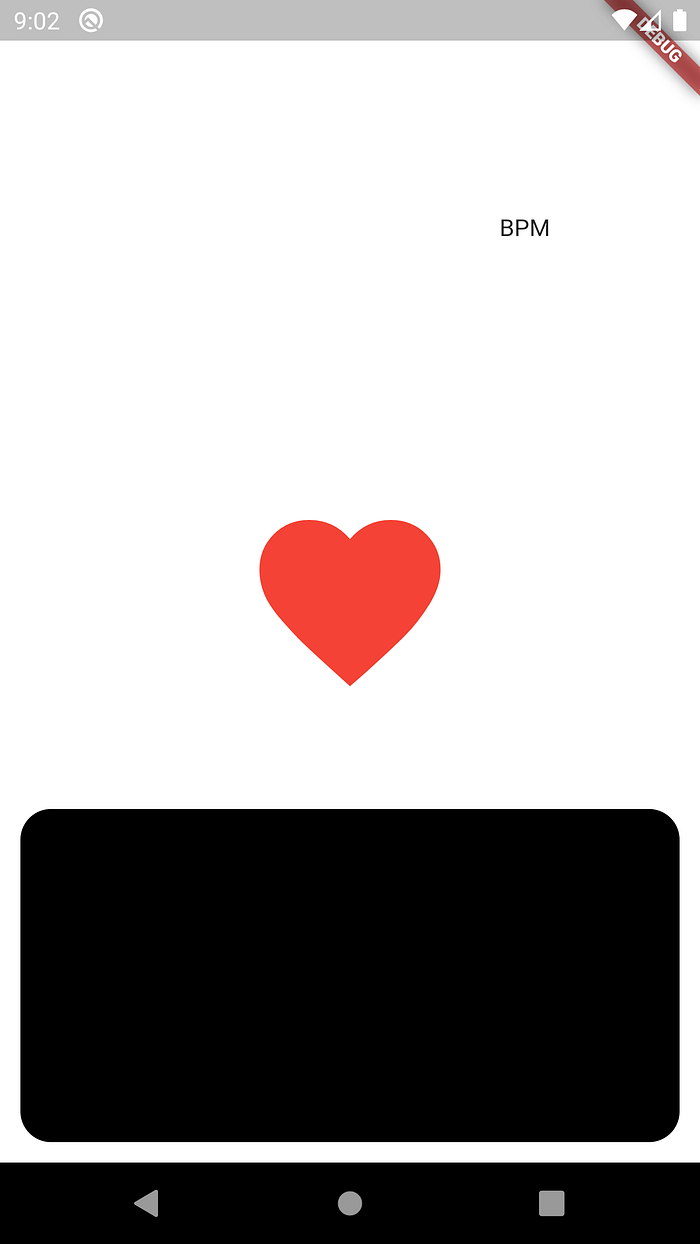
First, we need to create a Scaffold and, in its body, insert a centered IconButton, that will activate or deactivate the camera for the reading process.
As one can see, there is a boolean _toggled which stores the state of the iconButton. Now, we only need to define the functions _toggle and _untoggle.
For now, these functions will only change the value of the _toggle variable:


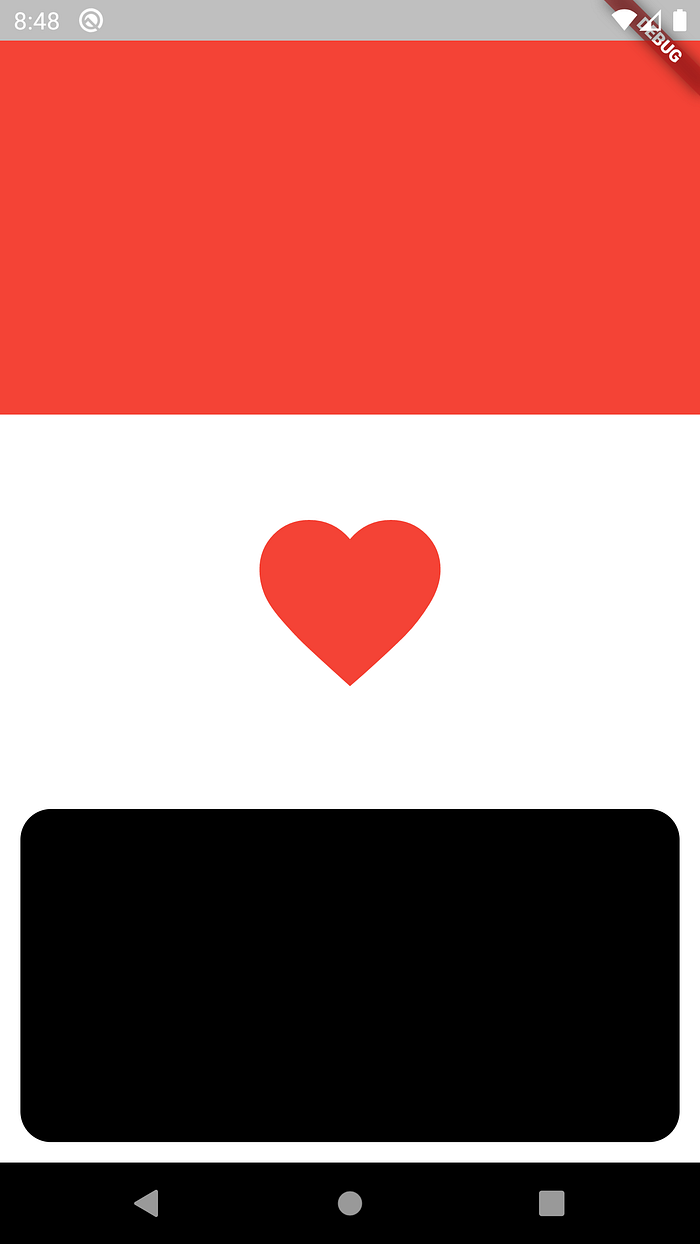
The next step, is dividing the screen into three equal parts, using three Expanded widgets inside a Column:

On the bottom Container we display the real-time chart, where the camera’s data will be displayed. A margin and round corners were also added to this Container.
For the chart widget, we will use the package charts_flutter. The file chart.dart contains a stateless widget that displays in a chart points provided in a list. Each point is constituted by a DateTime value, which indicates the x value, and a double value that represents the y value.
Regarding the upper Container, we wish to divide it into two halves. On the left one, will display the CameraPreview and, on the right half a Text containing the Beats Per Minute (BPM).
The CameraPreview widget requires a valid CameraController. So we need to initialize the controller once we press the heart button and it’s toggled. Once the button is untoggled, we must also dispose of the controller:
Now, we only need to integrate these functions in the functions that toggle the button.
We should also override the dispose method and dispose of the CameraController once the application is disposed.
We must not forget to activate the camera’s flash and then start the ImageStream, which will provide the images that we will process. The function _scanImage will take care of it.
The function _scanImage calculates the average of the camera image’s red channel and adds the value to the data list, which is displayed on the chart explained above. Notice that we limit the number of points of the data list to 50 values.
We do not need to process every frame, therefore, we can select a sampling rate. In this example, a sampling rate of 30 samples/seconds is used. For that purpose, we have a boolean, _processing, which becomes true once the _scanImage function is called and stays that way for 1/30 seconds, then returns to false. The _scanImage function will only be executed if the boolean _processing is false.
For good practice, we should also set the _processing value to false every time we change the heart button’s toggled state.
We now have an application that measures the blood flow volume variability and displays it in a chart. Now we only need to calculate the heart rate, which is the frequency of the plotted signal. I used a simple algorithm that measures the average and the max along our window data, sets the threshold to the mean of those values, and detects the peaks above that threshold. It then updates the BPM value with an attenuation coefficient so we don’t have abrupt changes.
The last thing we need to do is avoid the screen from turning off while the :
At last, we have an application that measures the blood volume variability and estimates the BPM.
The full code:
On my GitHub repository, you’ll notice that I added more customization and an animation the heart-shaped button that simulates a beating heart. I didn’t include it in this tutorial since its not necessary.
Here’s the working application:
The GitHub repository for this project can be found here:

