Loading 3D Models Using PyWeb3D
Exploring three.js with python syntax
In today’s article, we will discuss how to load a 3D model into your scene using PyWeb3D. If you missed the previous article on how to Create 3D text, do check it out.
3D models are available in hundreds of file formats, each with different purposes, assorted features, and varying complexity. Although three.js provides many loaders, choosing the right format and workflow will save time and frustration later on. Some formats are difficult to work with, inefficient for real-time experiences, or simply not fully supported at this time.
We will be making use of the glTF format (three.js recommended format).
Note: Both .GLB and .GLTF versions of the format are well supported.
To load a model into our scene we will make use of three.js GLTFLoader.
The modified version for PyWeb3D can be viewed here.
HTML boilerplate
All the code below will go into the inline <script type=”text/python”> tag in the body of our HTML file
Importing Necessary Modules and Functions
Initialize the addons
In the above code snippet, we Initialized the GLTFLoader, OrbitControls and RGBELoader addons, directly from the javascript file into our python code.
Creating a Scene and Loading the Model
Let’s go over the contents of the above code snippet line by line.
- From lines
2 — 5, we declared empty variables to hold our camera, renderer, scene, and car - from lines
7 — 75, we defined a function calledinit(), Inside the function we created a scene, camera, Grid, and Lights, and loaded the Model.
Let’s dive in a little bit:
- From lines
8 — 11, we made variables from lines2–5, modifiable. if you’re new to python, the global keyword is needed to modify the global copy of the variables we declared from lines2 — 5. - From lines
14 — 18, we created a scene, added a background color to the scene, and added a texture and a fog. - From lines
20 — 24, we created a grid and added it to the scene - From lines
26 — 35, we created a Perspective camera and gave it a Field of view, Aspect ratio, and a Near and Far clipping plane. if you don’t know what those are, read the documentation on Creating a Scene. - From lines
38 — 39, we created an Ambient Light and added it to the scene. - From lines
41 — 43, we created a Direct Light and added it to the scene. - From lines
45 — 46, we created a Hemisphere Light and added it to the scene. - From lines
49 -52, we created a webGL Renderer and appended it to the body of our HTML file - On line
54, we created the Orbitcontrols. TheOrbitControltakes a target as an argument(in this case the camera and therenderer.domElementor canvas). - On line
57, we instantiated the GLTFLoader. - From lines
59 — 70, we defined a call-back function calledloadGLTF(), to handle the gLTF model settings. - From lines
72 — 73, we defined a call-back function callonError(), to handle error messages and also help us troubleshoot in case our model fails to load. - Lastly, on line
75, we loaded the model and passed the call-back functions as an argument to theloadmethod.
Handle Window Resize and Animation
In the above snippet, from lines 1 — 8, we handled window resizing, and from lines 10 — 12, we handle the Animation Loop, and lastly, on line 14, we call the init() function we defined on lines 7 — 75 of the previous code snippet.
Now Run the Code
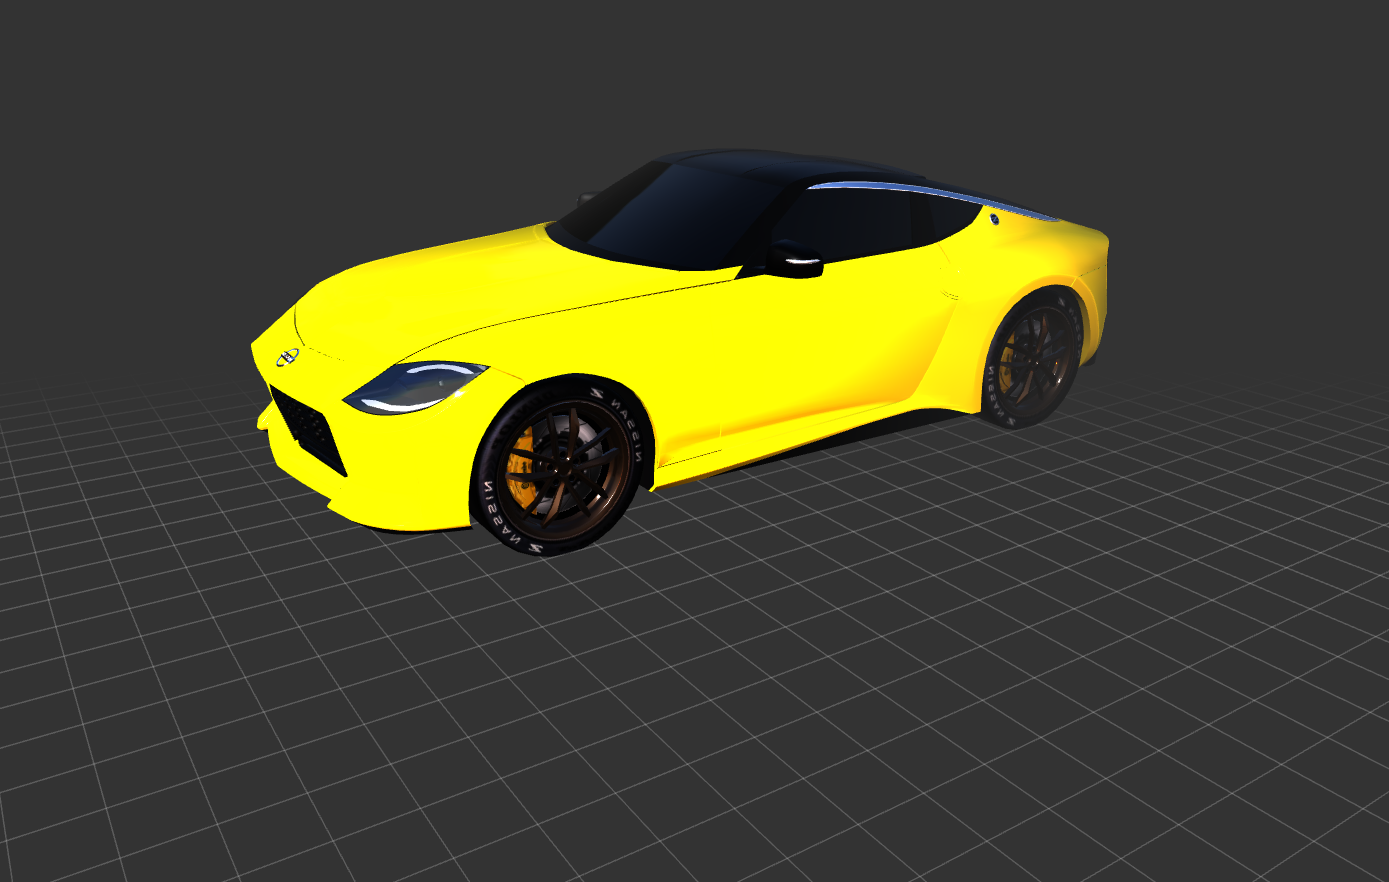
Open the HTML file in your browser, you should see a beautiful Nissan Z Proto Model :)
See a live version here.

I hope you enjoyed this article. Thanks for reading.
Want to contribute?
Would you like to contribute to PyWeb3D? Join me, and let’s create something awesome together. Join me here.
Source Code:
Credits and References