Implement a GraphQL Server With Ent and Gqlgen in Go
Integrate statically typed APIs with GraphQL

This post will walk you through how to implement GraphQL server using ent, and gqlgen.
Example Repo
Here is the reference for the final codebase:
Dependencies
Required dependencies are as follows:
- Go v1.17.2
- Echo
- ent/ent
- 99designs/gqlgen
What is Ent?
ent is an ORM framework for Go, that makes it easy to maintain applications with database and allows us to:
- Run queries and traverse any graph structure easily
- Use 100% statically typed API through code generation
- Use multiple storage drivers — MySQL, PostgreSQL, SQLite, and Gremlin
- Use GraphQL with
gqlgen
In terms of statically typed APIs, sqlboiler has similar functionality, but the difference is that the ent is a scheme-first tool that creates a database and typed API from a schema file. The sqlboilder is a database-first ORM that creates a typed API from a database.
Implementation Overview
The steps of the implementation are as follows:
- Install dependencies
- Set up an echo server
- Set up ent
- Set up
gqlgen
Install Dependencies
Some dependencies are required to grab in this post, so install them first:
go get github.com/labstack/echo/v4
go get github.com/labstack/echo/v4/middleware@v4.6.1
go get github.com/go-sql-driver/mysql
go install entgo.io/ent/cmd/ent
Set up an echo server
To quickly start off, we will set up a server using the echo package.
Create main.go and write the code:
And you can see the page at http://localhost:8080:

Set up ent
Next, we will set up ent .
Create a user schema
In this post, we will create a users table in our database.
Before that, we need to create a schema file called User :
ent init UserThe generated files should look like:
ent
├── generate.go
└── schema
    └── user.go
The user.go has a schema that includes Fields and Edges:
Fields— The attributes of the node. This is equivalent to a column in a database, likename,age, andcreated_at.Edges—The relations of entities. It allows you to define the relationship of each table, likeO2O(one-to-one),O2M(one-to-many), andM2M(many-to-many)
So, we will set name , age , and created_at to Fields as follows:
After adding the fields, generate the assets based on the above schema so that they will work in your project.
Run go generate in the root project:
go generate ./entThis will generate the files as follows:
ent
├── client.go
├── config.go
├── context.go
├── ent.go
├── enttest
│   └── enttest.go
├── generate.go
├── hook
│   └── hook.go
├── migrate
│   ├── migrate.go
│   └── schema.go
├── mutation.go
├── predicate
│   └── predicate.go
├── runtime
│   └── runtime.go
├── runtime.go
├── schema
│   └── user.go
├── tx.go
├── user
│   ├── user.go
│   └── where.go
├── user.go
├── user_create.go
├── user_delete.go
├── user_query.go
└── user_update.go
This asset includes:
- Code that operates CRUD in the table (
user_create.go,user_delete.go,user_query.go, anduser_update.go) - A migrate package for SQL
- Entity object
- A hook package for adding mutation middlewares.
- and so on
So basically, with this asset, you can safely manipulate tables with entities that have static types.
Database Migration
ent also provides database migration support for keeping the schema consistent in your project.
To run the migration, write the code in the initialization of the application.
Write the migration logic in main.go :
After finishing the initialization, you can see that the users table has been created successfully.
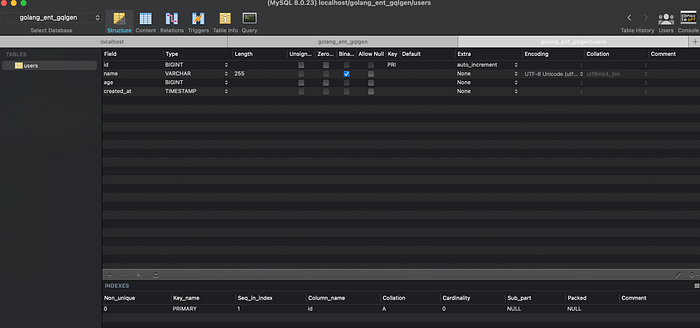
By default, field.Time use the TIMESTAMP type in MySQL, which has a range of 1970–01–01 00:00:01 UTC to 2038–01–19 03:14:07 UTC.
If TIMESTAMP does not work for your application, you can change to DATETIME type like so:
Create a user
Now that we’re ready to create a user in our table.
As mentioned above, we’ve already had the methods that have CRUD API for the table.
Let’s call Create in the ent/user_create.go:
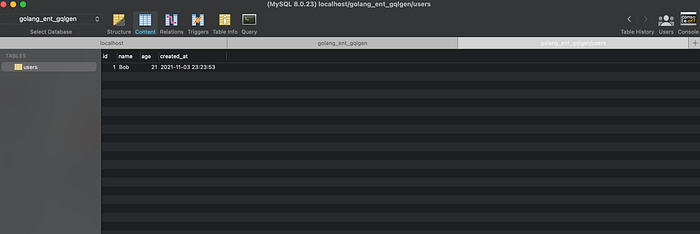
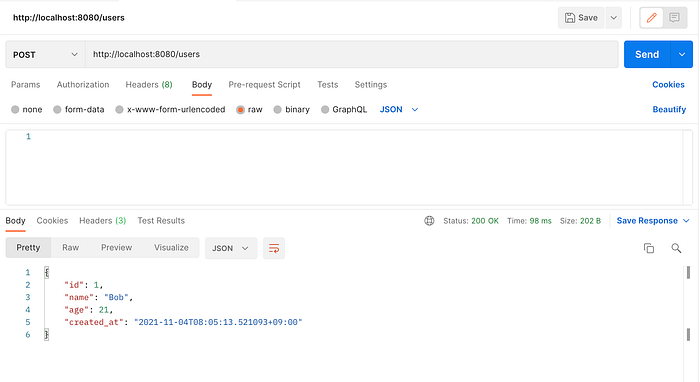
When you send a POST request to http://localhost:8080/users , this will create a user in the users table and respond a user data afterward:
Query a user
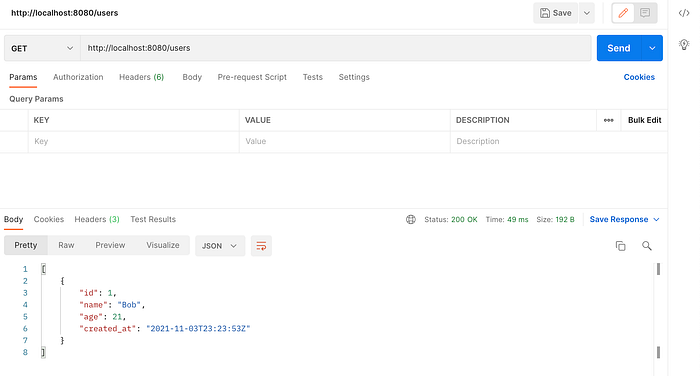
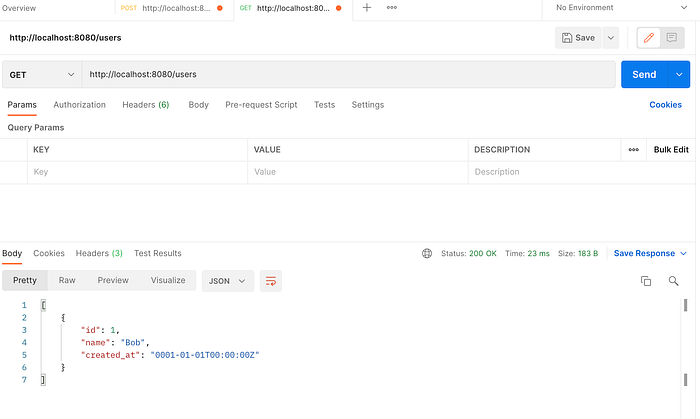
In order to get user data from the ent package, you can use Query() like so:
This will respond to all users from the table:
You can select partial objects using Select function as follows:
age field is excluded in the response like so:
You can also use Where like this:
Only function returns a single user entity and when no user entities are found, returns a NotFoundError.
When the SQL returns multiple users:
us, err := client.User.
   Query().
   Where(user.AgeEQ(21)).
   Only(c.Request().Context())
ent will warn that the record is not a single.
user not singularCreate Edge
Next, we will create another entity and declare an edge to that in the schema.
First, let’s create an entity named Article.
ent init ArtcileAnd it will generate article.go under the schema folder.
ent
├── schema
│   ├── article.go
│   └── user.go
Then, we will add some fields like so:
Let’s suppose the User can have multiple articles, and an article has only one user so the relation is an one-to-many.
So, let us create an edge from User to Artcie.
First, add the articles edge to the User schema in ent/schema/user.go:
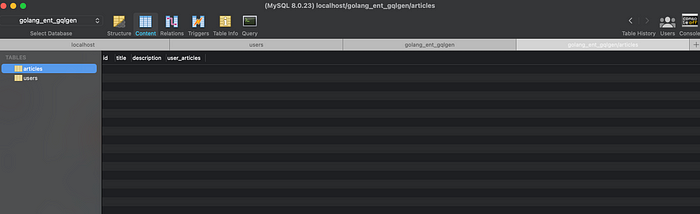
And run it:
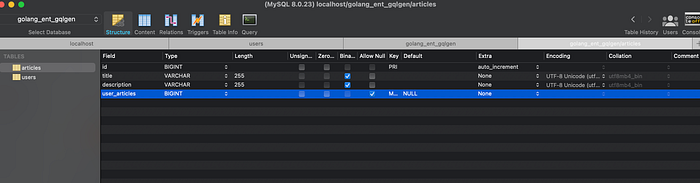
go generate ./entWhen you run the server, you can see that the articles table has been created:
So, let us create an article and add it to the User.
We continue to use the endpoint, /users in main.go and put some code like so:
AddArticles function has been generated by adding an edge in the schema, so we can use this to add the article to the user.
After sending a request to http://localhost:8080/users, you can see that the record has been created:

Inverse Edge
Now that we can access Article through User entity, but you want to get the user from Article in some cases. In order to achieve this, ent provides edge.From function.
So, let’s add an inverse edge named users to the Article schema in ent/schema/artcile.go:
Since the User schema may have more than one reference besides Article, the Ref method describes which edge of the User schema is being referred to.
And run generate:
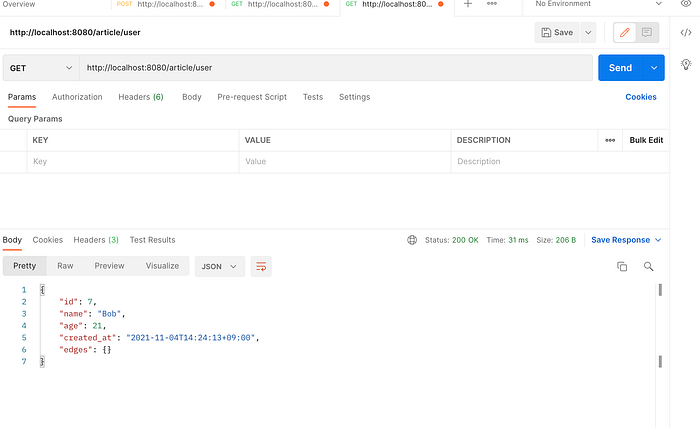
go generate ./entSo, let’s query a user from an article entity:
In the console log, you can see the actual SQL executed:
SELECT DISTINCT
 `users`.`id`,
 `users`.`name`,
 `users`.`age`,
 `users`.`created_at`
FROM
 `users`
JOIN
 (SELECT `articles`.`user_articles` FROM `articles` WHERE `articles`.`id` = ?) AS `t1`
ON
 `users`.`id` = `t1`.`user_articles`
LIMIT 2 args=[1]
And this responds a user data like so:
Eager loading
ent provides the ability to query entities with their associations through Eager loading.
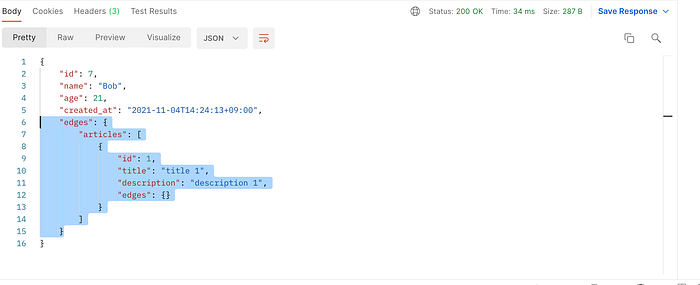
Eager loading allows us to query more than one association. For instance, we can user data included articles like this:
And the response includes articles data in edges :
The executed log is as follows:
SELECT DISTINCT
 `users`.`id`,
 `users`.`name`,
 `users`.`age`,
 `users`.`created_at`
FROM
 `users`
WHERE
 `users`.`id` = ?
LIMIT
 2
args=[7]SELECT DISTINCT
 `articles`.`id`,
 `articles`.`title`,
 `articles`.`description`,
 `articles`.`user_articles`
FROM
 `articles`
WHERE
 `user_articles`
IN (?)
args=[7]
Custom Foreign Key column
When creating an edge, ent will automatically generate a foreign-key column by default.
For example, when creating Article , ent has created user_articles column as foreign-key.
In order to customize the name of that, you can use StorageKey in ent/schema/user.go like so:
And run go generate ./ent, it will add user_id column to articles table:
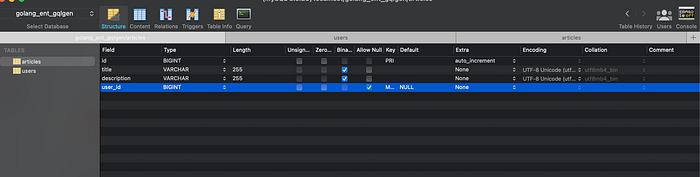
NOTE: ent makes foreign-key nullable by default. After the PR is merged, you can set NOT NULL to foreign-key as required edge.
Set up GraphQL
Next, we will connect ent to GraphQL using gqlgen.
Set up gqlgen
First, let’s install gqlgen:
go get github.com/99designs/gqlgenTo set up the package, run this command:
go run github.com/99designs/gqlgen initAnd this will generate the following layouts under the root project:
├── gqlgen.yml
├── graph
│   ├── generated
│   │   └── generated.go
│   ├── model
│   │   └── models_gen.go
│   ├── resolver.go
│   ├── schema.graphqls
│ └── schema.resolvers.gogqlgen.yml— The config file for controlling the generated filegraph/generated— A package for runtime (autogenerated)model/models_gen.go— A package for all graph models (autogenerated)resolver.go— The root of the graph resolverschema.graphqls— Schema file that you can customize as you likeschema.resolvers.go— The resolver implementation (autogenerated)
The gqlgen.yml needs to be changed for ent, so paste the code:
The autobind is looking for any type names matched in the ent folder. In this case, ent.User will be used in the resolver.
Next, we will change schema.graphqls to user.graphqls and put some code like this:
And remove the existing resolver, schema.resolvers.go :
rm -r ./graph/schema.resolvers.goRun the gqlgen code generation:
go run github.com/99designs/gqlgenSo, the project directory should look like this:
graph
├── generated
│   └── generated.go
├── model
│   └── models_gen.go
├── resolver.go
├── user.graphqls
└── user.resolvers.go
Connect ent to gqlgen
And GraphQL extension for ent:
go get entgo.io/contrib/entgqlIn order to use gqlgen in the ent project, the ent extension needs to be enabled to our project.
To do that, create a new file named, ent/entc.goand add this code:
And then, open up ent/generate.go file and change the code to:
package ent

//go:generate go run -mod=mod entc.go
Run codegen:
go generate ./entSo, by running this command, some add-ons will be added to our project.
Lastly, in order to use the ent.Client in gelgen resolver, open up graph/resolver.go and pass it to the schema as an additional dependency:
Run the GraphQL server
Now that we’re ready to run the GraphQL server.
Let’s modify main.go to configure the GraphQL server.
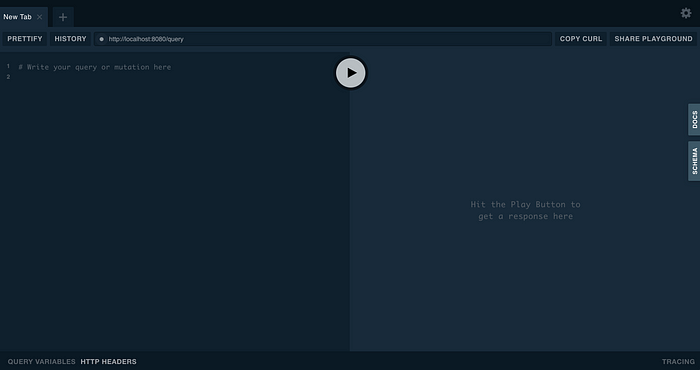
And open http://localhost:8080/playground :
Query User
As the resolver for the user has not been implemented yet, so let us add the resolver in graph/user.resolvers.go :
Run the query in the playground and it should return the user data:

Conclusion
That’s it! We’ve implemented a GraphQL server using ent and gqlgen package. As you can see, ent provides us with a really useful API with strongly typed with our database.
Gorm has been around as a standard ORM tool for Go and provides a full-featured package. In terms of static types, gorm takes interface and uses reflection internally, so sometimes it loses its types and occurs runtime error.
On the other hand, ent uses codegen to generate types and APIs so that it notifies us of possible errors at compile time.
If your needs are using statically typed API and GraphQL integration, ent would be one of the choices for you.

