How To Use Next.js Preview Mode With the Cosmic Headless CMS
A brief guide to help you preview your drafts
Static web page generation is practical when fetching data from a headless CMS. However, when adding new content to our CMS after our site is built, we will want a way to preview draft content that is not yet ready to be published.
Using Next.js Preview Mode, we solve this issue by rendering pages at the request time, allowing us to see unpublished content that was not present during static generation. Let’s explore how we can use Next.js Preview Mode with a headless CMS to preview draft content for ourselves and collaborators.

In this example, we’re using Cosmic as our headless CMS. You can check the live demo and clone the Developer Portfolio template GitHub repository.
Setting Our Secret Preview Token and URL
To ensure only those with access can see our preview URLs, let’s create a string for our secret preview token. You can use this API key generator to get a base64 secret string or a simple text string you create.
Store the secret preview token as an environment variable in your project.
Setting this preview URL in Cosmic is easy. We can navigate to the settings of an Object Type and set the Preview Link using the convention above. For testing during development, set it to localhost. Otherwise, set it to your desired URL. Using Cosmic, set the slug parameter to [object_slug]. Cosmic will automatically convert this shortcode to a given object’s slug.
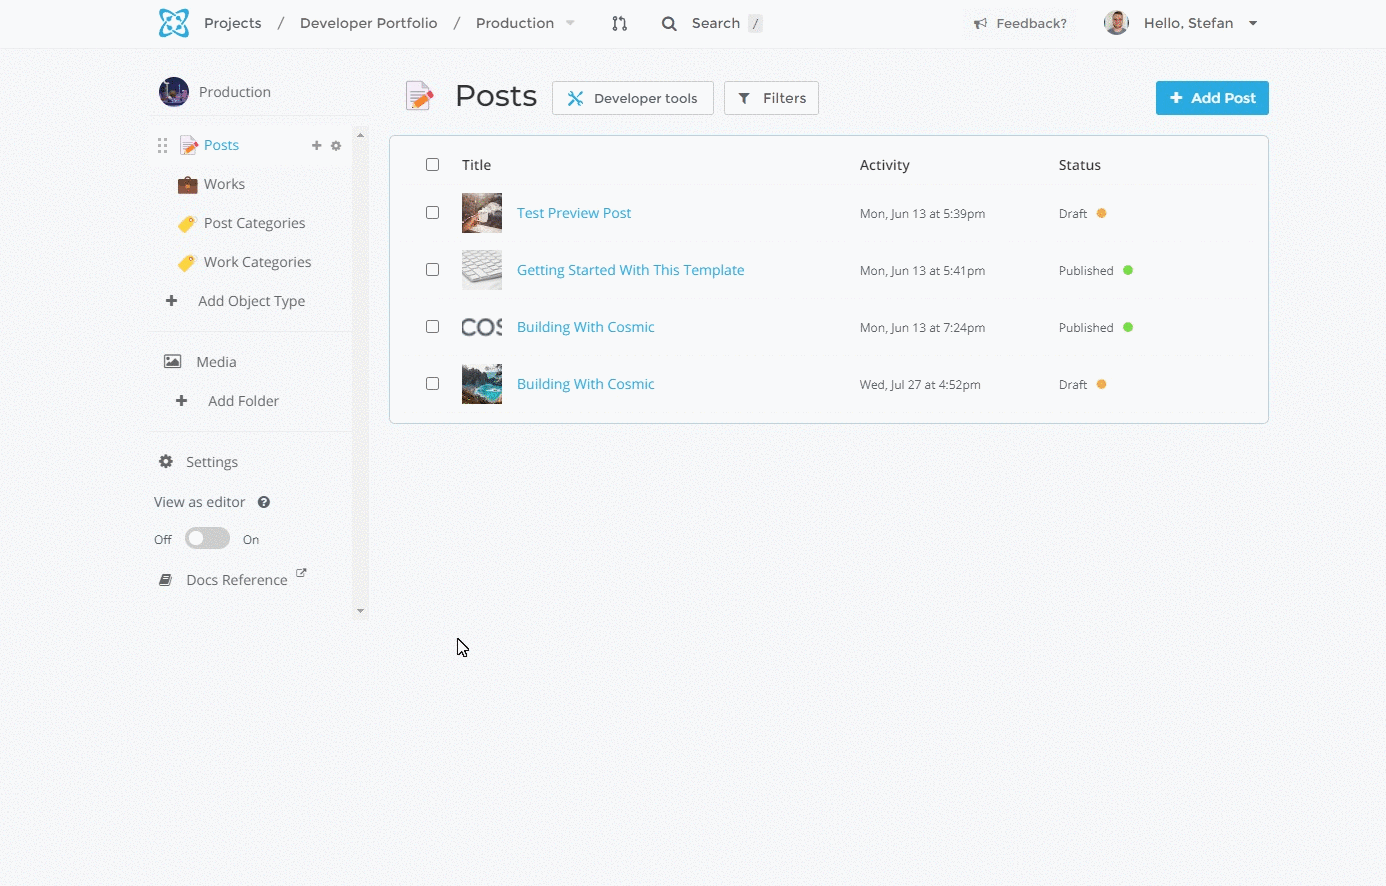
Getting the Preview Post by Slug
First, let’s create an async function to fetch the preview post data from our headless CMS using the Cosmic NPM module.
By setting the status param to any, we fetch all unpublished Objects with draft status and the latest draft of a published Object upon request.
Creating the Preview API Route
Now that we’ve configured the secret preview token in our CMS, we create an API route that checks that the token matches and then fetches the unpublished post we requested with the preview URL we set earlier (if it exists).
Once the token matches and if the slug we requested exists in our CMS, we enable Preview Mode and set the cookies with res.setPreviewData({}) using a Temporary Redirect to the location of our unpublished post.
Updating getStaticProps
Now that we have set the Preview Mode cookies with res.setPreviewData, getStaticProps will be called upon request.
On the page where we render our preview post, getStaticProps will accept an object as an argument, which will be the unpublished data we fetched from our headless CMS.
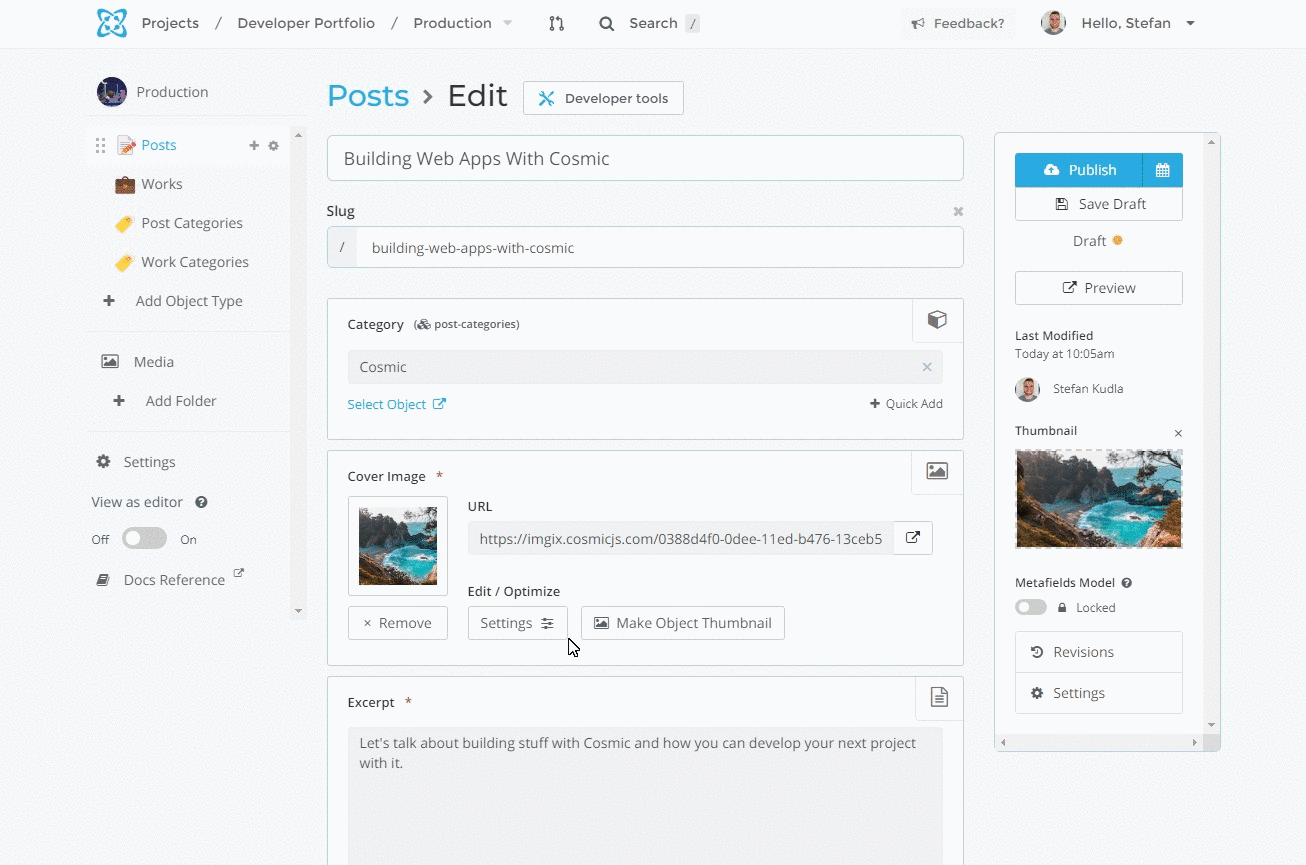
Using Preview Mode in Cosmic
Now that we’ve set up our API routes and functionality for preview mode using it with Cosmic is as easy as clicking a button. Cosmic will take the preview URL we set up earlier and generate a query for each Object we create, automatically adding the Object slug to the end of it.
Exiting Preview Mode
We can create one more API route to exit Preview Mode. We will clear the preview cookies and redirect them to the home page.
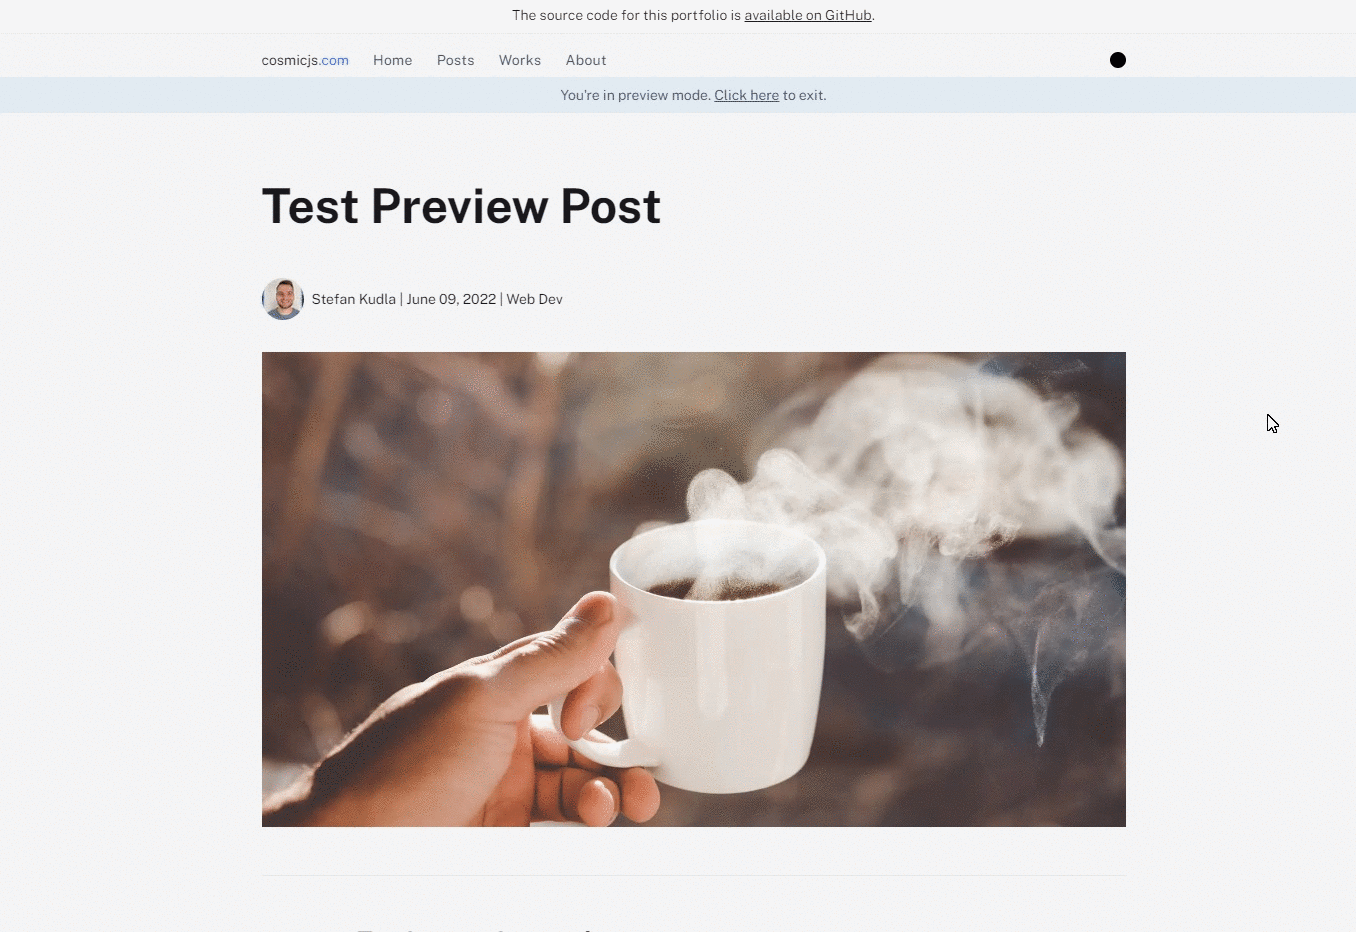
Since we are setting the cookies for the current session of our application, we can treat this data as a context for the entire app. In the live demo used in this tutorial, I’ve created a banner that displays when the application is in Preview Mode. In the banner, we then use a Next.js Link to route to the exit-preview API route, clearing the preview mode cookies and bringing the application back to the home page.
Whether you want to share new content with your team or want to see your own content before it goes live, using Next.js Preview Mode is a solid solution for doing so. Sharing content is as easy as providing the preview URL with your team or clicking a button in Cosmic.
I hope you found this article useful. You can tune into our new show Build Time, where we cover everything from headless CMS, Next.js, React, and much more.
Originally published at https://www.cosmicjs.com.