How To Install Nvidia Drivers and CUDA-10.0 for RTX 2080 Ti GPU on Ubuntu-16.04/18.04
I wrote this article to save you a lot of time if you’re trying to install Nvidia drivers and CUDA on a Linux platform.
You would have encountered black screens, login loops, and system freezing while trying to install it. I reinstalled Ubuntu more than 10 times and tried over 20 different answers on the Internet before I finally figured out a way to do this. I’ll share my solution with you here.
Let’s Get Started
I assume you’ve already installed Ubuntu 16.04 or 18.04 (haven’t tried it with other versions).
You might see that the resolution is poor and the icons/letters are larger (Ubuntu 18.04 might not have this problem). Don’t worry, this is because the machine hasn’t found the proper driver for the GPU and it is probably using an open source Nouveau display driver.
So, our first step is to install the Nvidia driver for our RTX 2080 Ti GPU. Make sure you have an internet connection.
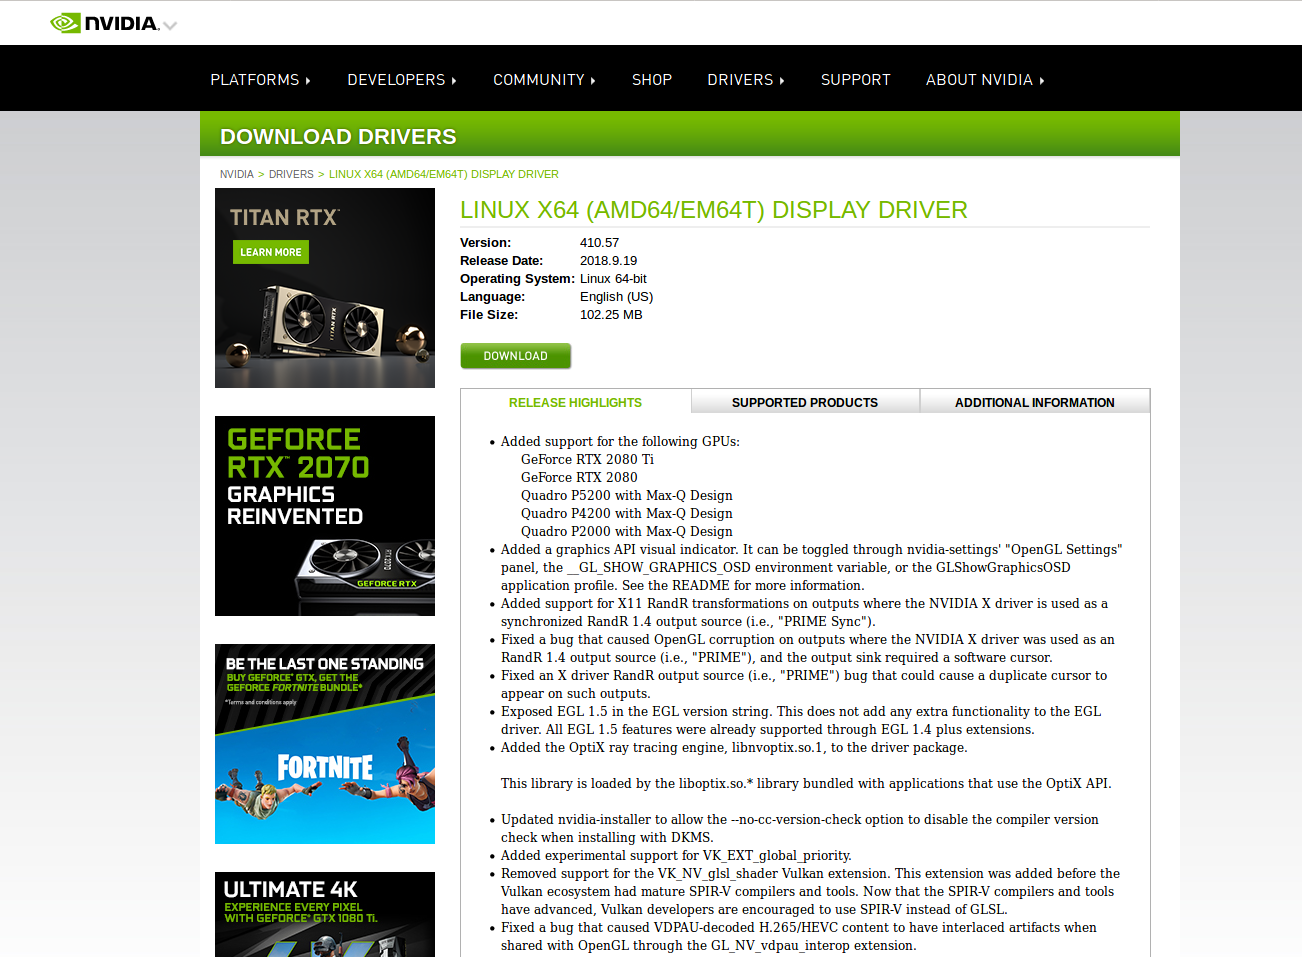
Go ahead and download the display driver for Linux. The stable version at the time of writing this article is nvidia-410.
Now open a terminal (CTRL+ALT+ T) and follow these steps to install the driver:
cd Downloads/ls
NVIDIA-Linux-x86_64–410.57.run #output of lschmod +x NVIDIA-Linux-x86_64–410.57.run
#to get permission to execute the run file.sudo ./NVIDIA-Linux-x86_64–410.57.run — no-x-check
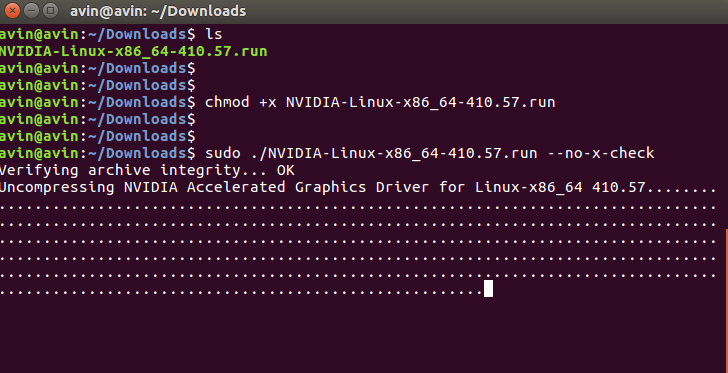
Note that, if you run the final command without --no-x-check flag, it will throw you an error saying X-Server needs to be disabled before installing the drivers. But at this point, we won’t bother doing that.
Nvidia GUI will be opened once you run the final command.
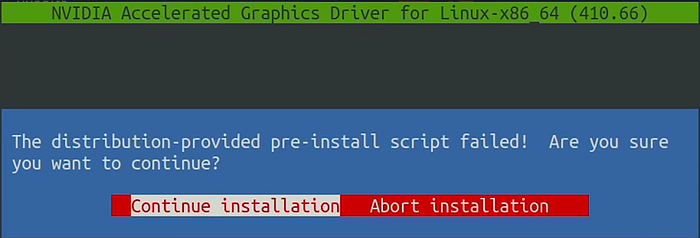
At this step, Ubuntu 18.04 users might get an installation failure error because, in this case, the machine is using some form of Nvidia driver.
So you would want to go ahead and remove this driver by sudo nvidia-uninstall and reboot the machine, then follow the installation commands again to install the correct driver.
Note: Sometimes, Nvidia drivers require Linux’s UEFI secure boot to be disabled. If this is the case, the installation GUI will indicate this. It won’t be an error. However, if it is, it’s better to disable the secure boot from boot options.
Select Continue installation in the GUI and follow the steps.
However, registering the kernel module sources with DKMS is optional and you may select No here. You could choose Yes to install Nvidia 32-bit compatible libraries.
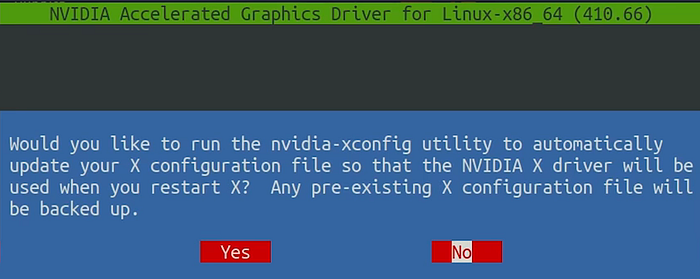
Important: select No when it asks to automatically update your X configuration file.
Once the drivers are successfully installed, reboot the machine.
You will notice that the resolution has gone back to normal and everything looks good.
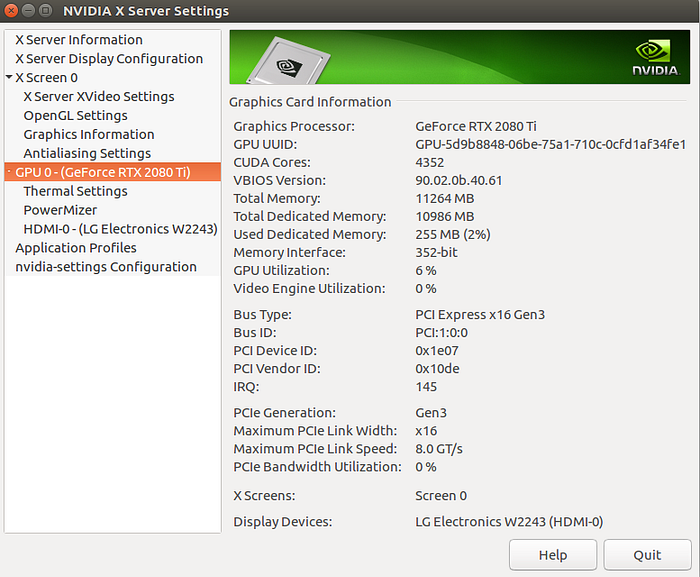
To verify the installation, run the nvidia-settings command on a terminal.
You may see a window appear as follows, if the drivers are properly installed.
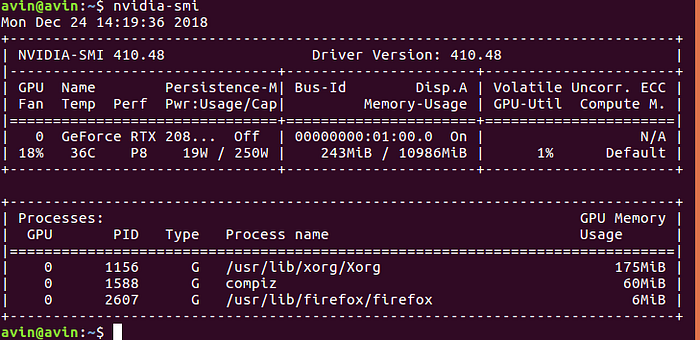
You could also verify the installation by running the nvidia-smi command on a terminal which should yield an output like the second figure below.
All right then, drivers done! Now, the onerous task is to install CUDA for your deep learning work.
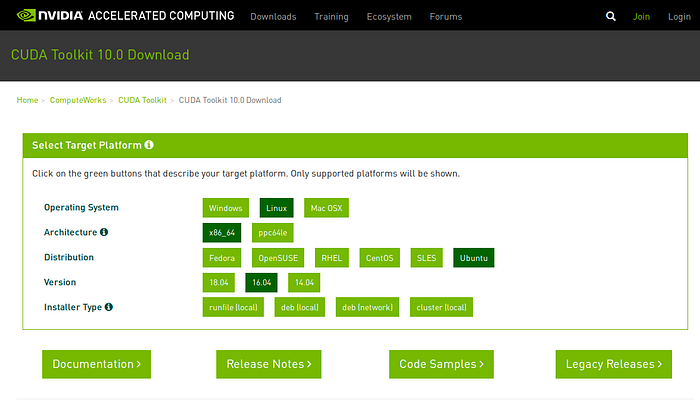
As shown above, first go to the Nvidia site and download cuda-10.0 runfile(local).
The next part is tricky. We will need to blacklist the Nouveau display driver and logout from the GUI to start the installation.
While we are still in the GUI, create a file called blacklist-nouveau.conf in your home directory and add the following lines to this file.
blacklist nouveau
options nouveau modeset=0

Make sure to remove all Nvidia-CUDA installations you have in the machine using sudo apt-get purge nvidia-cuda* if you have previously tried to install CUDA.
Now logout from the GUI with CTRL+ALT+ F1. It will be a black screen.
Enter your user name and password to go to the terminal. Now follow the steps below. (Don’t worry, CTRL+ALT+ F7 is your savior to log back to the GUI)
- We need to disable the X-server by running
sudo service lightdm stopin this black screen terminal. - Go to super user mode by running
sudo -i. - Now we have to copy the blacklist file we created at our home directory to the
/etc/modprobe.ddirectory.
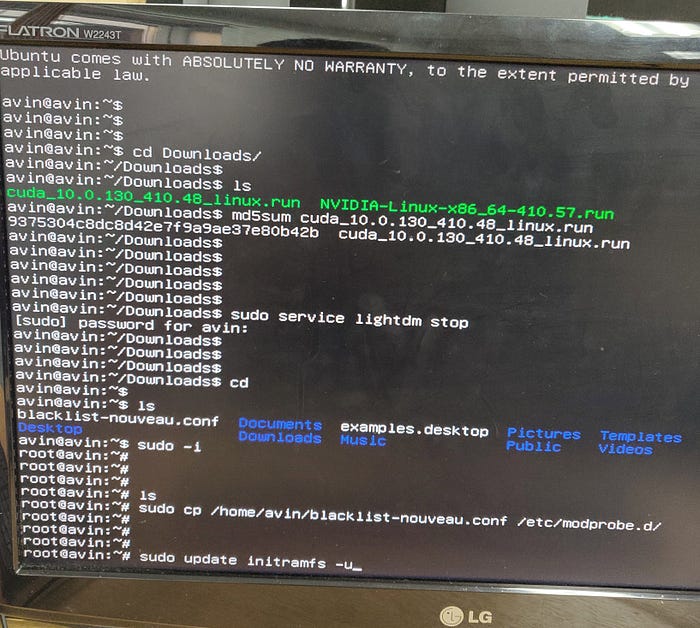
To do so, runsudo cp /home/avin/blacklist-nouveau.conf /etc/modprobe.d
Change avin with your user name. - After the above, run
sudo update-initramfs -u. - Exit super user mode, run
exit. - Cd to the directory where you have the CUDA runfile downloaded, run
cd Downloads/. - Verify the CUDA runfile with
md5sum cuda_10.0.130_410.48_linux.run(optional). - Run
sudo sh cuda_10.0.130_410.48_linux.run.
The CUDA installation wizard will appear. Just press Q to skip reading the agreement, type accept and follow the installation steps as shown in the figure below.
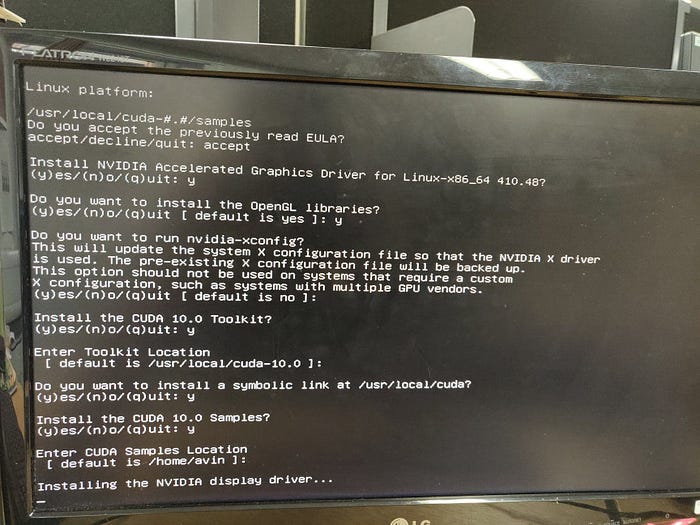
It will install cuda-10.0 on your Ubuntu machine in about three minutes.
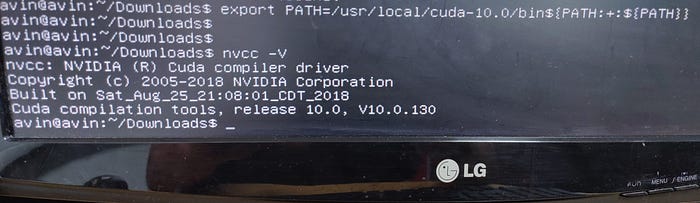
Finally, to test the installation there and then, you may add the CUDA path to the PATH variable by running the following.
export PATH=/usr/local/cuda-10.0/bin${PATH:+:${PATH}}nvcc -V
CUDA is now installed. But wait! We are not done yet.
Run reboot in this terminal to restart the machine. Once the machine is restarted, we have to add the CUDA path to the .bashrc.
- Run
sudo subl ~/.bashrc.
If you do not have sublime-text3 installed you may install it like this. Or you could just runsudo gedit ~/.bashrc. - Add following 2 lines at the end of the
.bashrcfile, and save.export PATH=/usr/local/cuda-10.0/bin${PATH:+:${PATH}}andexport LD_LIBRARY_PATH=/usr/local/cuda-10.0/lib64${LD_LIBRARY_PATH:+:${LD_LIBRARY_PATH}} - Run
source ~/.bashrc.
Now run nvcc -V in a terminal, just to verify your installation. It should give an output as in the above figure.
That’s it on installing cuda-10.0! I hope you’ve enjoyed reading this and it’s helpful to you.
Note: If you’re planning to run deep learning models on the GPU, you must install the cuDNN library and a deep learning library such as TensorFlow.
This article provides an excellent tutorial for installing the cuDNN and TensorFlow-GPU version.

