How to Convert Your Angular Application to a Native Mobile App (Android and iOS)
Using capacitor
Looking for a way to convert your existing Angular application to a mobile app without having to rewrite everything from scratch? Well, you came to the right place. In this article, we will be using Capacitor to achieve that.
Prerequisites
Before we start, make sure to set up your environment by installing below dependencies:
- Nodejs : https://nodejs.org/en/
- Angular CLI: https://angular.io/cli
- Mobile development setup: https://capacitorjs.com/docs/getting-started/environment-setup
What is Capacitor?

Capacitor is a cross-platform native runtime to build modern web apps that can run natively on iOS or Android with ease. It offers cool features like PWA support, Capacitor CLI, and awesome plugins.
1 — Generate a new angular application
For the sake of simplicity, we will just convert the generated angular project from the CLI.
ng new angular-mobile-appThe above CLI command will create and initialize a new Angular application out of the box.
When the generation finishes, navigate to the project directory and type the following command to start the dev server:
cd angular-mobile-app
ng serve
Now, go to your browser and type http://localhost:4200 , you should be seeing the page below if everything went well.

2 — Add Capacitor to your project
Now that we have a web app up and running, the next step is to install both @capacitor/core and @capacitor/cli dependencies by running the following npm commands :
cd angular-mobile-app
npm install @capacitor/core
npm install @capacitor/cli
3 — Setup the capacitor config file
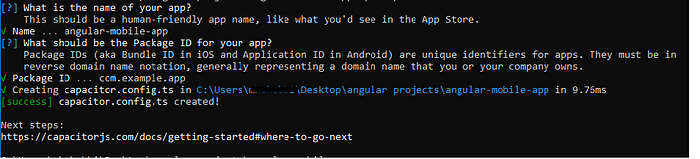
After installing the capacitor dependencies, run the following command to generate the capacitor.config.ts file :
npx cap initThe CLI will ask you some general questions about the app. Just leave everything as default for now.
The generated file will look something like this:
appId: The unique identifier of your packaged app.appName: the name of your app.webDir: The directory of your compiled web assets.bundledWebRuntime: Whether to copy the Capacitor runtime bundle or not.
Note: Make sure to change the value of webDir to dist/(your app name) since that is the usual build path for an Angular app. Now, capacitor will be able to find the web assets.
4 — Add native iOS and Android packages
The next step is installing the according to packages for iOS and Android and then adding the native projects by running the commands below :
npm install @capacitor/ios @capacitor/androidnpx cap add iosnpx cap add android
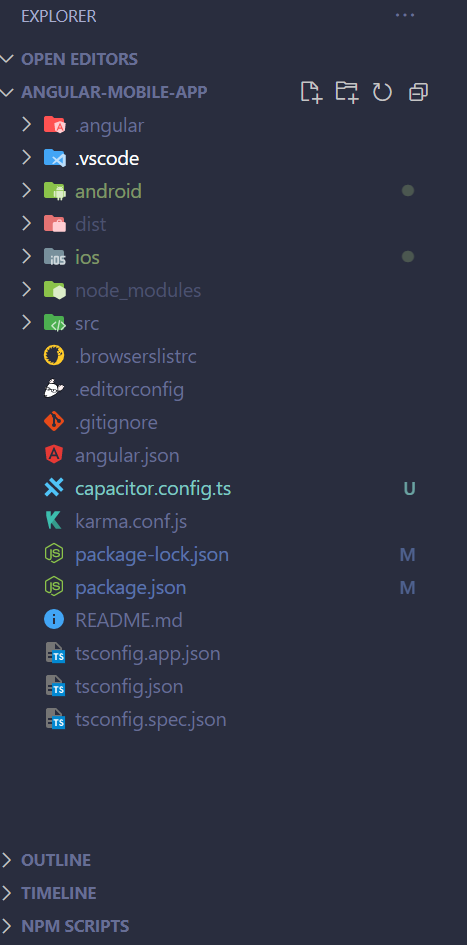
After running the above CLI commands, you should see two new folders created for both Android and iOS.
5 — Build your app
Let’s now build our Angular app and sync the changes to the native Android/iOS projects by running the below commands:
ng build --prodnpx cap sync
npx cap sync will copy the build folder in the iOS/Android project.
6 — Open Android studio or Xcode
You can directly open the mobile project on Android Studio or Xcode with the following command in your project:
npx cap open ios
npx cap open android
Note: make sure you set up your environment first before executing the commands above.
Now the next step is to use Android Studio or Xcode to deploy your app directly to either a connected device or a virtual device.
In my case, I’m using Android Studio. As you can see in the image below, I’m selecting a Pixel 4 emulator.
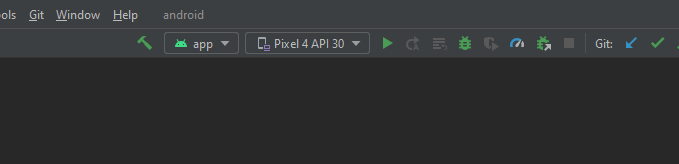
Finally, click the run or debug button to run your app.
7 — Run the app!

Wrapping up
As you can see, Capacitor is very powerful at converting an existing angular application to a native mobile app.
Having one codebase for multiple platforms is the ultimate skill to have these days in order for us to not only save time and money but also to boost productivity. Enjoy!
Thanks for reading and see you in the next one!

