Getting Started With Three.js
Importing your first 3D model into React

If you have ever used Blender, or any other 3D modeling program and wanted to incorporate your model into your ReactJS application, this is the blog post for you. Or, if you have never used blender or any other 3D modeling program, and want to experiment with using Three.js for the first time, this is for you! We’re going to be rendering a colorful box in our React app today.
Here is the repo link if you want to fork it.
First, let’s start with the basics.
What is Three.js?
A JavaScript 3D library,
Three.js is an open source JavaScript library that is used to display the graphics, 3D and 2D objects on the web browser. It uses WebGL API behind the scene. Three.js allow you to use your GPU(Graphics Processing Unit) to render the Graphics and 3D objects on a canvas in the web browser. since we are using JavaScript so we can also interact with other HTML elements. Three.js was released by Ricardo Cabello in April 2010. — GeeksforGeeks
Let’s get started:
Installing Three.js
In your terminal, the first objective that you are going to need to do is run these commands:
npm install --save three
npm install three @react-three/fiber
npm install @react-three/drei
Creating the Container Component
After installing the necessary items, we are going to create a new react application with:
npx create-react-app three-js-box-test…or just create a new page in your react app and import the following as another component.
We need to create a component that will hold the actual box we will be rendering today. This is going to look like your typical component in React.
Creating the Box
After this, what you’ll notice is that the only interesting item we added was a canvas. The canvas is what is acting as a container for our 3D model. We need to now, add another file called Box.js. In Box, we will create the actual 3D item we want to render.
Now…you can’t tell me that wasn’t easy! When you see
<boxBufferGeometry attach="geometry" args={[3,3,3]} />you’ll notice that there is an attribute called ‘args,’ I would recommend playing around with this so that you can change the dimensions of the box! From a cube to a rectangular prism, you can change the length, width, and height with each of these numbers. For example, try this:
<boxBufferGeometry attach="geometry" args={[2,3,1]} />And meshNormalMateral adds a different light for each of the vector variables, this allows for a very pretty and aesthetically looking box, you can also import more meshes and even your own textures. Just take a look at the docs!
Rendering the Box
Lastly, what we are going to do is render the box, with the pure magic and beauty of Three.js.
Boom!!! We got it. This is how the end container component should look.
What you’ll notice are three added items. Let me explain them:
<ambientLight intensity={1}/>
//Light is a necessity to see the object <directionalLight position={[-2,5,2]} intensity={1}/>
//This light changes the intensity from different axes <OrbitControls enableZoom={false} autoRotate={true}/>
//This is what allows the box to be dynamically controlled by the user. AutoRotate is just a really cool added effect
Rendering your own Custom 3D Model

Now, here comes the more detailed part, let's say you already have a 3D object of your own or what to render one you downloaded from a website like Sketchfab. Lego Batman download link.
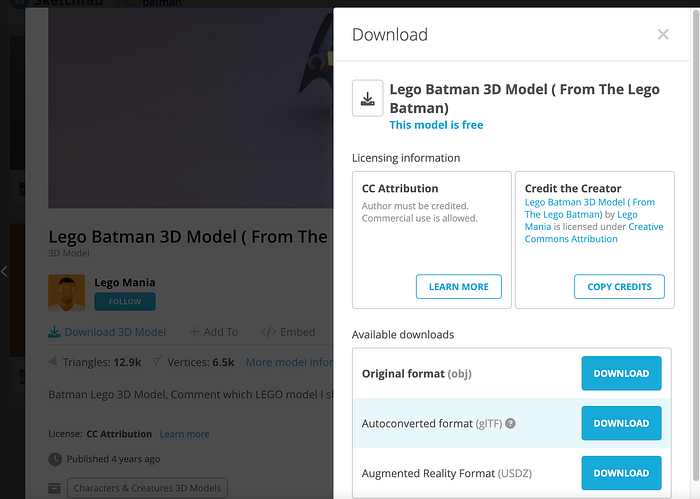
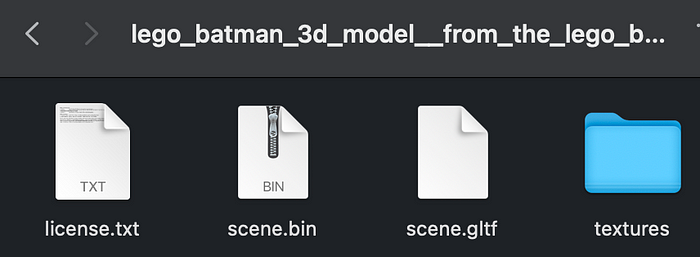
First what you need to make sure is that the file is .glTF. After this, if you downloaded the file from Sketchfab, you want the auto-converted one displayed above. When you download the file, unzip it and check the contents. You should see a scene.glTF file.
.glTF to Draco .glTF
What we need to do is run commands in the terminal to convert this scene.glTF to a Draco .glTF file that we can use. We’re going to use the glTF pipeline to convert our scene, in the terminal, run this from the location of the folder that holds the scene.glTF file:
glgltf-pipeline -i model.gltf -o {your chosen model name}.gltf -dIf this permission is denied add, sudo, in front of the above code.
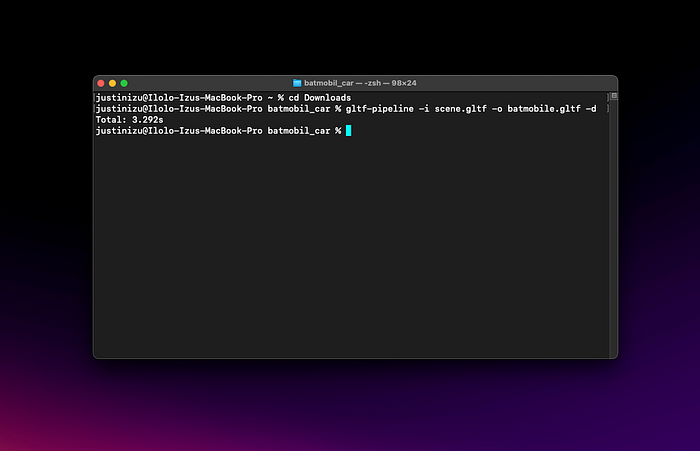
When this runs, we can expect a new file named {your chosen model name}.gltf, or in my case batman.gltf.
Draco .glTF to .js
After this, you will need to convert the new Draco .glTF to a .js file so we can render it in as a component in react. We’re going to be using gltfjsx to do this, I promise it’s easy.
npx gltfjsx {your chosen model name}.gltf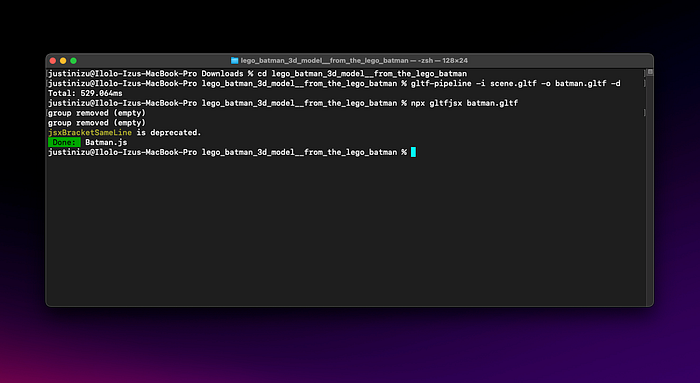
You’ll now, notice another file in that downloaded folder!
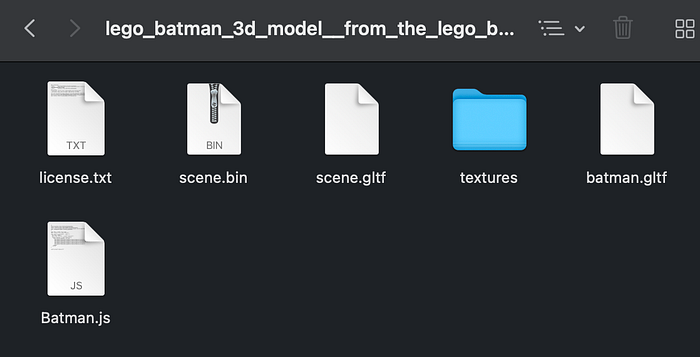
After this, we should be able to click and drag Batman.js or {your chosen model name}.js into our project and render the component just like we did with the box from before.
I supposed I’ll be the first to say it. Congratulations, you have officially imported your first 3D model into React. Hope you enjoyed this blog post!

