Getting Started With Pyvcloud — A Python Library
A quick setup for creating your first virtual machine

What is Pyvcloud?
Do you use VMWare’s vCloud Director? Are you tired of repeating the mundane steps of creating vApps, VMs, etc? Are you searching for
“How to use Pyvcloud”, “Python package for vCloud Director”
If your answer is yes, then Meet VMWare’s very own Pyvcloud.
In VMWare’s own words, “Pyvcloud is the Python SDK for VMWare vCloud Director”.
In easiest terms, Pyvcloud is a Python library for VCloud Director administration and all tasks which you can perform on vCloud Director can be done with this easy-to-use Pyvcloud! There are exceptions for some tasks which aren’t available at present, we’ll cover them in upcoming discussions.
Before you Begin:
- Download and install python on your machine, using Download Python
- Set up an IDE, there are many IDEs out there but I would recommend sticking with VS Code for this tutorial.
- Intellisense to the rescue: Add Microsoft’s Extension for Python to VS Code
Installing pyvcloud
You must install pyvcloud on your system before using it in your Python programs. Run the command given below
pip install pyvcloud
Wiring up Python to VCD
For this tutorial, we’ll create a class called as VCD_Utils in which we’ll define all the methods.
The constructor sets up a connection of your python with your VCD. In this code snippet, the Client is a low-level interface to the VCloud Director’s REST API. It needs your VCD’s hostname and other parameters are optional; we can either set them to True or False depending upon your log requirements. The BasicLoginCredentials does the main wiring job and sets up the connection for you.
The Org and VDC are constructors, in Pyvcloud remember while using constructors the only two things which you need are the client object and respective resource. For example for constructing a VDC object, we supplied the client and VDC's resource. We’ll store the org and VDC objects as instance variables as they are needed for further operations.
Note: For our tutorial, we have a one-to-one mapping i.e. a single vApp contains only one VM.
Helper Methods:
These are the helper methods that will make our life easier as we proceed.
The get_vapp() takes in the vapp_name, grabs its resources from our datacenter, and then we create an XML Object of our vAPP using a constructor. The same goes with the get_vm() method which creates a VM object and returns it! The last method does_vapp_exist() simply checks if the given vApp exists in our VCD or not, if yes->returns True else returns False.
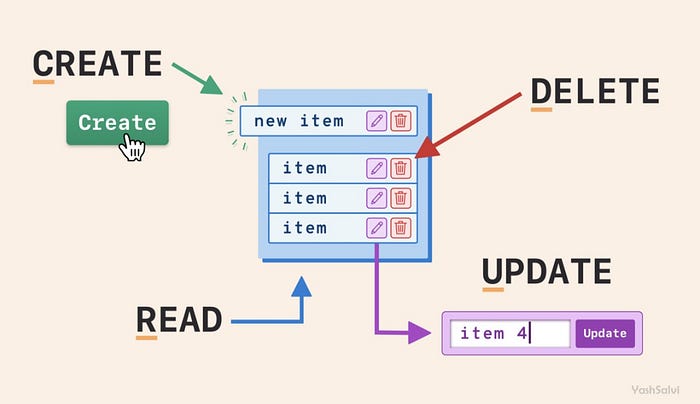
Performing CRUD operations on VCD:
Creating a vApp:
This method needs the name of the new vApp, the template for making the vApp, and other optional parameters like network, storage policy, etc. Under the hood, we’re using VCD’s instantiate_vapp() method which creates vApp and returns the vApp XML object. Now, after creating we can check if the vApp is created or not by our helper does_vapp_exist() method.
Note: When the vApp is created it states is unresolved i.e. Power state = 0 till the app's state changes from unresolved to Powered off(power state = 8), we can’t perform any operations on the vApp.
Reading vApp’s data
Now, we can play with our vApp, we’ll need the vApp’s object which is constructed by pyvcloud’s VApp class. The vApp object contains a ton of methods which you can easily see by adding a dot after it, thanks to our Intellisense. For reading vApp’s data, let’s get the IP address of our VM.
Note: In most cases, the Pyvcloud returns XML data which needs to be converted to a dictionary. Pyvcloud has a built-in to_dict() method that can help us in this transformation and we can see the dictionary contents on the console!
Updating vApp
Now, we’ll update our VM’s CPU. For this, we need our VM Object residing inside of our vApp. We’ll use our helper method get_vm() for fetching the VM object. The VM object can then be used to update the CPU.
Deleting the vApp
Now, we’ll delete the vApp. The deletion is also pretty straightforward. We simply need vapp_name, supply it to Pyvcloud, and boom it gets deleted from VCD. The force true here simply means to power off the VM in it if it’s on. If VM is powered on and force true isn’t passed, then we would get an error!
Alas! We’ve written our class.
Let’s rip the fruits and make our work pay by creating an object for our class.
Last but not the least, let’s log out of our VCD.
Till now, you should have successfully performed the CRUD operations on the VCD. For getting deep into the pyvcloud, you can go through their documentation.
That’s all for now! You can find the entire code on my GitHub repository.

