Getting Started With iXGuard — An Obfuscation and App Shrinking Tool
The only Tutorial that offers learning on how to strip-down your app size using the iXGuard Tool

Anyone can use readily available tools to disassemble and inspect iOS applications and SDKs, and gain insight into their internal logic.
This opens the way for various forms of abuse, including intellectual property theft, credential harvesting, tampering, and cloning.
iXGuard has been designed to protect your Swift and Objective-C apps and SDKs from reverse engineering and hacking. It hardens their code and enables them to monitor their integrity and that of the environment in which they run.
In this tutorial, you’ll learn how to strip down your app size by using iXGuard — an app shrinking and obfuscation tool.
iXGuard 3.1 protects iOS apps against static library injection and provides improved obfuscation.
1. Install iXGuard
Install iXGuard for your version of Xcode using the standard procedure for installing a package file.
2. Create an IPA (Based on Xcode 10.1)
- Create a file for distribution with Product -> Archive in Xcode.

2. Select the archive created in the Organizer and select Distribute App.
3. Select iOS App Store, then Next.

4. Select Export and click Next.

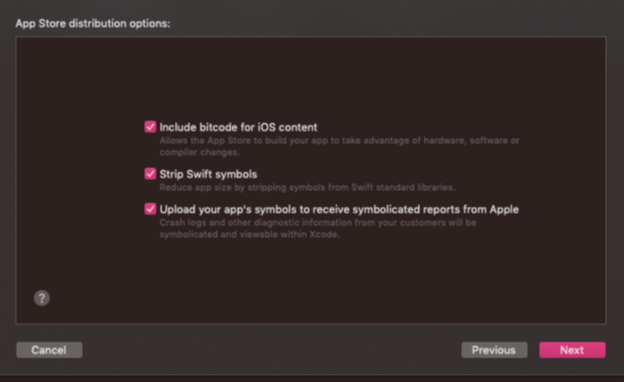
5. Include bitcode for iOS content and upload your app’s symbols to receive symbolicated reports from Apple. Check the items and click Next.
6. After setting the certificate-related settings, Export and Save.

3. Create ixguard.yml
The file may be different for each app. For details, please refer to the configuration page of iXGuard.
From the folder where the exported IPA file is located, to the terminal:
ixguard.yml -o [Obfuscated IPA file name] [Generated IPA file name]
When you input the command, the ixguard.yml default file is created.
Sample ixguard.yml (this may vary from project to project):

4. Apply iXGuard
From the folder where the exported IPA file is located, to the terminal iXGuard.
Enter the following command in the terminal to apply iXGuard:
config ixguard.yml -o [After obfuscation IPA] [File name] [Generated IPA file name]
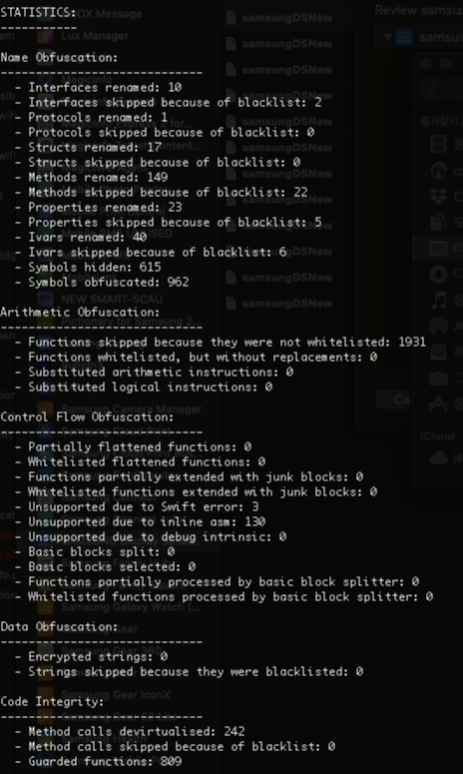
If there are no errors in the operation, an obfuscated IPA file is created.
In the case of a [warning] of the log in the terminal, the solution for each case is the same as that of the iXGuard manual.
In the Troubleshooting -> Runtime Issues page, note: Appearance.

Note: Result screen.
5. Test Your App
Test the function of the app by using methods such as TestFlight on the actual device.
Tokens, authentication keys, etc. are particularly required for logic-oriented testing.
6. Obfuscation Verification
This part has been verified using the MachOView tool.
- Perform step 2 to create an IPA file. Include bitcode for the iOS content check. Release and create two obsolete IPAs and two IPA files that are not obfuscated.
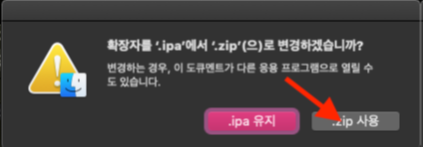
- Change the extension of the corresponding IPA file to zip and unzip it.
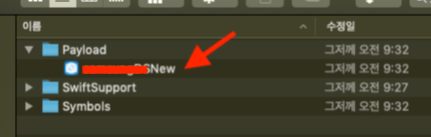
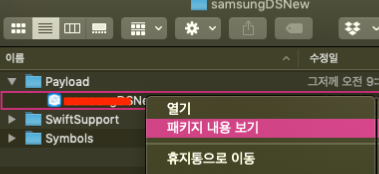
3. There is a Payload folder in the unpacked folder. Check the application file with the app name in it.
4. Right-click on the application and select View Package.
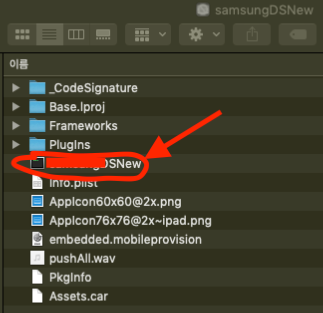
5. Copy the executable file with the name of the app in the package and extract it to an arbitrary directory.
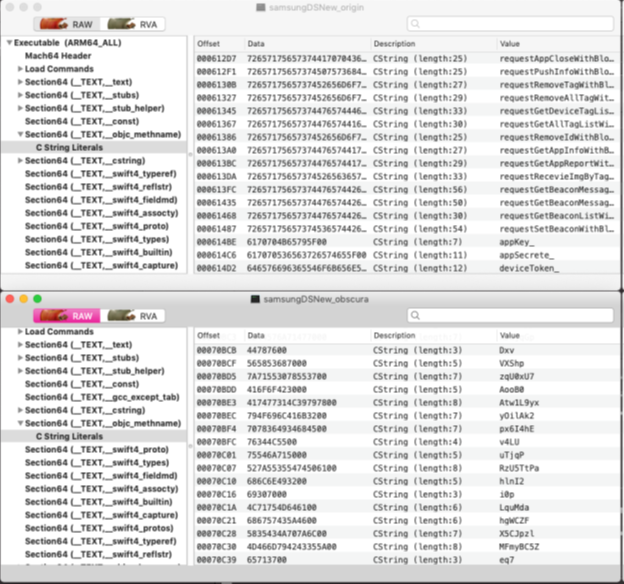
6. Open the executable extracted before obfuscation and the executable extracted after obfuscation with MachOView app.
Check the name of the debris and confirm that obfuscation is applied.
The image below is for reference only. (Above: prior to obfuscation, below: after obfuscation.)
7. Deploy the App in the App Store
Finally, deploy the app in the App Store.
Xcode -> Open Developer Tool -> Application Loader.

