Creating a Fake Nintendo Switch Controller to Level Up My Character in World of Final Fantasy
Using an Arduino board plugged in to the Switch USB-C Port to grind and level up my character from level 60–90

I’ve been playing World of Final Fantasy for the last few weeks, and it’s been a blast! I beat the game three days ago. Now, I’m trying to get the Good Ending, which seems like it’s going to require a bit of grinding at this point.
I found a guide which suggested repeating a specific battle to efficiently gain experience from a somewhat easy and short battle. But it still seems like this might take me several days to pull off! I think I need to grind out 20–30 levels to max out my stats for a couple of incredibly-difficult battles.

It involves finding the girl who forgot her name and completing the quest Investigating the Garden. It takes about three to four minutes for me to complete manually, and there are a lot of annoying button press sequences, such as selecting the correct spells to complete the battle, skipping animation scenes, saving, waiting, etc.
It got annoying really fast. Way more annoying than I expected, and I’m no stranger to grinding in other games. The Plus buttons and scene skipping are just not common keypress sequences on the Switch Pro Controller.
So, I started digging around. I found a number of projects that involved tearing down a working pro controller, but let’s try to avoid soldering for a bit. Finally, I found an example written in C that was originally used to create Splatoon 2 banners. Yes, those incredibly fancy banners are created with software, not painstaking artwork.
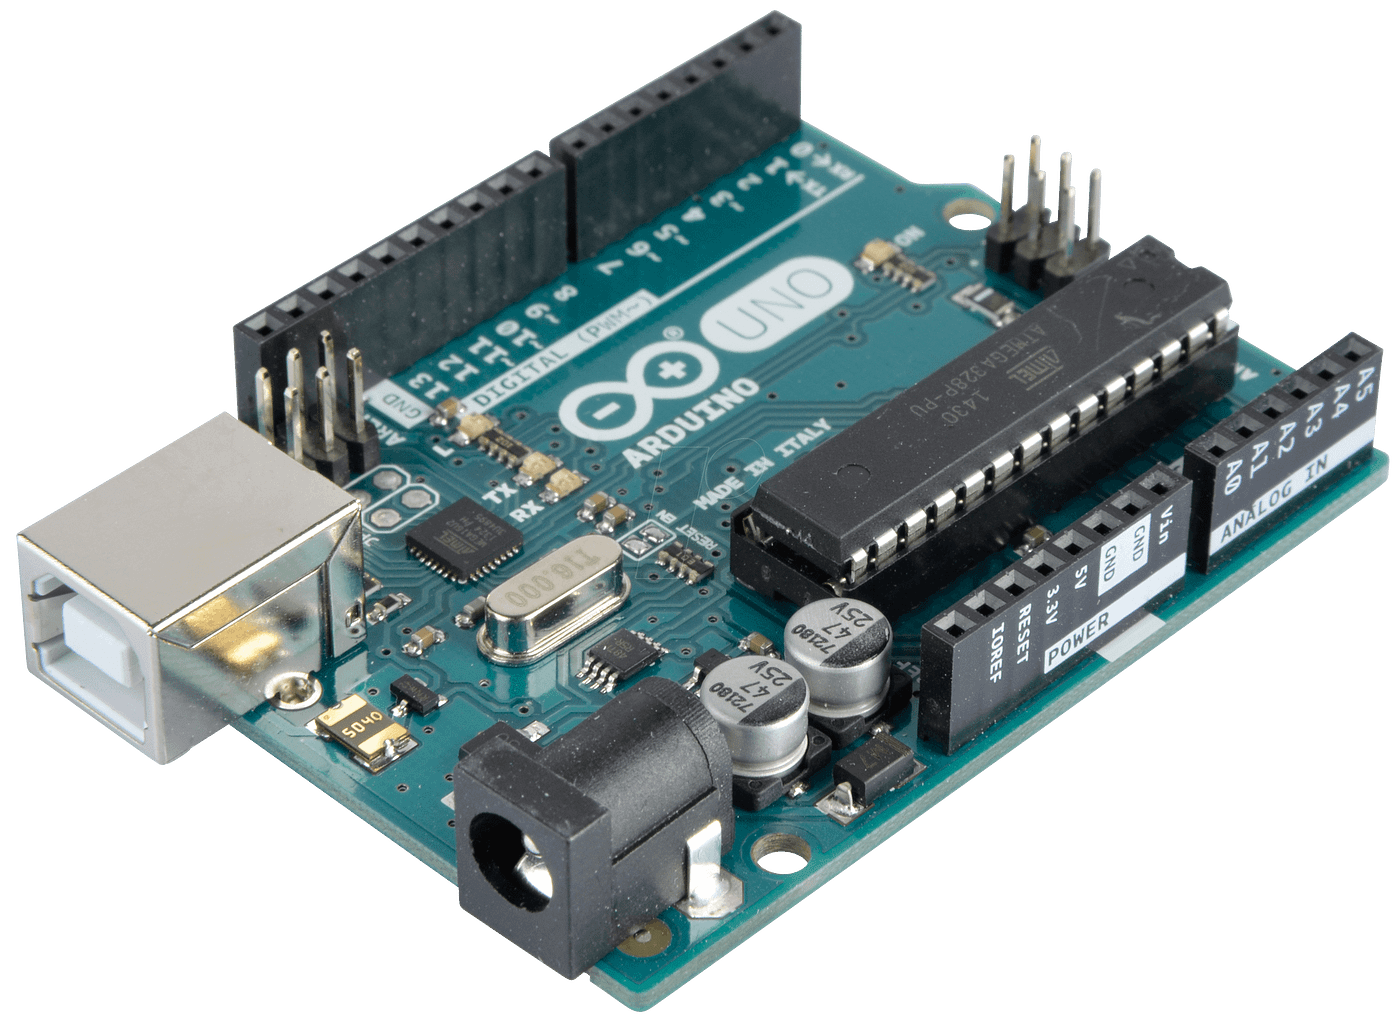
The example was for an Arduino Teensy. I had to do a bit more research, but fortunately it wasn’t an issue to set up the toolchain to compile for a normal Arduino Uno — something I already had lying around.
I hunted around a bit more and found another fork to compare this against:
This version has been successfully modified to throw snowballs in Zelda: Breath of the Wild. Seemed promising!
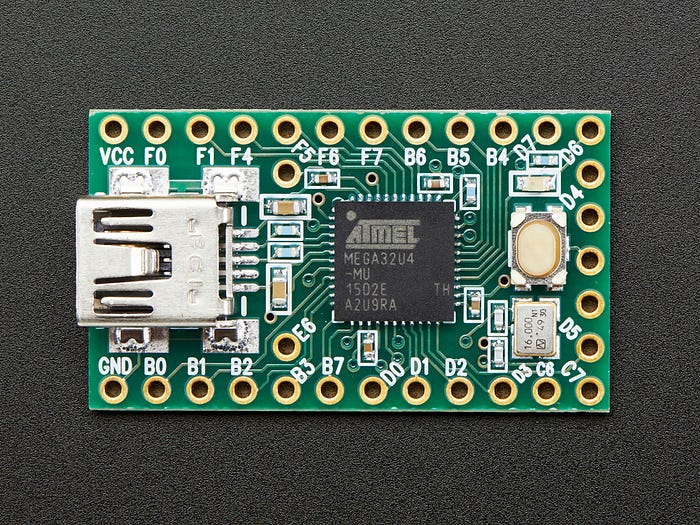
I also liked a couple of improvements the author above made to the original script. First, the use of the Teensy is nice, so I ordered one. I think it’d be nice to create a reusable version of this that looks a bit more like a thumb drive, instead of a mess of wires.
Second, the author cleaned up the code a bit in a way that makes it easier to create a procedural sequence of keypresses that occur in an infinite loop (for scripting a nice little thing like this). Previous versions were optimized for doing other things.
Putting it all together
The first thing I had to do was get a proof of concept running on my Uno. This requires flashing over the Arduino Bootloader and using a DFU programmer to load a compiled program (vs. a sketch file).
Also, in OSX Catalina (Mac), 32-bit executables are being deprecated. This meant updating my AVR toolchain as well:
Luckily, the communities around these projects have already made these adjustments since the Catalina developer release went out last month.
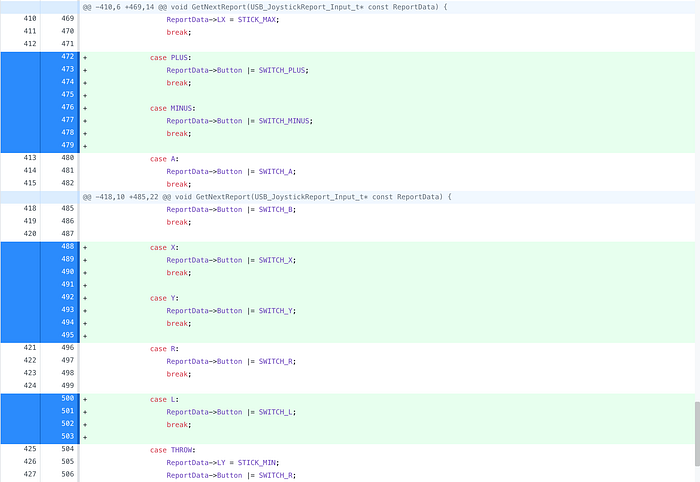
Adding more buttons
Next, I discovered a few buttons weren’t being used by previous projects. So, I added support for the Plus, Minus, L, R, X, and Y buttons in Joystick.c.
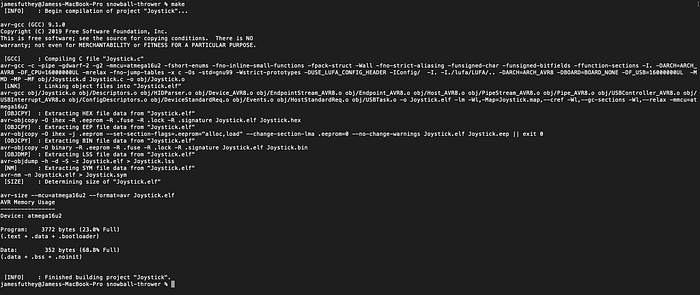
Modifying for Atmega32 (Arduino Uno R3)
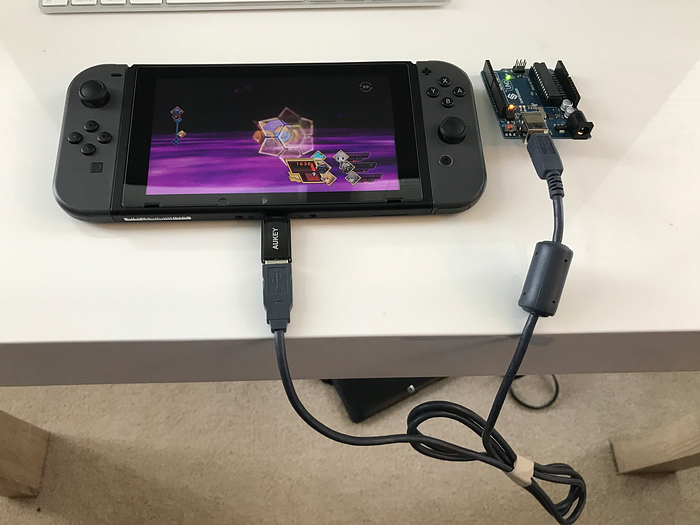
Next, I modified the Makefile for my Arduino, ran make, crossed my fingers, flashed the Arduino, and plugged things in for my first test.

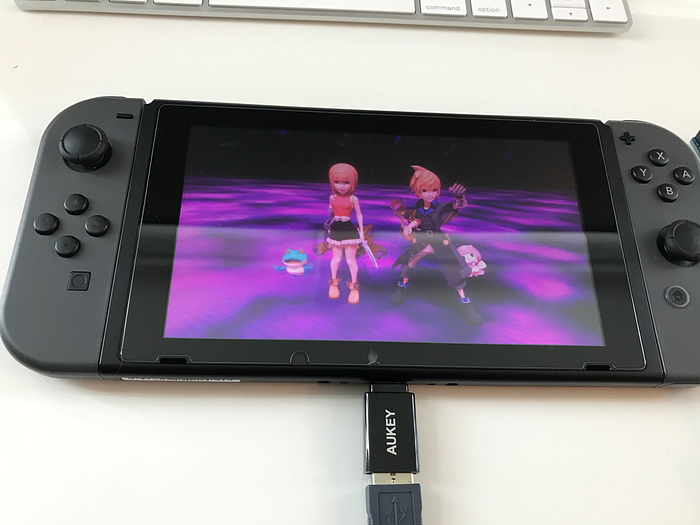
First success!
The controller is recognized as an Input Device and the character starts moving around frantically. At this point, I hadn’t yet attempted to modify the previous scripted actions.
Creating the script
Now, for the part that took a couple of hours of tweaking.
There really isn’t any useful way to capture input sequences and timing, so I started adding button press sequences. Through trial & error, and a lot of patience, I eventually made it to a working version of the script that looped through the entire sequence of events, almost infinitely.
The following series of videos can help explain the process.
Timing the battles ended up being complicated. Turns out, there are several strategies that won’t work 100% of the time.
The most obvious one is just using physical attacks. However, this only resulted in a win about 50% of the time.
The fastest scenario was to cast Thunder spells on all targets until they fainted.
However, there was a glitch there: it appears to be random which character ends up being selectable first, and their abilities are in different orders. So depending on which character became active first, a different sequence of spells ended up being used.
So, I ended up settling on just picking the first spell for each character. For Lann, this is a very strong Thunder spell. But for Reynn this is a fire spell. The strongest enemy is actually pretty resistant to, but it still ends up knocking out all three enemies very quickly, after only about 45 seconds of battle (with fast-forward enabled using the R trigger).
Final result
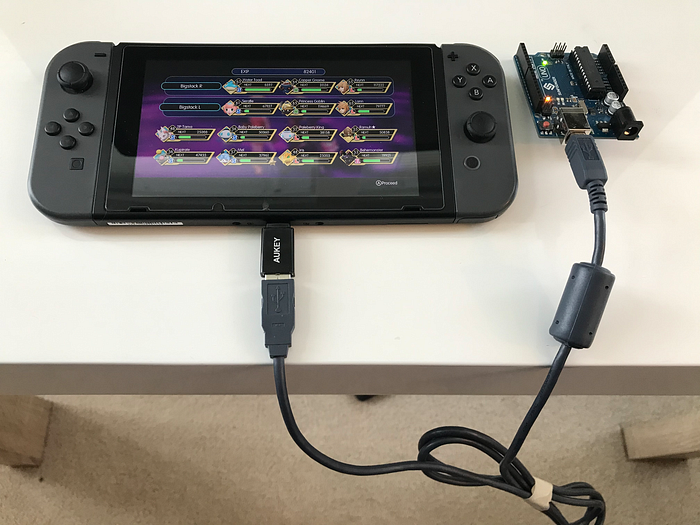
Now, for the grand finale! Here’s the final, resulting, looping script, in action:
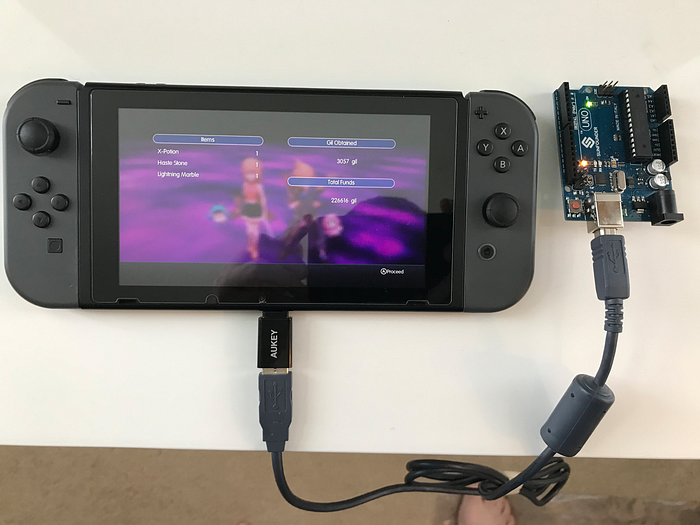
This takes about three minutes to complete a battle, and results in 82,401 EXP, a couple of items, and 3057 Gil.
If you’re wondering why you see a pause after each battle, there’s a good reason for that.
In a specific scenario, all enemies spam strong attacks at Reynn, and Lann fails to step in to protect her, resulting in her toppling quickly, and drawing the battle out a bit longer, in a near-loss. I used the stopwatch to time several battles and adjusted the timings to give us a safe window that always results in a win, even if just barely. This should improve as I level up.
Source Code (GitHub)
That’s about it. Thanks for reading!


