Build an Infinite List With SwiftUI and Combine
A simple and neat iOS app using the Combine framework
SwiftUI has become more famous since its introduction at WWDC2019. Over the past two years, Apple has added lots of improvements to this UI framework. Today, developers have started adopting it and slowly migrating their projects from UIKit.
What Will We Build?
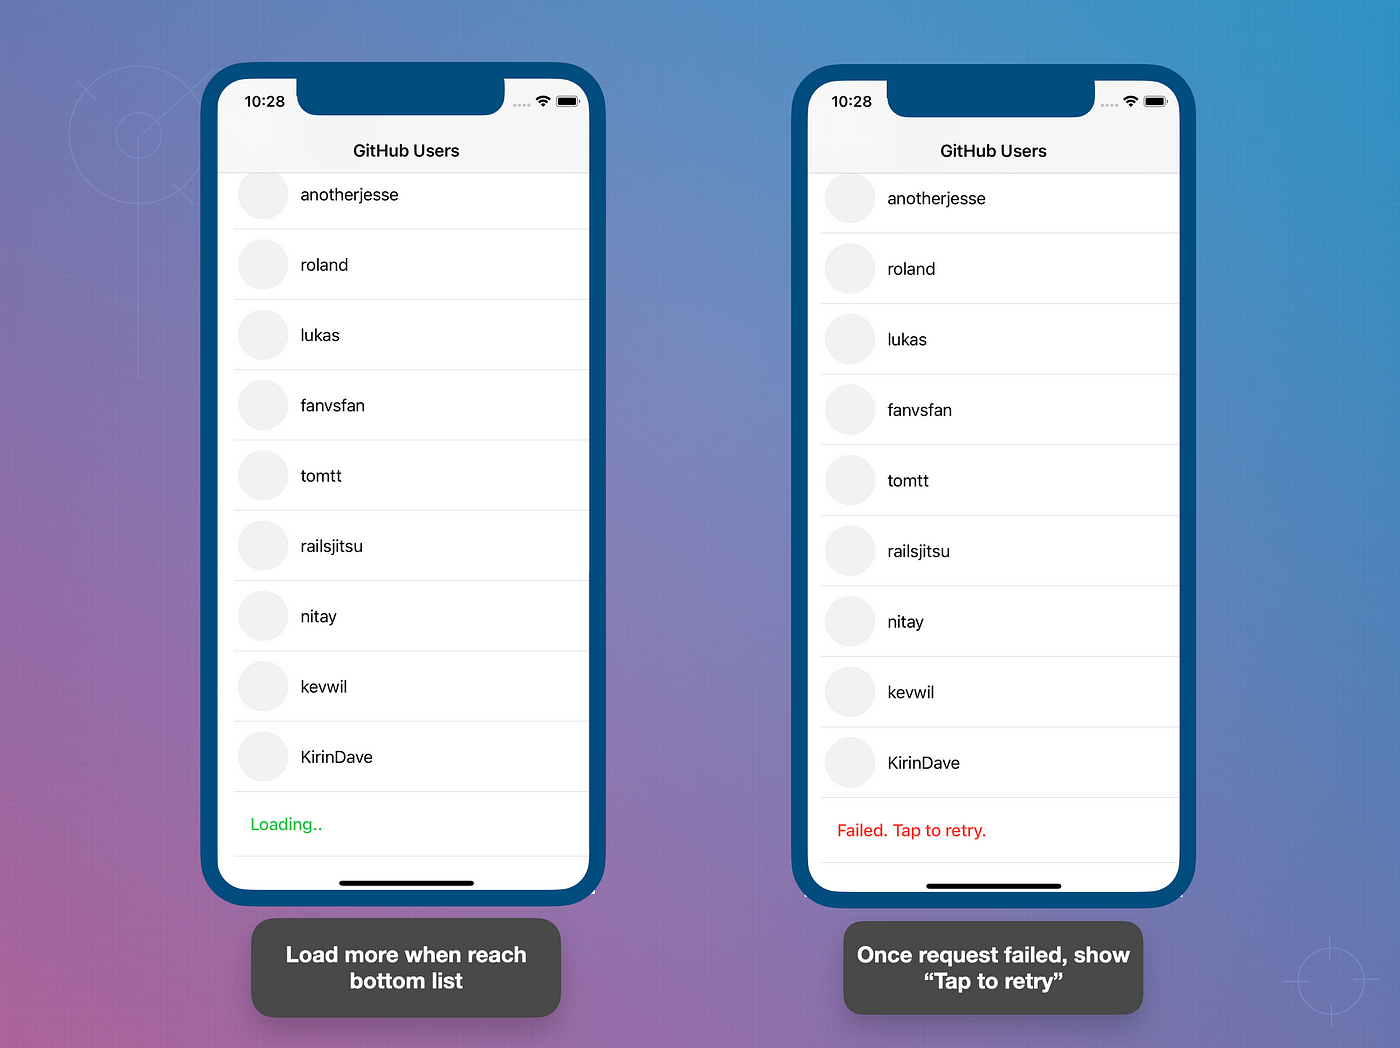
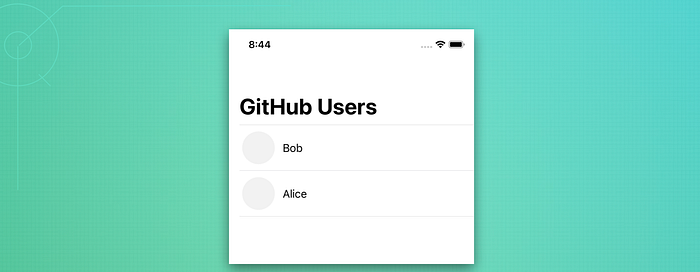
In this tutorial, we will make a simple list with endless scrolling and pagination (as shown in the header image). We will use GitHub API to get a list of users. It contains all the GitHub users since it was founded. In our final product, we will be able to create an app with the following features:
- Able to fetch a user list based on a given page limit.
- Able to endlessly scroll the SwiftUI List with pagination.
- Able to handle request errors and reloading.
- Uses the Combine framework for API requests and
ViewModel.
Let’s Start
1. Create new SwiftUI project

2. Create decodable user model
Create a new Swift file called User.swift. We only decode the id, name, and avatarUrl from the JSON object. As shown in the result above, in this project, we will only display the user’s name for a quick example. You may enhance it later to display the user avatar and profile details.
3. Add Row view
Since we are using List, we will first create the row view as the list items. Add a new “SwiftUI View” file called UserRow.swift. Then, insert the code below. We will use a simple HStack with Image and Text.
Take note that this UserRow View requires User as the dependency model, which means it cannot be initialized without the model passed to this view.
4. Main view (ContentView)
The ContentView is our default main view. The main view is defined in the InfiniteListSwiftUIApp file (ProjectNameApp file).
Great. Let’s include a NavigationView and a List. Then, insert some static user data.
Now, if we run our project, the app will be similar to the image below:
5. Create API service
In this step, we are going to create an API service to get the user data from the GitHub API. As shown in the image below, to enable paging, we need to send the since and per_page parameters.
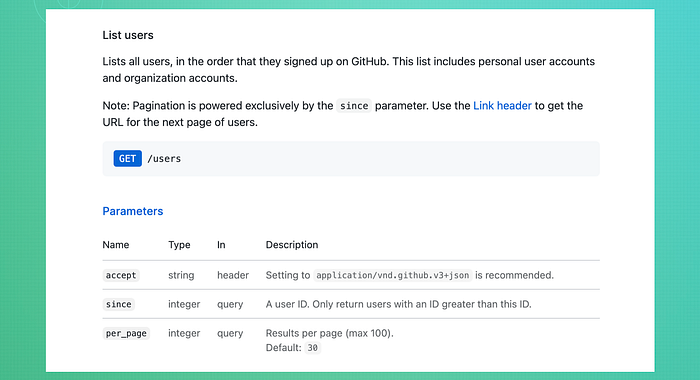
/users endpoint details from GitHub API docs.Add the following code to a new file called APIService.swift. Since we are using SwiftUI, the project automatically supports iOS13+. We will use the Combine framework in our URLSession.
- Create a function that accepts
perPageandsinceIdand returns anAnyPublishertype with[User]. - Construct a URL with specified parameters.
- Create a URL request with a timeout of ten seconds.
- Send a request with
dataTaskPublisher. Then map the result to.data(the result will returnDataandResponse). Finally, decode the data into[User]. It is simple and clean, right?
6. Create ViewModel
Add a new Swift file called UserViewModel as an ObservableObject and add the code below. By subclassing the ObservableObject, our view model can be used inside SwiftUI views and enable auto-reload when any important changes occur.
- Create the
usersandisRequestedvariables with thePublishedwrapper to enable any SwiftUI view receiving the update. - Add a constant
pageLimitto specify the number of user objects that will be returned from the API. Then, addcurrentLastIdto keep the last user ID in theusersarray that we have fetched. It will be used for the pagination parameter request, as stated in a previous step. - Call
getUsers()from our service class. - When the request fails, we will mark the variable
isRequestFailedtotrueso that it will trigger the subscriber view and make the proper reload. - If the request is successful, we will get the received value (with type
[User]) and append the value to theusersvariable. Again, when theusersvariable is undergoing changes, it will immediately trigger the view to reload its content. Then, store thecurrentLastIdfor the next fetch.
7. Create LoaderView
Now we want to create a LoaderView that will be placed at the bottom of List. So, whenever it appears, it will call the fetching data function. Even though the user list is empty, the LoaderView will still appear at the top and show the loading text.
8. Update ContentView
This is our last step and it will be quite simple, as we have separated the logic in the ViewModel.
- Remove the previous
usersstatic variable and use theusersdata fromViewModelinstead. Create auserViewModelinstance withObservedObjectas a subscriber to the changes in theUserViewModel. It will invalidate the view when receiving a new update. - Same as before, except now we are using the
usersarray from theViewModel. - Add the
LoaderViewthat we created before to be part of the list at the bottom position. Also, it has anonAppear()function that will callfetchData. AddonTapGesture()to enable re-fetching data when a request fails. - Call
getUsersinViewModel. - Handle the “Tap to retry” action.
9. Testing failed request
I would recommend using the Network Link Conditioner tool to simulate a failed network request, as shown in the image below. So, when we scroll to the end, we may reach the LoaderView and the request will fail after a few seconds. You may read the details in my previous article.

Project Completed
Congratulations! We have completed all of the steps and the code works perfectly. When I was implementing the SwiftUI code with the Combine framework, I never expected it to be this clean.
The entire source code is available for download from my GitHub repository. You may try implementing it into your projects and perhaps improving the code logic and the UI. For details on the Combine framework and ObservableObject protocol, you may refer to this WWDC video and this HackingWithSwift article.
Thanks for reading and happy coding!
References
- https://developer.apple.com/documentation/combine/fail/receive(on:options:)
- https://developer.apple.com/documentation/swiftui/list
- https://developer.apple.com/documentation/combine/observableobject
- https://developer.apple.com/documentation/combine/published
- https://developer.apple.com/videos/play/wwdc2019/226
- https://www.hackingwithswift.com/quick-start/swiftui/how-to-use-observedobject-to-manage-state-from-external-objects
- https://docs.github.com/en/rest/reference/users#list-users