Build a React Component For MetaMask Auth
Works on both desktop and mobile
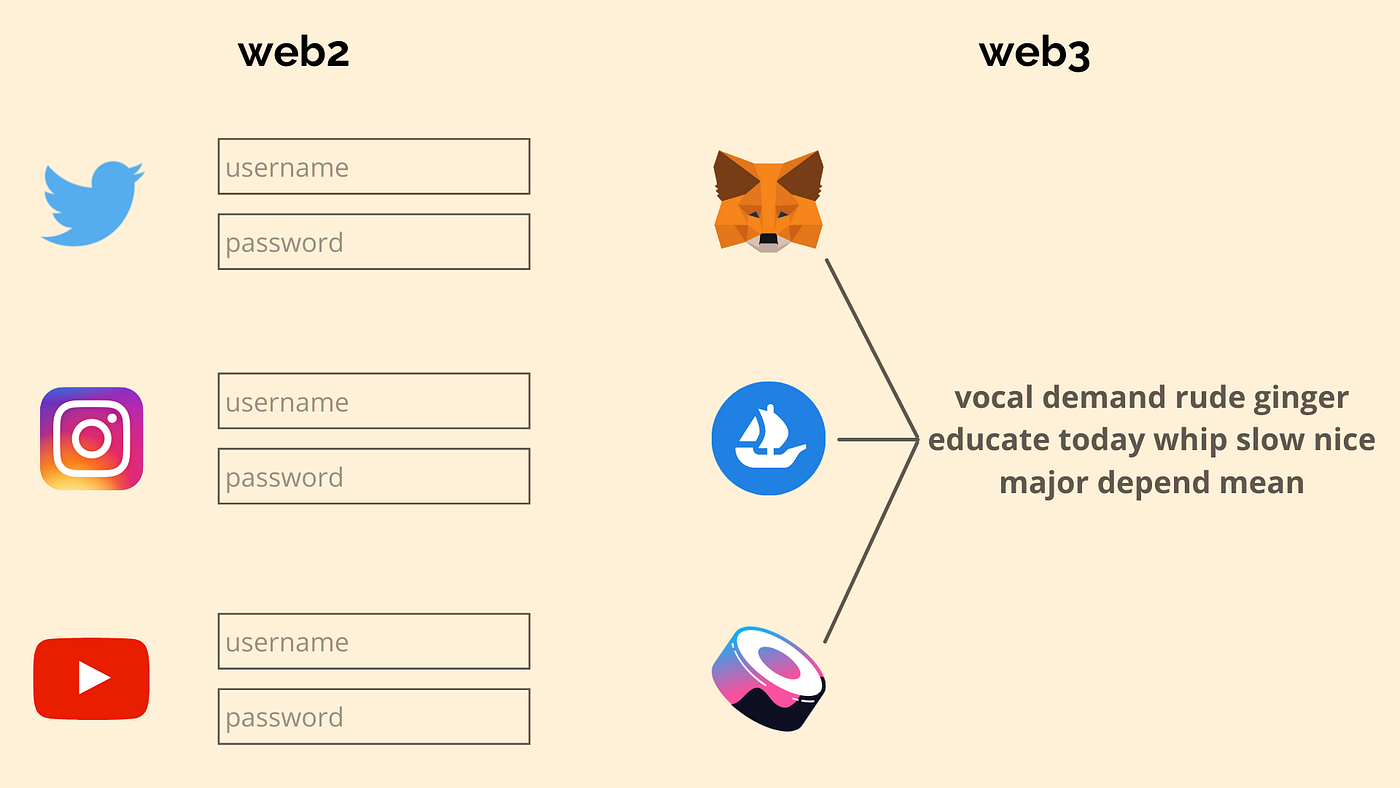
web3 authentication… it’s nice, isn’t it? There is no more password management, your credentials work across all apps. Much better than always clicking “Forgot password”.
But how do you connect to MetaMask? Since MetaMask, is the majority of users’ default wallets, it’s important for your app to support MetaMask authentication.
In this article, I will show you how I built a simple React component for handling the MetaMask auth. And the best part — it works on mobile too!

You can find the complete code in this Github repo.
Start Building The Component
We will start with a very simple component:
Let me explain the above code:
- We use a state variable
userAddressthat stores the user’s connected address - When the component is first mounted to the
window, we check if the user has already connected their wallet (we will fill incheckIfWalletIsConnectedfunction in a bit) - Whenever the
userAddressstate variable changes, we use theonAddressChangedcallback provided to us. (This is in case the parent component might need to know what the connected user address is.) - If
userAddressis empty, we show the “Connect to MetaMask” button, otherwise, we show the “Connected with …” message. Here is what these look like

And here is the code for these two:
And here are the styles for the components, if you’re interested:
We are done with the UI.
Connection Logic
Now that we are done with the UI, let’s move on to the logic that connects our UI components to the MetaMask browser extension.
We need to fill in 2 functions:
checkIfWalletIsConnected— checked when the page loads the first timeconnect— called when the user clicks the “Connect to MetaMask” button
Here is what these functions look like:
The connect function
Let’s explain the connect function:
- When MetaMask is installed as a browser extension, it will insert the
ethereumobject to thewindowobject on every page. If theethereumobject is absent, it means MetaMask is not installed and we display “Get MetaMask!” alert. - But if it is present, we use the
eth_requestAccountsmethod of the MetaMask API to request a connection to the user’s wallet. This will trigger a popup from MetaMask asking the user to grant our application access to the user’s address.

- MetaMask API will return a list of all accounts that the user granted access to. We use the first available account
accounts[0]and call theonConnectedcallback.
If you’re interested in what else MetaMask API can do, read the MetaMask docs page.
The checkIfWalletIsConnected function
- We again check if
ethereumobject is present. - If it is, we get all accounts that the user has already granted access to via the
eth_accountsmethod of the MetaMask API. - We take the first available account and use it as the
userAddress.
At this point, our component should work for the desktop. Now let’s add the mobile support. It’s going to be a little tricky because mobile browsers don’t have extensions. But there is a way around it.
Adding Mobile Support
First, we need a way to detect if our user is on a mobile device:
We now need to modify our Connect component to support mobile:
The way around the fact that there are no mobile browser extensions is… deep links! We can use a deep link to open the MetaMask app on the user’s mobile device (if the user does not have the MetaMask installed, it will open the link to install in the AppStore).
You can use MetaMask’s deep link generator tool to create deep links for various use cases such as “Open a dapp” or “Payment request”. We will need the “Open a dapp” deep link.
The format of the deep link is pretty simple, so we don't even need to use the deep link generator tool. The deep link should look like https://metamask.app.link/dapp/[YOUR_APP_URL] where YOUR_DAPP_URL is the URL where your website will be hosted.
When the user clicks this link, it will open the MetaMask app and the app will automatically navigate to YOUR_DAPP_URL (MetaMask has a built-in browser 🤯). But now that the user has your website open in the MetaMask’s browser, nothing happens. The user needs to click the “Connect to MetaMask” button again to connect to MetaMask.
Let’s make it so that the user does not have to click the button again. Just add the following if(isMobileDevice()) check to the checkIfWalletIsConnected function
This will trigger the connect function call during the initial page load in the MetaMask app. The result will look like this:

What happens in the background, is MetaMask app will inject the ethereum object into window just like the Chrome extension does on desktop. So all the rest of the code just works on mobile too. Thanks, MetaMask!
It might be a little annoying to use deep links on mobile. You might wonder if it’s possible to avoid opening another app and do the authentication entirely in the mobile browser. It is! Via WalletConnect. It does not require deep links and just works in the mobile browser. Let me know in the comments if you want me to do a tutorial about WalletConnect.
That’s it! You can find the complete code for this component in this GitHub repo.
A live demo can be found here: https://metamask-auth.ilamanov.repl.co/
And the code for the demo is here: https://replit.com/@ilamanov/metamask-auth?v=1
Want to Connect With the Author?Follow me on Twitter.