Build a Custom IntelliJ Code Inspection Plugin
Create a plugin that inspects Kotlin data classes

Introduction
IntelliJ Platform fully supports plugins and they have provided APIs to create your own custom plugins. According to their docs: Products based on the IntelliJ Platform can be modified and adjusted for custom purposes by adding plugins.
By the end of this article, you will have a plugin that inspects Kotlin data classes and warns you if you are missing the SerializedName annotation. All this happens in real-time! Check it out:

Inspiration
I work as an Android dev and if you are familiar with Android development, all the release apps would have some form of code obfuscation. Most of the time you use Gson to parse JSON response or maybe you are using it to convert JSON into an object or vice-versa.
If you miss annotating your data class params with SerializedName annotation then Gson wouldn’t be able to parse the response into your object because of code obfuscation and the parsing will fail. This has happened to our team a few times (once by me as well) and I wanted to do something about it.
If you are wondering, yes lint checks are another way but I wanted to have something which updates the user in real-time! I did try making a custom android lint rule but it did not work as expected.
Let’s code!
Project setup
Create a new IntelliJ Platform Plugin project from the IntelliJ IDEA project wizard. You will have the following structure:

The most important file here is plugin.xml. This file is used to configure the plugin.
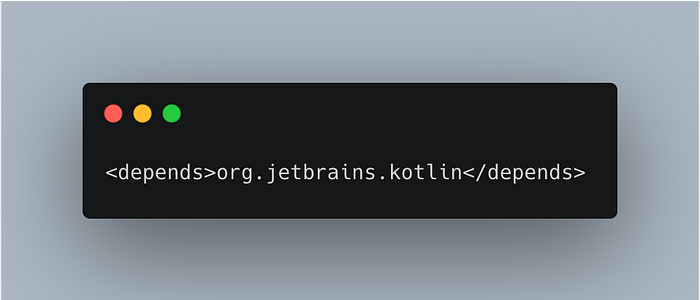
Firstly, let’s go ahead and add the required dependencies. For the code inspection plugin we will only require the Kotlin dependency. We will have to add the dependency in our gradle file as well as our plugin configuration file plugin.xml.

Now that we have setup our project, let’s get into the interesting part of code inspection!
Declaring the inspector
There can be 2 types of inspectors as follows:
- Local inspector — The
com.intellij.localInspectionextension point is used for inspections that operate on one file at a time, and also operate "on-the-fly" as the user edits the file. - Global inspector — The
com.intellij.globalInspectionextension point is used for inspections that operate across multiple files, and the associated fix might, for example, refactor code between files.
In our case we need the localInspection as each data class needs to inspected separately and also when it is being edited.
Let’s add this extension to our plugin configuration file.
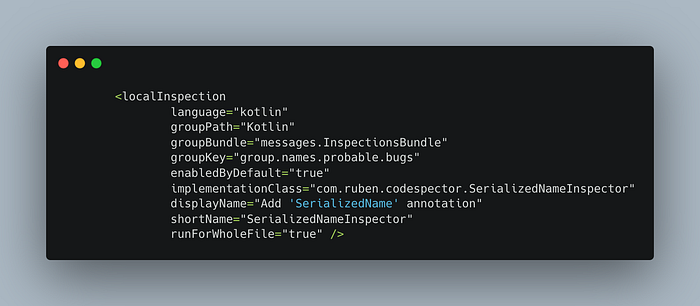
localInspection in plugin.xmlNow our plugin.xml file looks as follows:
Let’s try and understand the keys in localInspection.
groupPath — Parent group names used to display in IDE settings UI.
In our case: Settings/Editor/Kotlin
groupBundle — Get display messages from this bundle. You can specify your own bundle for displaying custom messages.
groupKey — Group name used to display in IDE settings UI.
In our case: Settings/Editor/Kotlin/Probable bugs
implementationClass — Corresponding inspection implementation class.
Rest of the keys are self explanatory.
Creating the inspector
Now that we have declared the code inspector in the plugin configuration file, let’s go ahead and implement the same.
The implementation is as follows:
Let’s try and understand what’s happening in the implementation.
For inspecting a Kotlin class, the implementation class should extend AbstractKotlinInspection. This class offers methods to inspect classes, fields and methods.
Next, we can override the buildVisitor method to determine whether the elements of the file are of interest to inspection. Here, we check whether the data class params are annotated with the required SerializedName annotation. If not, we register it as a problem so the IDE can highlight it to the user.
Pretty simple, don’t you agree?
Creating the editor notification
To make it easier for the user to add the annotation to the entire class, let’s go ahead and provide a notification with relevant actions.
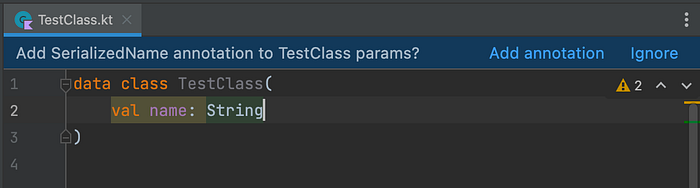
Basically, if there is a missing SerializedName annotation, along with highlighting the param for which it is missing we also show a notification.
This notification has 2 actions:
- Add annotation — This adds all the missing annotations for the entire class
- Ignore — This ignores the inspection for this particular file
Firstly, we have to add the notification extension to the plugin configuration file.
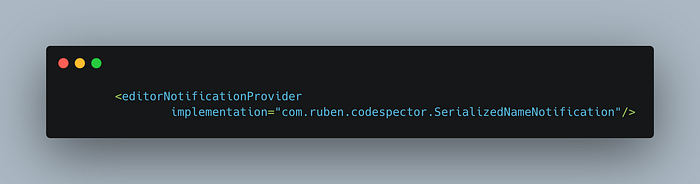
The implementation is as follows:
To display an editor notification, the implementation class should extend EditorNotifications.Provider<T>. We can use EditorNotificationPanel as it provides the required UI to display the message and the relevant actions.
The getKey() method returns the unique key for this notification. This key can be used to remove the notification.
First, we check if any of the params are missing the required annotation (same as our inspector) and if so, we create a notification. If the class params get updated with the required annotation, we remove the notification if it is being displayed.
The createPanel(..) method is used to create the notification which is to be displayed. Let’s see the implementation.
Here, we provide the message to be displayed as well the the actions. Also, this notification should be shown only if there are missing annotations and the user has not ignored inspection for this file.
The Add annotation and Ignore actions are as follows:
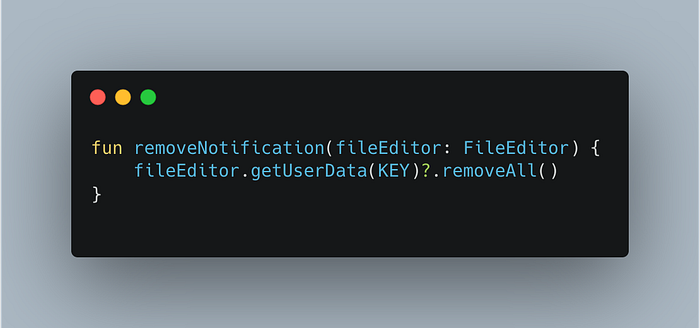
Finally, to remove the notification which is being displayed we can do the following:
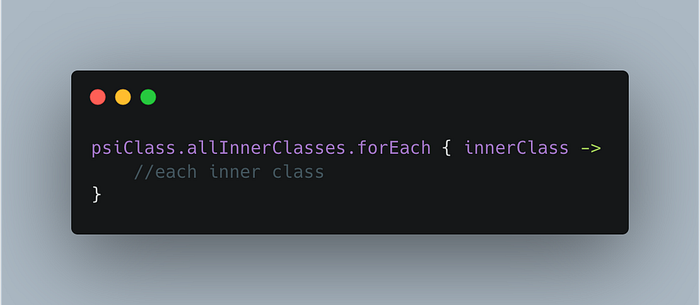
You would also want to inspect the inner classes. You can easily get the inner classes of a PsiClass as follows:
You can find the complete source code for this plugin in this repository.
What’s next?
In this post, we have seen how we can create our own custom code inspection plugin. In the coming post, let’s explore and write tests for this plugin and finally deploy it to the marketplace!
Thanks for reading!
Want to Connect?You can also connect with me on LinkedIn.We at ShareChat are constantly working on making our apps better across all our clients: Android, iOS and Web. If you are interested in building ShareChat/Moj or solving interesting problems, let us know by applying here!
Additional resources
- IntelliJ documentation to get started on plugin development.
- IntelliJ documentation to dive deeper into code inspection.
- IntelliJ documentation to dive deeper into editor notification.
- Plugin development forum to checkout questions and reach out for help.
- GitHub repo of many open-source plugins.

