How to Add Makefile to Your iOS Project
Increasing the readability of your project’s terminal commands by creating a Makefile.

As a software developer, you always have routine tasks that can be automatized with scripts. Whether it is creating files for the same type of modules, version control operations, or collecting some performance statistics — all of these operations can be placed into a set of commands under one specific call. In doing so, you can save a lot of time by avoiding conducting the same things over and over again.
In iOS development, the most common scripting languages are Shell and Ruby — and they are already installed on Mac by default and therefore easy to integrate into the project. So, to create a script, you need to produce .rb or .sh files. However, as this article is not about creating and writing a script, but about making its usage useful by adding a Makefile to your project, we will not touch on the scripting topic itself.
Let’s dive into an example, so we can see how it works.
We start with a vanilla Xcode project:

Let’s imagine you have a Ruby program that simply creates a directory in your project folder, nothing more, nothing less. It takes the name of the folder you want to create and then generates it. Surely, in real-life you would not need to encounter such a script, since the task is super-easy and has only one step. But we will run it as an example for the sake of simplicity:

Now, to generate a folder with your script, you need to enter your project directory where the program is located and call the folder creator with a ‘ruby’ command:

Now UserImages folder is generated as shown below:

I know, a script call does not look very messy or hard to implement, but if you have a long path to your scripts folder, imagine remembering and typing out all the directories in this path along with making typos and having a tremendous butthurt.
In order to avoid all of mentioned above, Makefile can be added to your project. It will help you to structuralize your script calling and make it much easier, user-friendly, and human-readable. What you need to do is just to create a file called Makefile (exactly like that!) in the directory where your .xcodeproj file is located:
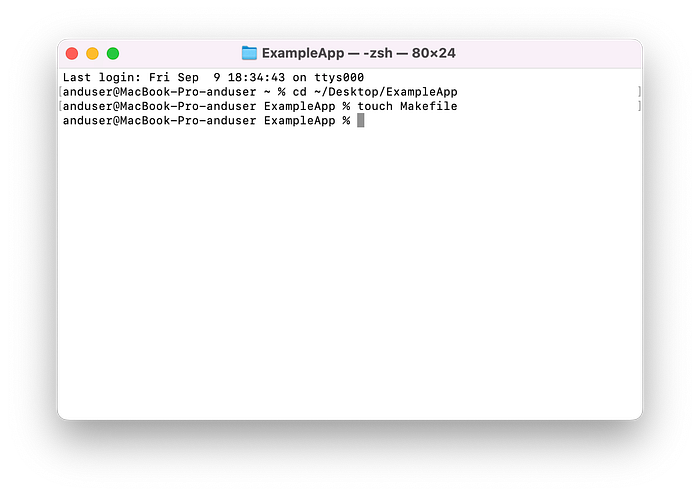
And you have it all set now:
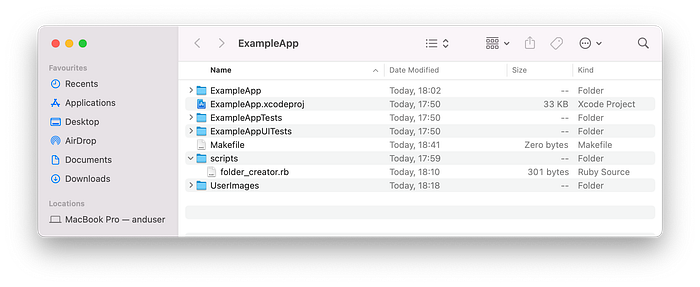
As you can see, it has a size of zero bytes. So it is brand-new and completely empty. After it has been added to your project, you need to configure it. Makefile understands only a Shell language, so you will have to make all arrangements using it. But do not worry, it is not hard at all to google any command your process might require.
In this particular example, we have a separate Ruby script putting all we need together. All we need to do is just to call this script. In order to conduct that, you have to configure your Makefile in the following way (tab is important):

Let me explain what is going on there.
In line 1 we are just putting the comment what our command does. We always indicate comments by ## in Makefile (analogue to // in Swift).
In line 2 we are giving the name to executed command. I would advise to always check if your command name is compatible with “make” word, so when you type your call, it would look nice and readable. You and your colleagues will run this command from the terminal, so try your best to name it as meaningful as possible. In our case “make folder” tells everything this instruction does.
Line 3 contains the Shell command itself. Makefile “listens” to this command in order to make required actions. Let’s break it into parts:
@ruby- terminal command to be implemented$(PWD)- returns a path to the folder where Makefile is located. It is a Shell command to be executed in order to construct a path to your script correctly.…/scripts/folder_creator.rb— rest of the path to your script (it could be deeper, but should indicate a path from the folder where Makefile lies since we have a path to it generated by the command above).
So, from now on, in order to create a folder with a script, you need to enter your project folder (where your Makefile is located) and call the ‘make folder’ command:
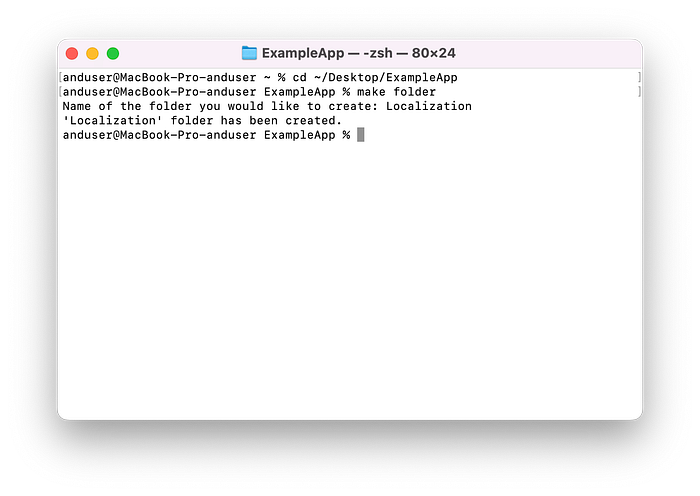
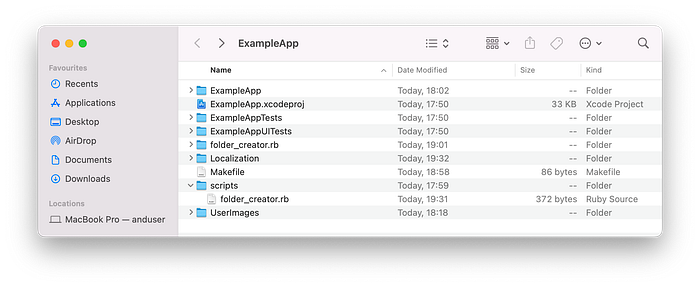
And, as we can see, Localization folder has been created:
There are a lot more improvements you can do inside your Makefile. It also can be used for executing Shell code directly in it instead of calling another script, so I would advise you to dig deeper into this topic and transfer all your routine actions into an automated way. Using the approach above, all your project’s terminal commands will be human-readable and easy to understand.
Thank you for reading.
